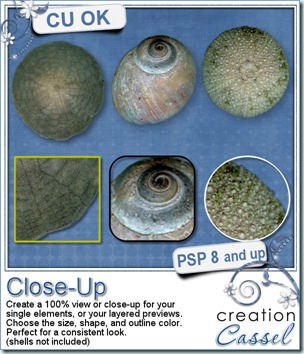
Are you a designer struggling to create previews? Are you a scrapper who loves to emphasize on details of photos? Either way, you will love this script. I have often seen designers add a close-up of their products to show the quality of the extractions, the texture of the paper or the details in a design. I have done it myself too. However, I found that often, i wanted a consistent look from preview to preview and that was not as easy as it seemed. This script will help you make those close-ups very quickly, and consistently. You can choose between 3 preset shapes, but you can also use your own (why not try with a star shape? or an arrow?). You can also choose the size of your close-up. Some designers like to have the whole thumbnail on the preview, while others are using quarter circles only. Depending on your own preferences, you can set the close-up thumbnail to be always the exact same size. And furthermore, you can decide on the color of the outline, so you can match your own preview, or the kit swatch. And it will work on a single layer or a multiple layer element without the need to merge anything. In fact, the original file will not even be touched.
Are you a scrapper? Think of those little details you might want to show in your layout, while maybe making a kind of mosaic of it. Have your Christmas tree photo and close-ups of the special decorations hanging in it. Or how about a close up of the tiny fingers and toes of your child (or grandchild)? Those can be soooooo cute!
You can get this great tool in my store: Creation Cassel.
And you can surely add your name to this thread in the forum for a chance to win this script. I would certainly love to see how creatively you can use it.
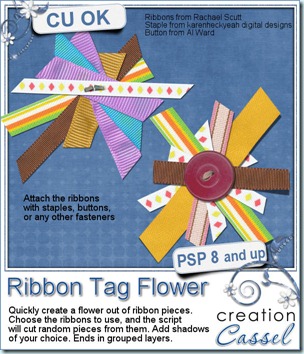
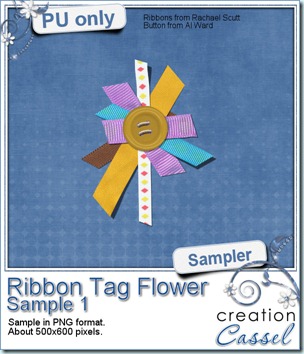
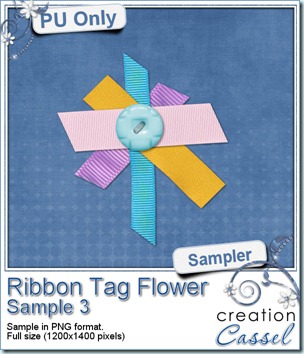 Obviously, this week, i cannot give you a sample of the end result from this script since it is really just a tool script, so since i got a great response for the samples of last week, i decided to offer you another ribbon tab flower. They are so fun to make!
You need to be logged in to download this sample. You can either login, or register on the top of this page.
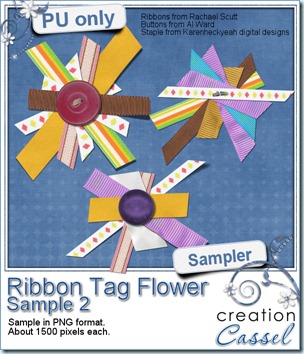
Last week, i tried the Pay-with-a-Tweet function and it didn’t work very well as it said it could connect you to Facebook while it didn’t. I have now edited last week’s post and the Pay-with-a-Tweet button has been changed. From what i have seen, it does work better than the previous one so if you want to grab those other three ribbon tag flowers, just go ahead and pay with a Tweet or a Facebook post.
News from the Campus
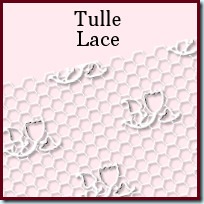
Last week, the added tutorial was the Tulle Lace. Can you think of any such delicate elements you can create with this technique?
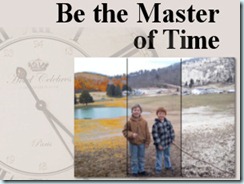
Last week, we repeated the webinar on “Be the Master of Time” and it was well received again. The recording has been edited, and uploaded to the Campus along with a cheat sheet with the various steps and settings used to achieve those time changes. You can view the webinarHERE (remember, you need to be logged in to access that page).
Following that past webinar, another presentation is planned for December 4th, and this time, we will look at some additional details to include in your “day turned to night” photos, including lilt windows, street lights, Christmas decorations and more. Come and join us. Register now.
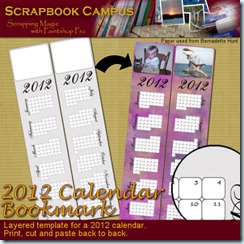
As the holidays approach, you might want to make some fun calendars as a present to family members, colleagues, friends. Check out what you can download for free in the Campus: a 2012 Calendar Bookmark. Yes, it is absolutely FREE


 But i am sure you would like to have this script for free, right? You have this option if you add your name to



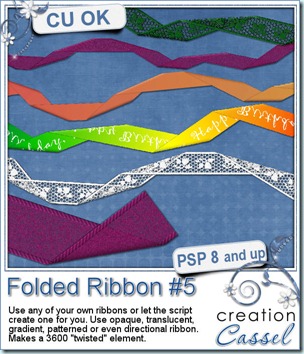
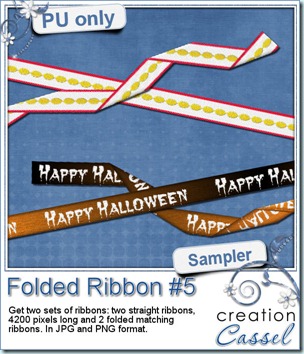 And for a closer look at the result of this script, i created 2 ribbons from scratch (so they are 100% original) and ran the script on them. You get both the straight version and the folded version of both. That means you can use them separately, together or even run another script on the straight ribbon. Remember that there are many other scripts in the store that could be used with a straight ribbon of yours!
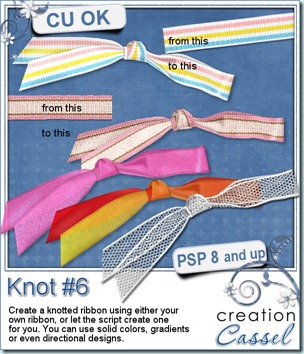
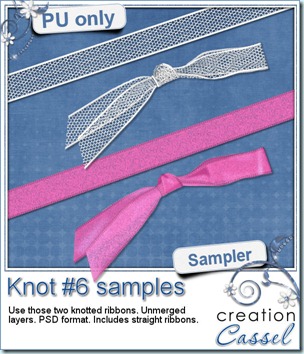 And how about a chance to “tie the knot” for free? Everyone loves free stuff and i am sure you would love to get this script for free. Then, hop over to the DigishopTalk forum in this
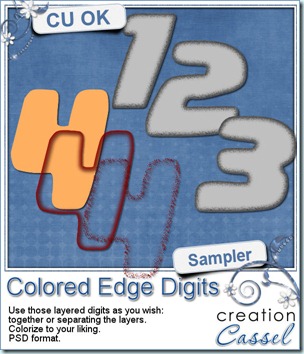 I know, you also want to have a peek at the result of this script by downloading a free sample, right? Well, I cannot disappoint you, can I? So here is your sampler. It is a set of digits in greyscale, layered in PSD format. You can easily recolor each layer separately, merge them or use them separately too. This set is CU.
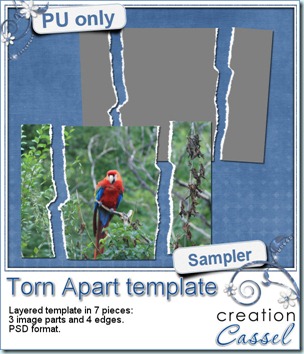 And here is your free sample. This is a layered template in PSD format. It consists of 3 “paper” pieces that will match perfectly, and 4 “edge” pieces. You can adjust the “edge” pieces to match any paper color, and the “paper” pieces are just like a puzzle and you can cut out your paper or photo using the magic wand. The “paper” piece layers are linked to the matching “edge” piece layers so you can move them around together, however, to help you with the “photo” part, all the “edge” pieces are below the “paper” pieces so you will have to rearrange the layers order when you decide to merge them.
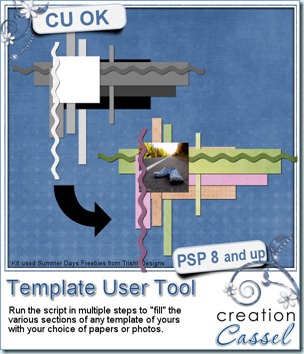
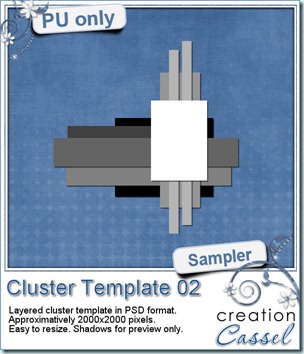 As usual, i have a free sample for you. Since this script is a tool to use with your own templates, i could not run it and give you the end result, but i could run the script from last week, and let you have another clustered template in PSD format.
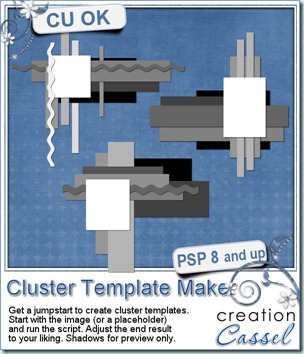
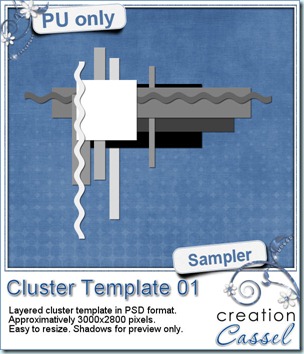 As usual, you want to get a freebie, right? Fair enough. I created this layered cluster template with the script. I added shadows to the preview only, since there is a chance you might want to change some layers and then, the shadows might not work. It is a PSD format, so most of you should be able to open it, and use it. If you DO use it, would you mind showing me how it turns out? I would love to see how different scrappers will turn this ONE template into many unique results.