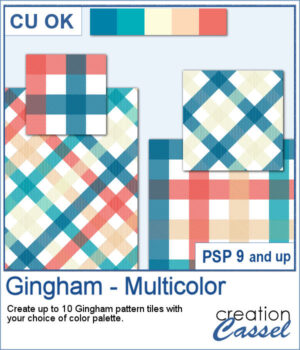
Gingham patterns are timeless, but they don't have to be limited to just one color. Gingham – Multicolor lets you create coordinated pattern tiles using your own color palette, with each tile combining between two and five colors for a fresh look every time.
Generate up to 10 seamless tiles in a single run, then use them as they are or rotate them 45 degrees for a completely different plaid effect. Whether you're creating scrapbook papers, card backgrounds, or digital embellishments, you'll have a collection of matching patterns ready in seconds.
Get this script: Gingham-Multicolor
Want a chance to get this script for free? Head over to this Facebook post and tell us if you have used multicolored Gingham designs (Remember, only comments count. Likes and shares are appreciated, but won’t count as entries.) A winner will be announced in next week’s newsletter. If you’re not on the list yet, you can join right here. It’s free, and we only email once a week!
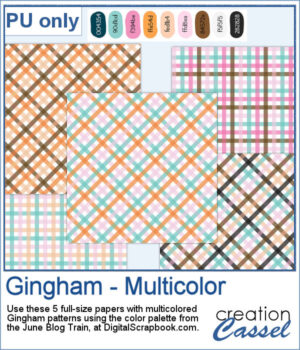
I used the color palette from the Digitalscrapbook.com June Blog Train, and generated a number of colorful tiles, which were then turned into full-size papers for you to use. Visit the Blog Train thread to download other supplies that would match those papers.
You need to be logged in to download this sample. Please log in or register using the links at the top of this page.
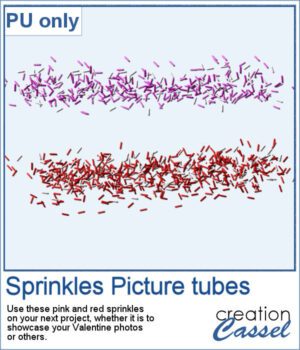
For a sample, since this script relies heavily on your own photo, I decided to create a set of sprinkles picture tubes for your Valentine photos, or any other project you want to create. One set is using shades of pink, the other uses shades of red.
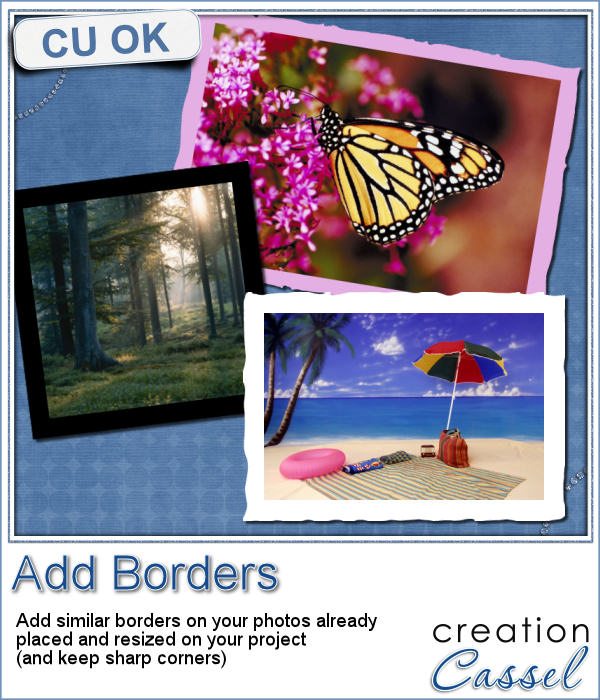
Sometimes, you might want to add identical borders to the photos on your layout, but since you want the photos to be of different sizes. How do you do that? Adding the borders before placing the photos on the montage is not the solution since you will resize the photos, and therefore, the border will also be resized.
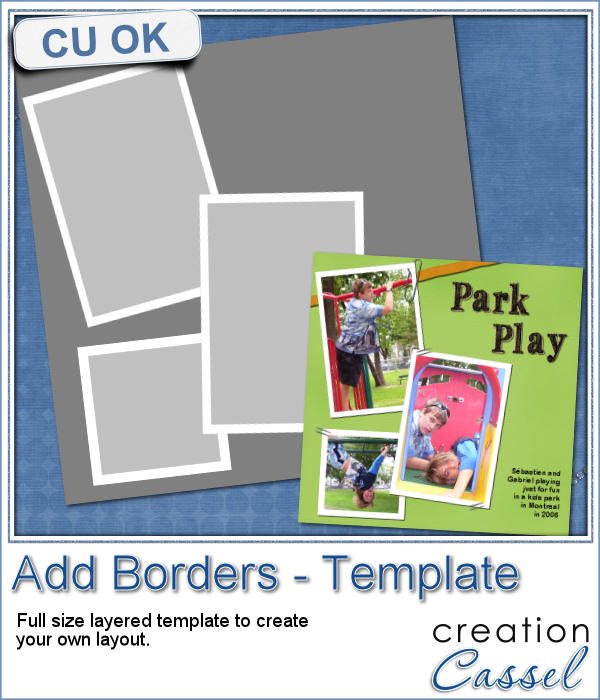
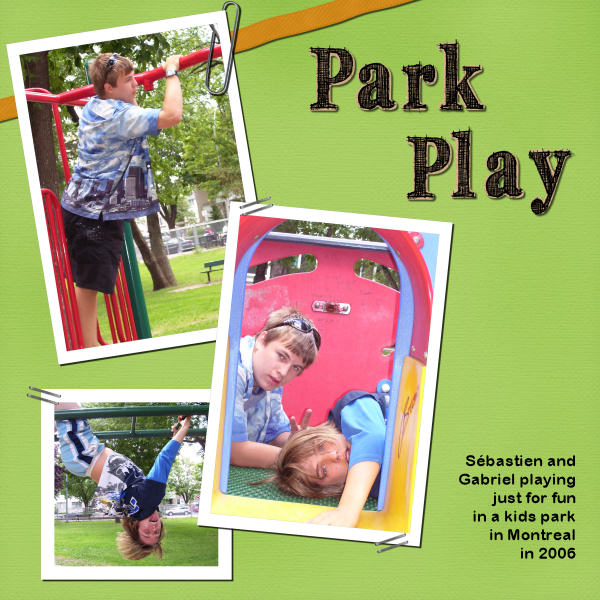
As a way to show you how this script can create identical borders even on photos of different sizes, I created this layered template for you. I had to tweak the end result since the script would merge the edge to the photo.

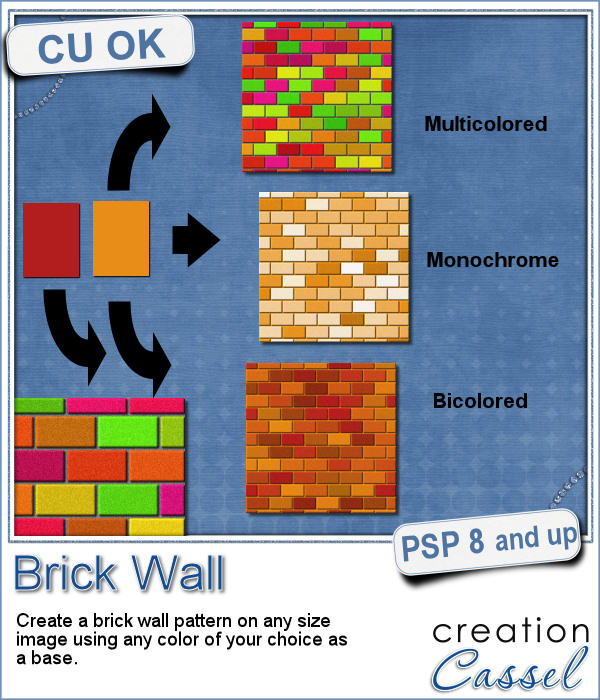
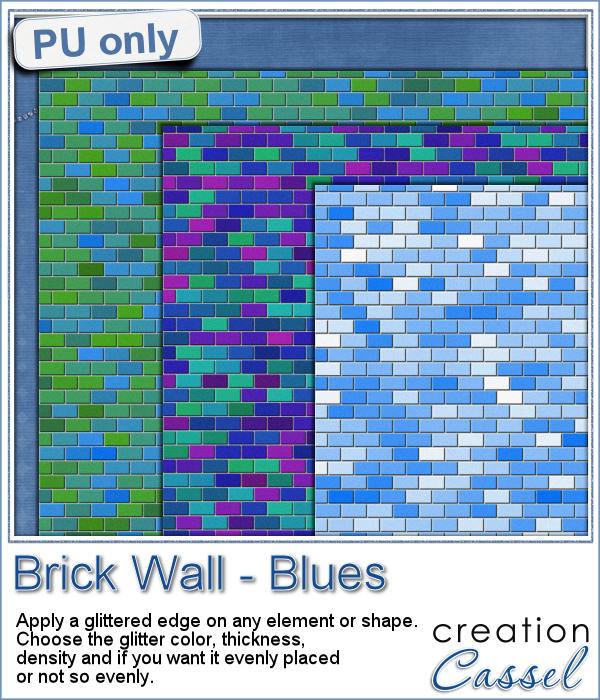
You might be able to use a photo of a brick wall as a paper background for your project, but you might wish to have something that would match more closely your favorite color, or color palette.
As a sample, I created 3 full size papers (3600x3600) all based around the same blue color. It gives you a good idea of how flexible this script can be.
We will have a live presentation on Sunday, August 7, at 5 pm Eastern Time.
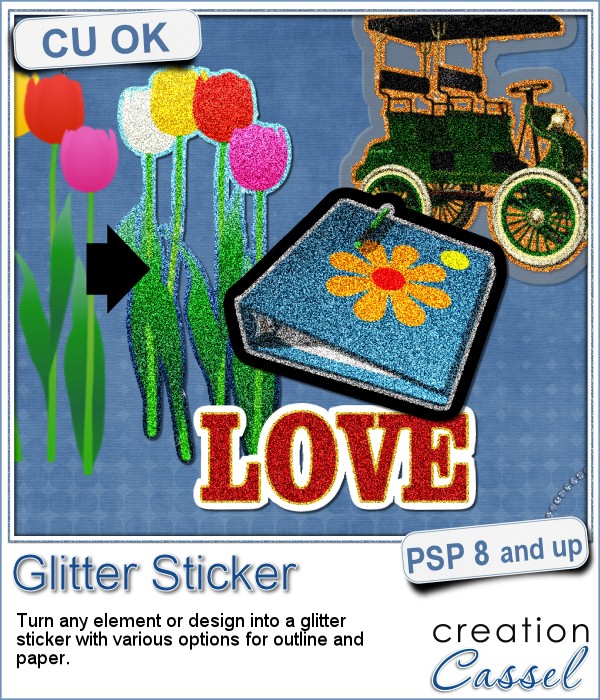
Stickers are fun, versatile and can be used in many projects. You can now create your own starting with any element, shape or text, and add some pizzazz by converting an ordinary shape or image, into a glittered one, with a glitter outline and paper.
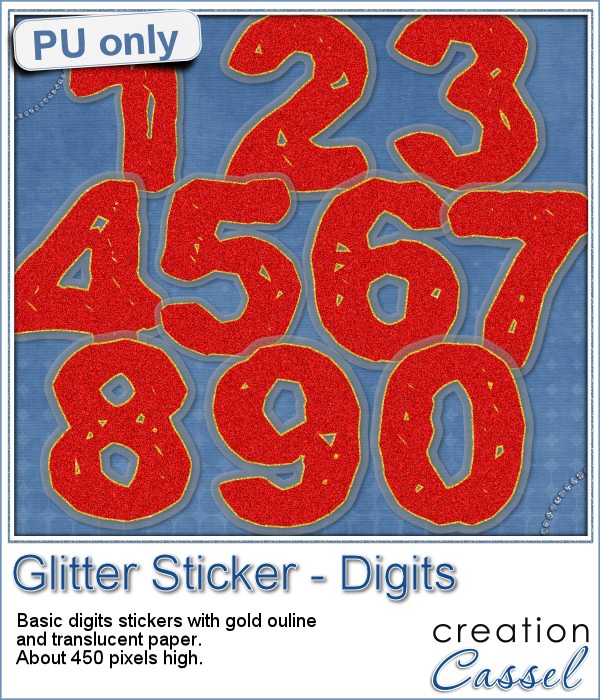
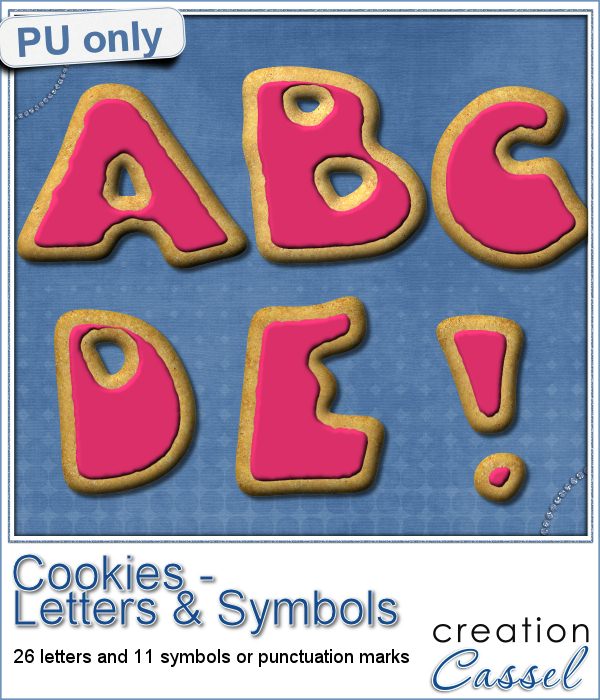
For this week's sampler, I created a set of digits with gold outline and plastic translucent backing. Each digit is about 450 pixels in height so you can resize it as needed.
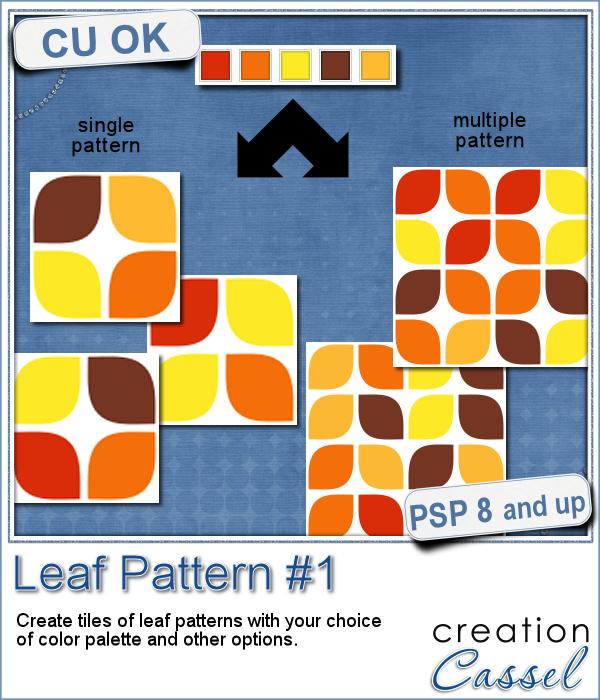
Creating a geometric pattern can be easy if you have only one shape, but it can become tedious if you have multiple similar shapes, using different colors. Until now, you either had to do them by hand, or rely on layered templates, which only offer a limited number of color arrangement.
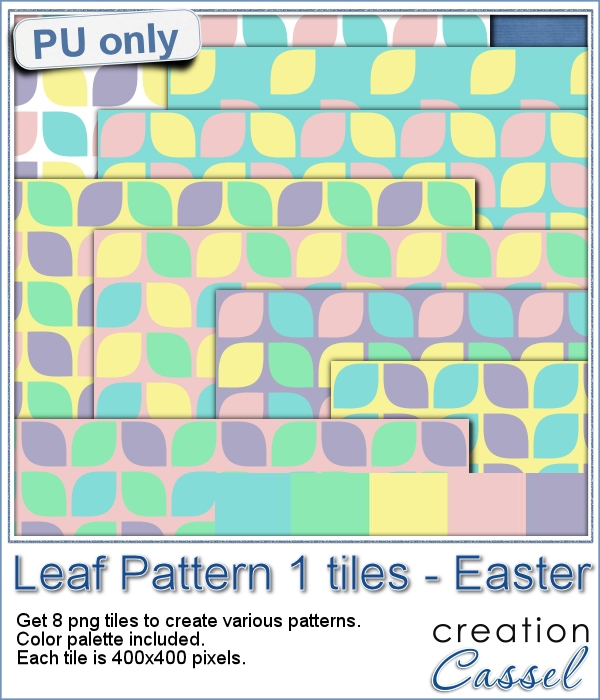
Although Easter is over for most people, the colors associated with Easter are still very appropriate for spring, so whether you want to showcase your Easter photos, or spring photos, these colors should be quite suitable.
Did you register to our live class, tomorrow? There is still time to do so.
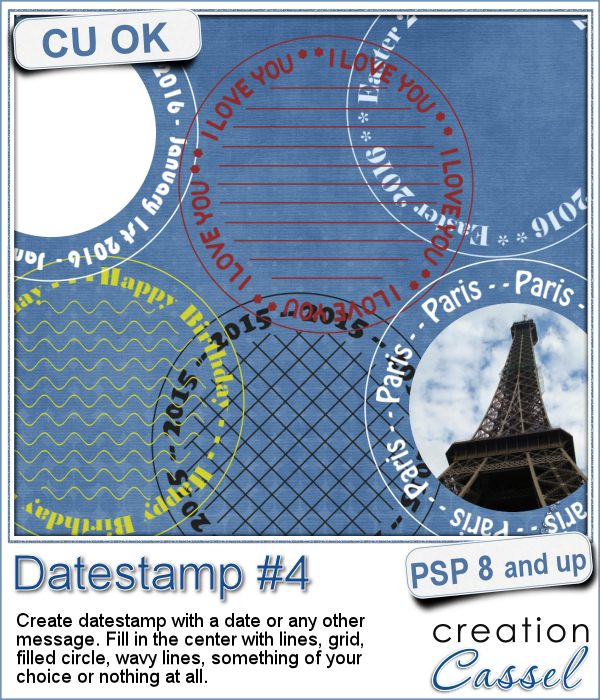
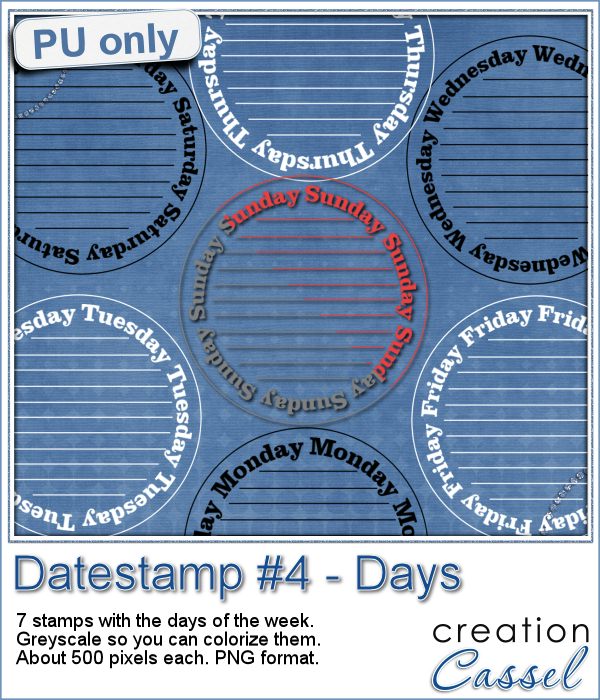
There are so many ways you can have a date on a project. That is why we are up to the fourth different datestamp script. But don't limit yourself to a date; this script allows you to add other messages, words or phrases.
As a sample of what this script can do, I created a set of datestamps using simply the days of the week with straight lines in the center. This should be versatile enough to let you customize them. Of course, you can also remove those lines in the middle if you want. I won't be offended!
The edited recording of our live presentation is now available for viewing.
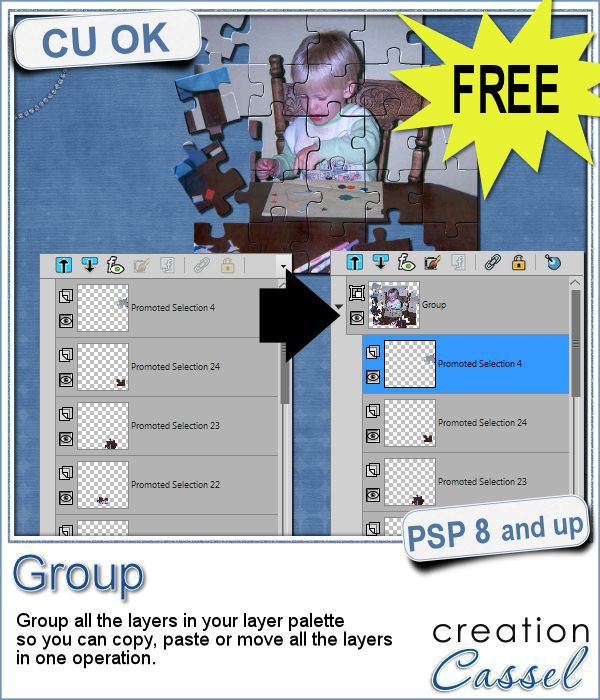
Whenever you work on a particular project, and create many layers, it is a real pain to copy and paste each individual layer onto the new project. Of course, you can group them, but if you have 20, 30 or 100 layers, it can be very time consuming.
As a sampler, i obviously can't sample this script as it would just need to be applied to your own projects. But since i had a very good response to the
Are you using keyboard shortcuts when working with PSP? Check out which are my top 10 shortcuts in
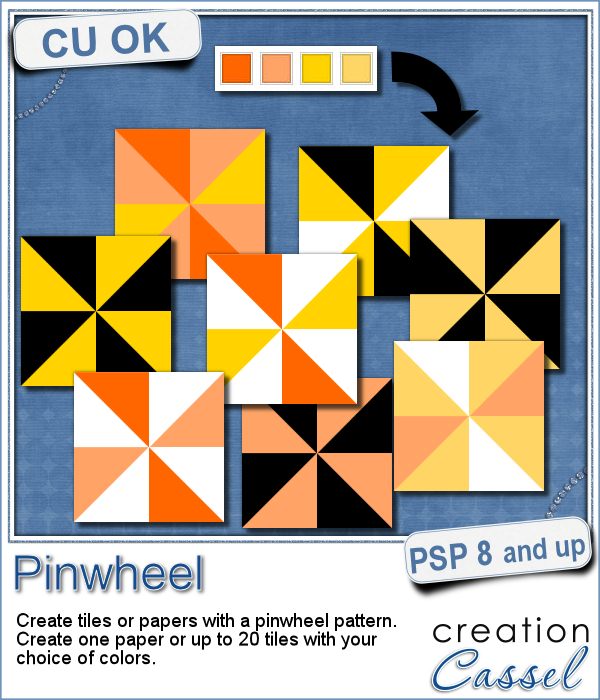
Creating designs for seamless tiles is not that hard, but creating many using the same palette without redoing the same one twice is a little be more challenging.
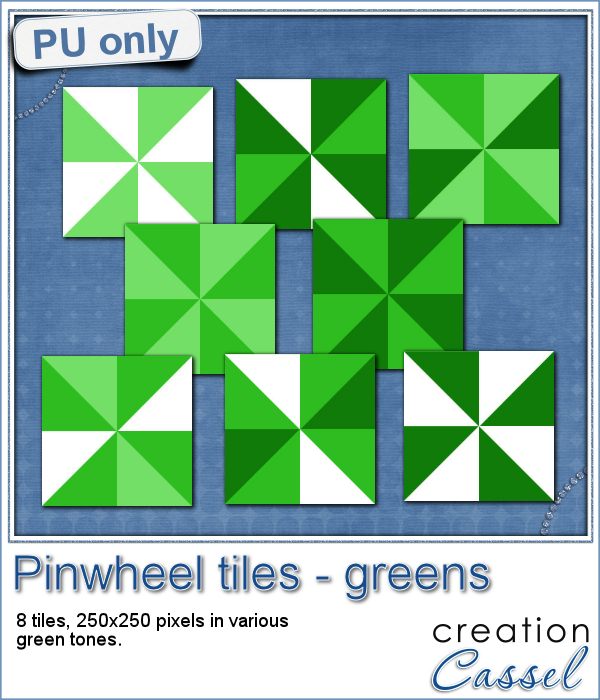
For a sample, i created 8 tiles in the green colors (for St-Patrick month). Each tile is 250x250 pixels and can be scaled up or down as a pattern. You can add a rotation. You can combine two tiles. You can duplicate a single tile and flip/mirror it to create a different pattern.
What do you know about Adjustment Layers in PSP?
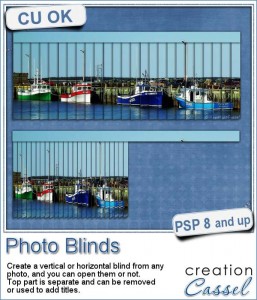
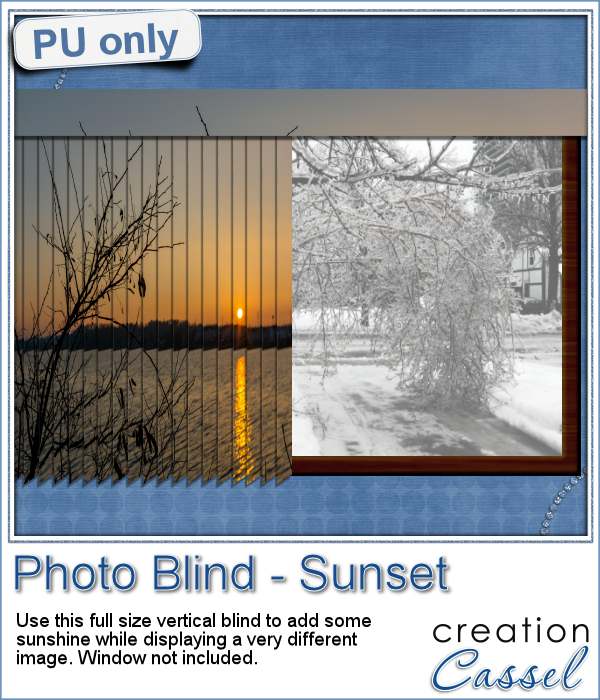
Have you ever seen those wonderful images that are transposed into various slats to create vertical or horizontal blinds?
This week, i was really struggling to figure out what to create as a freebie that you might actually use. Since there was a big snow storm in the US this weekend, i thought that maybe, someone would want to have a nice, warm photo to cover the sight of all that snow. Of course, you could use this even if you don't have snow around!
Our next live presentation will take place on February 7th (yes that is 2 weeks from now; for a change, we are quite ahead!).