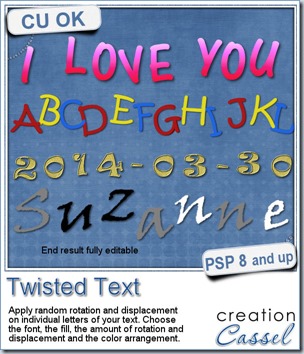
Although we often like to have regularly placed and perfectly aligned text, on some occasions we really want something funky and irregular. Do you know how to place each letter individually to create a funky text?
One method will require you to type one letter at the time, and rotate it and move it. Then repeat for the second letter, and the third. It is not hard, but it is definitely time consuming especially if you have more than just a handful of letters.
The other method is to type your text, normally, and then go with Objects > Convert Text to Curves > As Character Shapes. This will separate individual characters and convert them to shapes. Although they would remain as vector objects, they lose their Text properties: you can no longer change the font.
Finally, the third method is using this PSP script. In fact, the script will use the first method for you but much much faster. You can choose any text (any length), any font, any color (or even a gradient or a pattern), you choose how much rotation and displacement you want, and if you want to have the colors (in case you picked more than one) to appear in sequence (like in the alphabet in the preview) or in random order (like in the “Suzanne” of the preview).
Each letter is left, at the end, as individual vector objects, and still as text so you can, if you want, change the font for one or some letters/characters. You can also change the colors if you want or rearrange the letters. In fact, you can just use the randomly rotated letters and place them all around your layout if you prefer; no need to keep them in line either!
Grab this time saving script and have fun with Twisted Text.
If you want to learn how to create that kind of effect, manually (hopefully for only a handful of letters) and other fun text tricks, check out the Texting Again Master Class in the Scrapbook Campus.




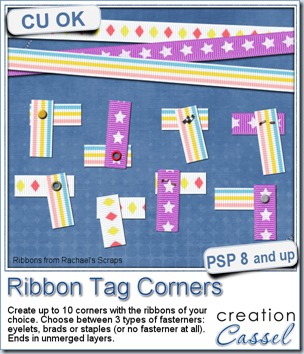
 As a sample of what you can do with this script, i have this one. I started with 3 ribbons from Rachael’s and generated 5 corners. I only picked one to work with.
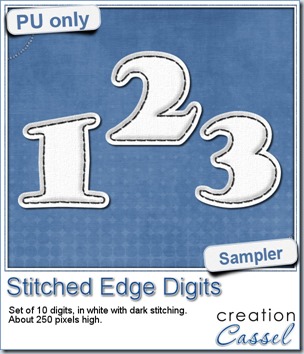 For this week, i decided to play with the idea of creating a whole alpha in one run with this script. I started with the digits (as there were fewer elements in the end). On a large image, i typed in the digits in white. I had to adjust the kerning to make sure the letters would not touch each other when the edge was added. Then, i ran the script. Everything went smoothly from there. I added the texture that came with the


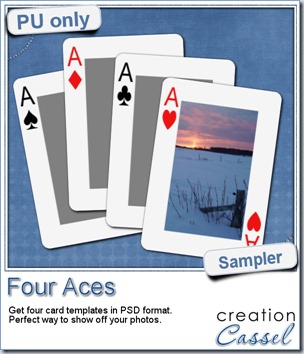 For this week, i decided to give you a template for 4 aces. I am sure you can enjoy havnig 4 aces up your sleeve, right?
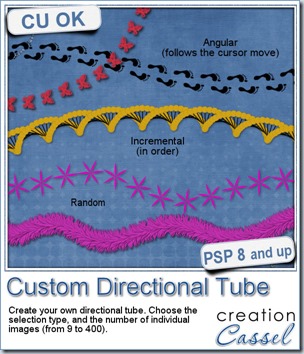
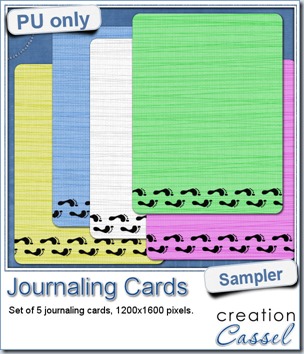 As a sampler, i created some simple journaling cards. I simply used the little footsteps directional tube that i created for the preview above and drew a straight line with it. I could have made a curved line that would have shown the rotated steps, but i really felt it was taking too much space on the cards.
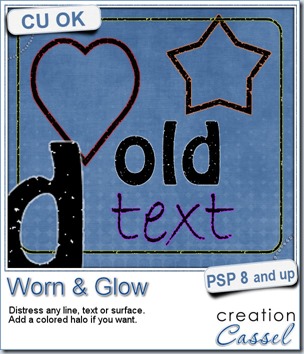
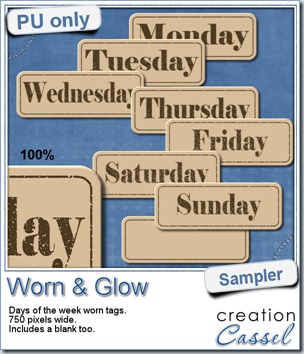 What would you want to get this week, as a sampler? I thought you might be tired of alphas (although that was my first idea when i was thinking of a sample), so i created some labels. Whether you are doing a project 365 or not, sometimes, you might want to add the days of the week to your layout. That is why i created those day tags. I just used the distressed part of the script and didn’t add any glow. I am also including a blank tag so you can add a date or something else (even unrelated to the days of the week).