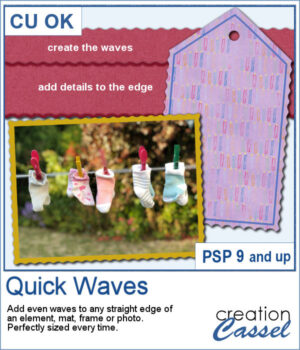
Wavy edges can add a delicate effect to any element. You can create small or big waves, on one edge, two opposite edges, or even all four edges at once.
The benefit of this script is that the ends of the wave will always be perfectly aligned with the ends of the element. No more "half-cut" waves on one end.
Will you use it on tags, mats, frames, photos, papers, ribbons, or something else?
In order to win this script, add a comment on this Facebook post telling us what other shapes you can envision for cutouts on the edges of elements (remember, add a comment, not just a Like!) The winner will be announced in the newsletter, next week. Not a subscriber yet? Not a problem. You can register here and it is free (and you only get one email per week).
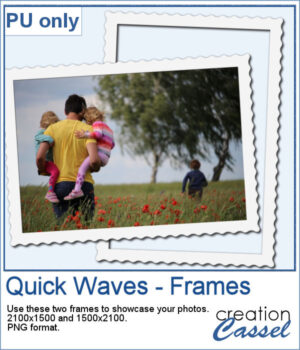
For a sampler, I created two simple frames for you to showcase your favorite photos. One is vertical and one is horizontal. The difference is in the slight bevel added to give that 3D effect.
You need to be logged in to download this sample. You can either login, or register on the top of this page.
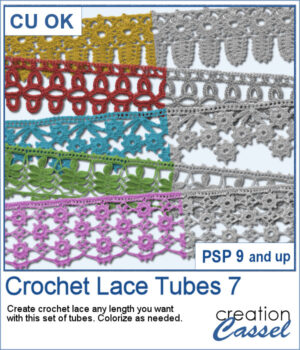
More crochet laces for you to decorate your projects. Create them in any length you need, and colorize them in any color you want to match your project.
There is now a total of 35 crochet edge tubes available in the store, so you can create a wide variety of frames, edges, clusters, etc. And you can use different scripts to create square/rectangular or circular frames.
In order to win this script, add a comment on this Facebook post telling us how many of the previous 6 sets of crochet laces do you have (remember, add a comment, not just a Like!) We will announce the winner in the newsletter, next week. Not a subscriber yet? Not a problem. You can register here and it is free (and you only get one email per week).
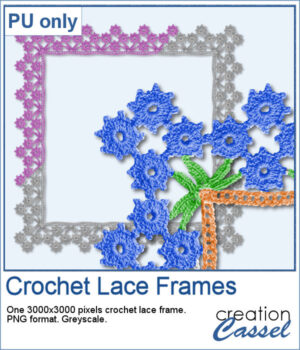
For this freebie, I used a long lace and created a square frame by manually "mitering" the corners. I needed to do it manually to make those corner look realistic.
You need to be logged in to download this sample. You can either login, or register on the top of this page.
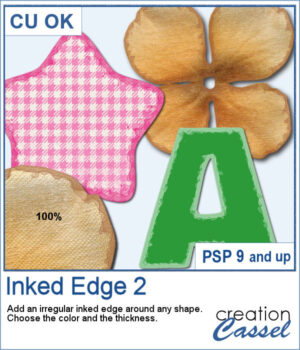
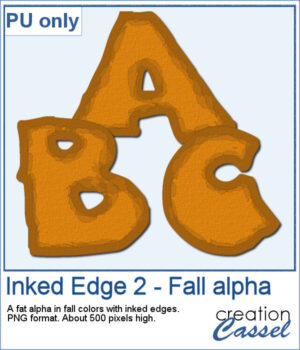
This script will quickly add an inked edge around any element, photo, or shape for you. It will look like a wet/watercolor ink that was added in three runs. The edges will be uneven all over and slightly more opaque on the very edges.
The inked border will be left unmerged from the base shape so you can actually use it separately if you want for a different effect.
In order to win this product, add a comment on this Facebook post telling us if you do use inked edges in some projects of yours (remember, add a comment, not just a Like!) The winner will be announced in the newsletter, next week. Not a subscriber yet? Not a problem. You can register here and it is free (and you only get one email per week).
This week, I created a whole alphabet using the Fatty font in orange color with a brown edge. That would be very suitable for fall or Halloween themes.
You need to be logged in to download this sample. You can either login, or register on the top of this page.
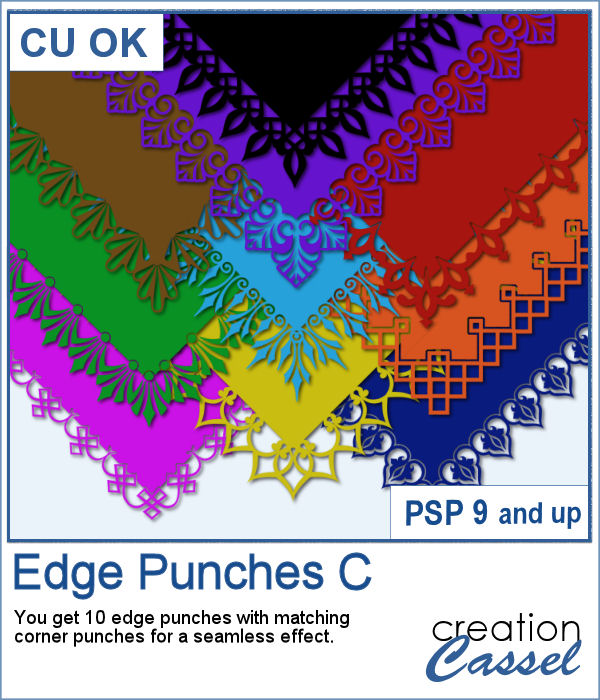
This is the third of the series of edge punches. Just like the punches you would get to cut out the edges of traditional paper products, you can use the Eraser tool to cut out of the edge of your digital element.
Use it on frames, photos, papers, tags, cards, etc. Some of them (not all) are suitable for a cutting machine. Some will be more useful in the digital format only.
Each edge punch has a matching corner punch that can be used alone or with the edge.
In order to win this script, add a comment on this Facebook post telling us if you use similar "punches" to cut out edges (remember, add a comment, not just a Like!) The winner will be announced in the newsletter, next week. Not a subscriber yet? Not a problem. You can register here and it is free (and you only get one email per week).
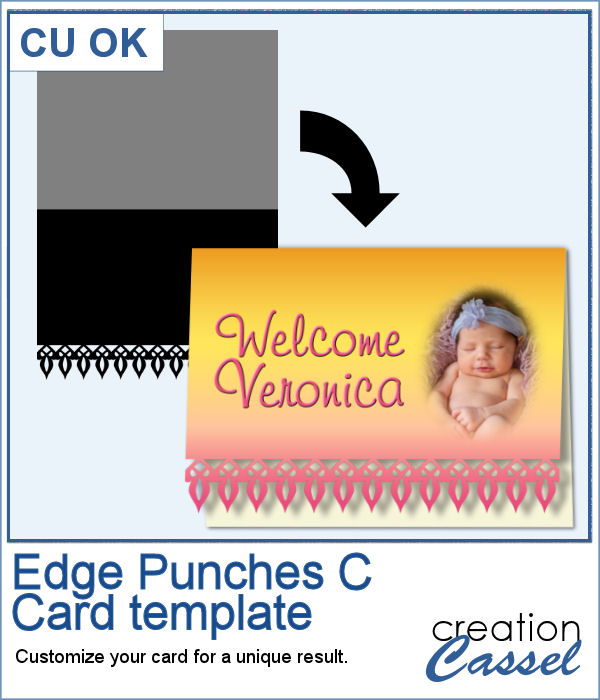
For a sample, I created a template for a greeting card. It is simply in png format so it can be used in any program. If you have a cutting machine, you can cut this card for a unique effect, once you have customized and printed it.
You need to be logged in to download this sample. You can either login, or register on the top of this page.
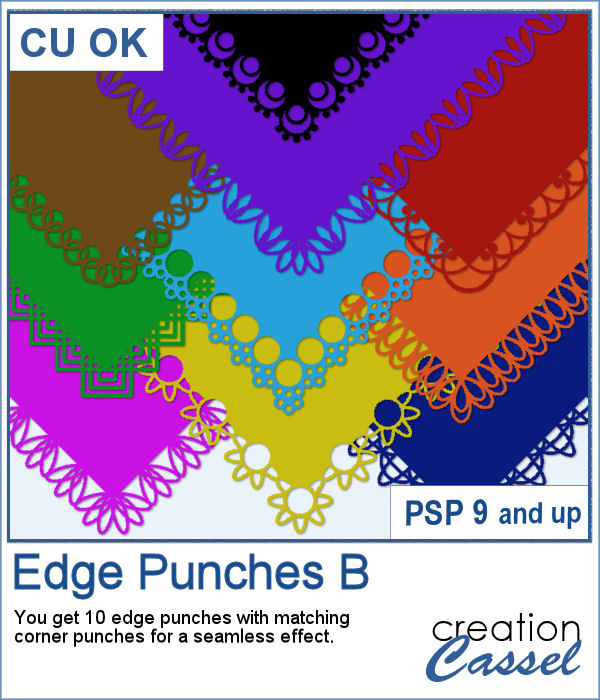
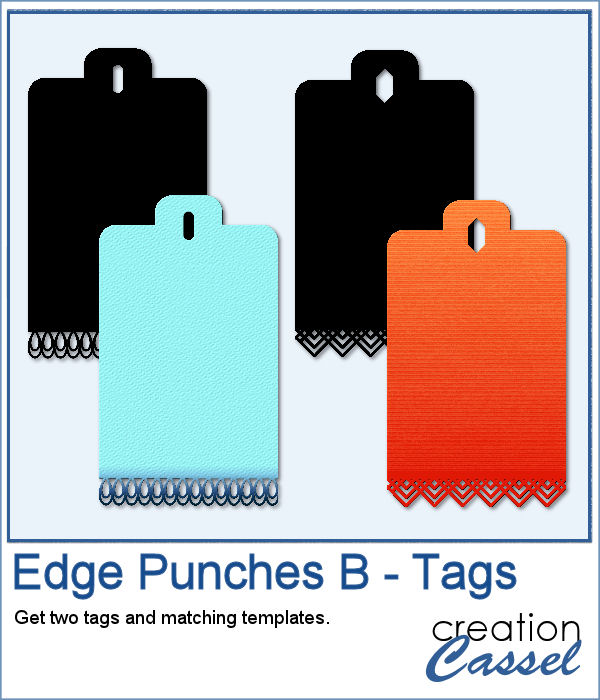
In paper crafting, punches are popular to create a decorative edge on papers, frames, photos, etc. With PaintShop Pro, you can create a similar effect by using the Eraser tool with special brush tips.
This is a set of 10 different brush tips to cut out the edges of a paper, but you also get matching corner brushes so you can create a continuous cutout.
In order to win this script, add a comment on this Facebook post telling us if you have any of the other punches from the store (remember, add a comment, not just a Like!) The winner will be announced in the newsletter, next week. Not a subscriber yet? Not a problem. You can register here and it is free (and you only get one email per week).
As a sampler, I created two tags with different colors but I also include the template for each of them so you can create your own in the color that will suit your project. Then, simply add texture, bevel or decorations to them.
You need to be logged in to download this sample. You can either login, or register on the top of this page.
Creating a folded edge on papers, photos or mats can add a definite 3D effect, but it is not always easy to do.
If you are using templates, with each folded piece on a separate layer, you can probably get away with using a plain type of paper, however, as soon as you want to use a patterned paper, or something directional, the templates will not give a realistic result.
Creating the folds manually is one way to get the correct angles on the patterns, but it is quite tedious to match the angles whether you are using the Pick tool or the Rotate function. But, yes, it can be done.
However, using this script will make the whole process much faster and more accurate.
You can use a single paper, and have it fold on itself with both sides being identical or you can pretend you have a two-sided paper, by using two different papers layered on top of each other before you run the script.
The folds will also be custom made. You will choose how many folds you will have, where they will be and how deep they will be because you will place the dots where you want, and the script will execute the commands based on those dots. You can have as many dots as you want, anywhere you want, for a custom look.
Do you want a chance to win this script? Check out this thread. Tell me how you would create a folded edge if you didn’t have the script. I’ll be back next week with the name of a winner.
See what can be done with a photo and a slightly patterned paper as the “backing”:
What i did was open a large photo, and added a greyish paper on the layer below. I ran the script on one edge (the top one) first. Then, because it made for a lot of layers and because i was fairly happy with the default shadowing, i hid the photo and paper layers and merged the visible layers. That gave me one layer for all the top folds.
Then, i moved the photo and paper layers on top of the layer palette and ran the script for the right edge. Again, i merged all the little pieces for the right edge making sure i didn’t merge the ones from the top. This allowed me to erase the little bit that extended beyond the right edge (the script didn’t know i had run it on another edge before).
Then, i repeated the same thing for the other two edges. Finally, i just moved the photo below all the folded edge layers.
Create a ripped edge effortlessly. Just type all kinds of jumbled letters and this font will make it into random rips. You get two sets of “rips”: one set of rips with round holes with the uppercases, and one set with square holes with the lowercases.
Type in the length you want, play with the kerning if you want the holes to be apart more, play with the font size if you want to simulate smaller or larger holes, then turn that length into a template to cut out the paper from any sheet. It would work on a curved edge too, although, it might not be too realistic since we don’t often see a spiral binding along a curved edge, but really, why not? it is your element, and your scrap page after all!
 Wavy edges can add a delicate effect to any element. You can create small or big waves, on one edge, two opposite edges, or even all four edges at once.