Affinity Scripts Are Here!
With the release of Affinity 3.3, scripting is now available, and that opens up a whole new range of possibilities. Of course, I couldn't resist experimenting with it!
If you have used my PaintShop Pro scripts before, you already know how useful a script can be for taking a repetitive or sometimes tedious process and doing much of the work for you. Affinity scripting is still very new, but I have already been busy exploring what can be done with it.
And instead of introducing this new category with just one script, I decided to start with two!
 Duplicate Image – FREE Affinity Script
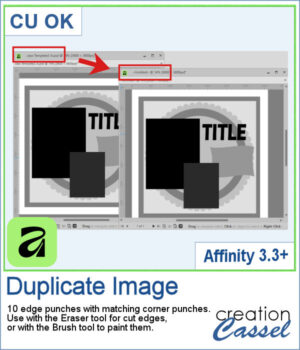
The first script is a simple utility that I am offering for free. Duplicate Image does exactly what its name suggests: it creates a duplicate of your current image so you can continue working on a copy while leaving the original untouched.
It is a simple script, but it is also a great way to try scripting in Affinity for the first time. You can download it, install it, and see how scripts work without having to purchase anything.
Get this script in the store: Duplicate Image
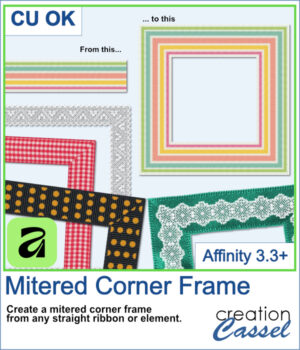
 Mitered Corner Frame
For the second script, let's do something a little more creative!
Have you ever had a ribbon, lace, paper strip, fabric trim, or other straight element that you wished you could turn into a frame? Creating the four sides isn't difficult, but getting those corners to meet neatly can take a little more work.
The Mitered Corner Frame script does that work for you.
Start with your straight element, choose the dimensions you want, and the script creates the four sides with neatly mitered corners. That means the same ribbon or trim can be used to create frames of different sizes to suit your photos, scrapbook pages, cards, and other projects.
And because you start with your own element, you are not limited to one particular frame style. A ribbon can give you one look, lace another, and a textured or patterned strip something completely different.
You can find the Mitered Corner Frame script in the store.
Want a chance to get this script for free? Head over to this Facebook post and tell us what other PSP scripts from the store you would like to see converted for Affinity. Likes and shares are appreciated, but won’t count as entries.) A winner will be announced in next week’s newsletter. If you’re not on the list yet, you can join right here. It’s free, and we only email once a week!
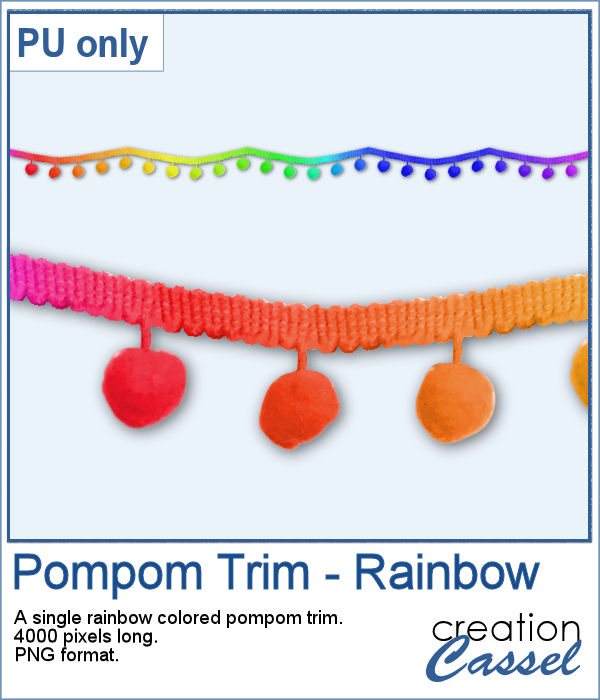
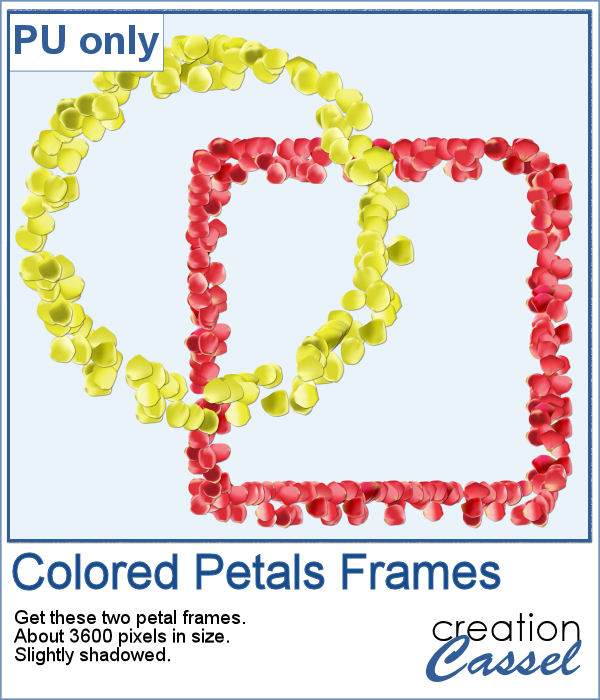
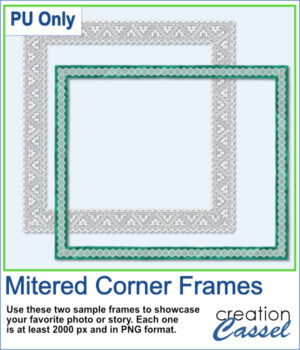
For a sample, I ran this script in Affinity to generate these two frames. They are in PNG format so you can use them in any program.
You need to be logged in to download this sample. Please log in or register using the links at the top of this page.
More Affinity Scripts to Come
These are the first Affinity scripts to appear in the Creation Cassel store, but they certainly won't be the last. I have already been experimenting with other ideas and have more scripts in various stages of development.
Affinity scripting is brand new, so I am learning what is possible right along with everyone else. It will be interesting to see how the scripting capabilities develop over time, and what new tools we can create with them.
For now, you have one free script to experiment with and one that can start doing some of the work for you right away.