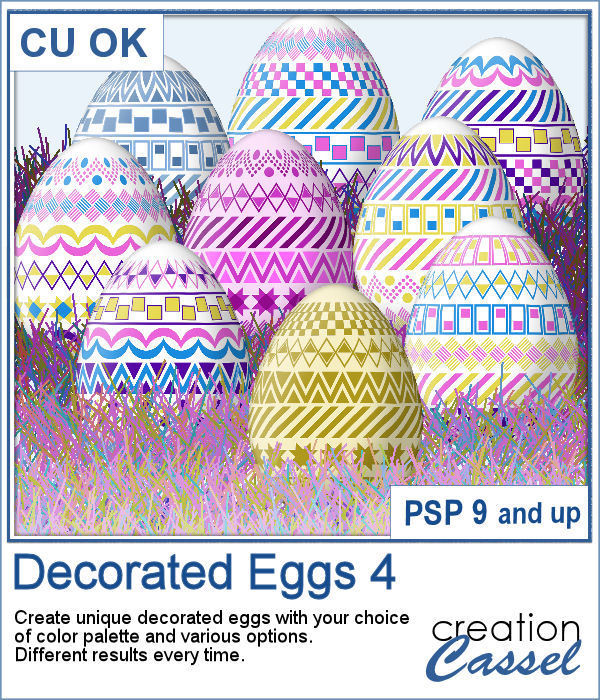
 It is always fun to have Easter Eggs to put in a basket, or as add-ons to a graphic project. This script is the fourth in the series and will let you create up to a dozen different eggs based on the colors you want and other options.
Each run of the script will create a different combination of designs and randomly selected colors from your palette.
Keep the eggs you like and discard the rest. Run the script again if you want more eggs.
Get it in the store: Decorated Eggs 4
In order to win this script, add a comment on this Facebook post telling us if you have any of the other Decorated Eggs scripts from the store (remember, add a comment, not just a Like!) The winner will be announced in the newsletter, next week. Not a subscriber yet? Not a problem. You can register here and it is free (and you only get one email per week).
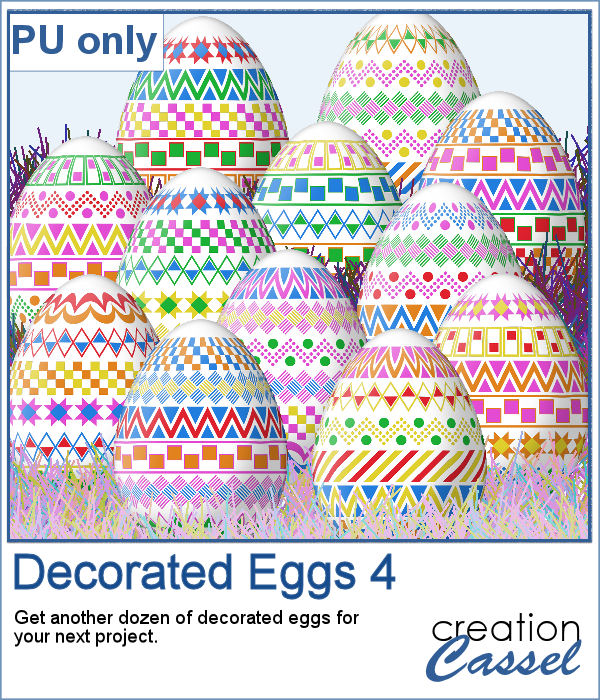 For a sampler, I created a dozen eggs matching the colors of the sample for the previous similar script (so you have 2 dozen matching eggs).
You need to be logged in to download this sample. You can either login, or register on the top of this page.

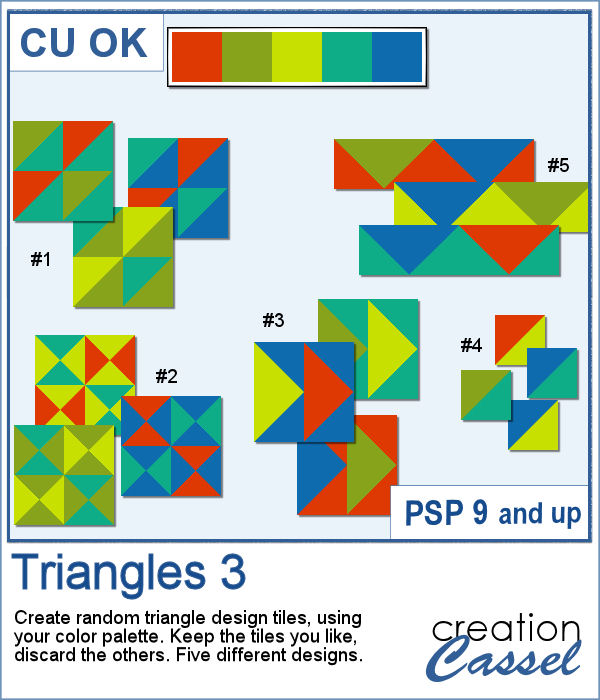 Triangular shapes are easy to make and they can yield great results when used as a repeating pattern. However, the challenge is usually to mix and match the colors. This is what the script will do for you as it can generate up to 20 seamless tiles in one run, using any color palette of your choice.
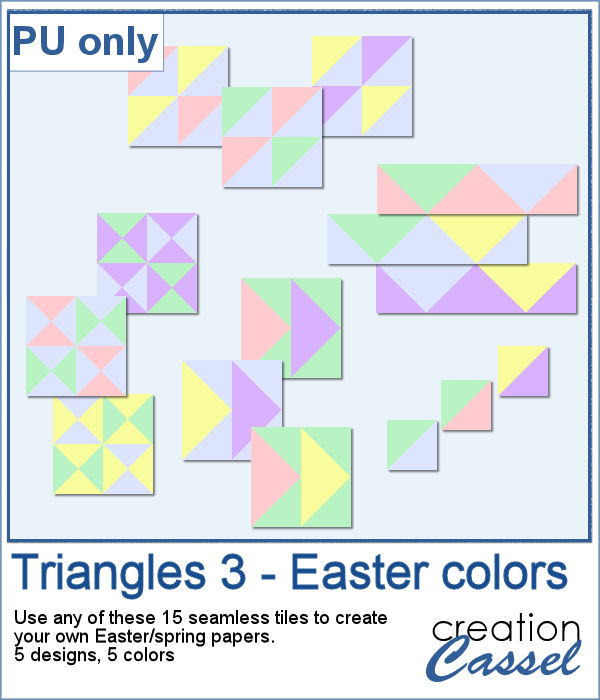 For a sample, I generated 15 tiles (3 tiles for each of the 5 patterns) in pastel/Easter/spring colors. Use them at 100% scale or smaller if you prefer. You can also add a blur to the finished image if you want.
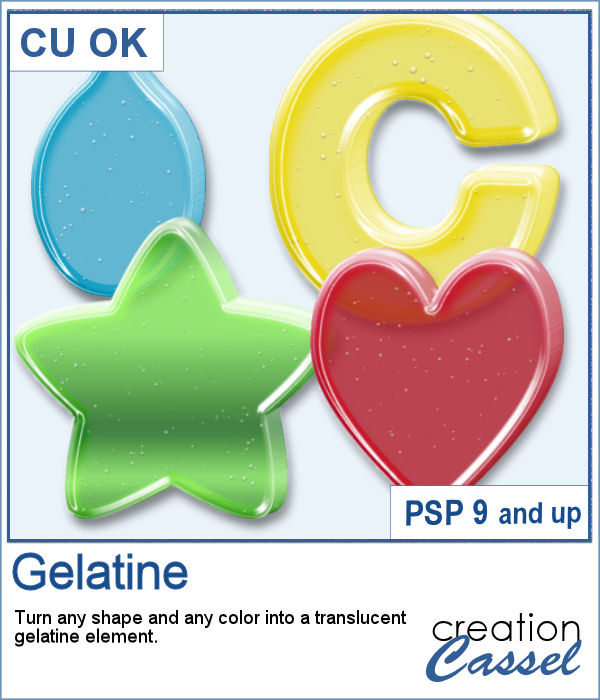 Jell-O (R) has been around for many decades and has often been associated with fun, parties, and kids.
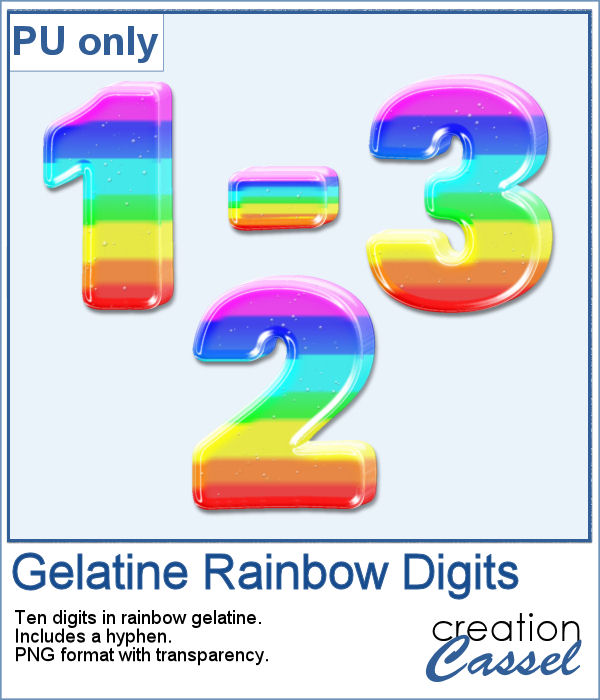 For a sample, I created a set of digits starting with a rainbow gradient. This seems cheery enough to be used in just about any project. Each digit is about 600 pixels high so you can resize them as needed. The set also includes a hyphen so you might be able to write a date.
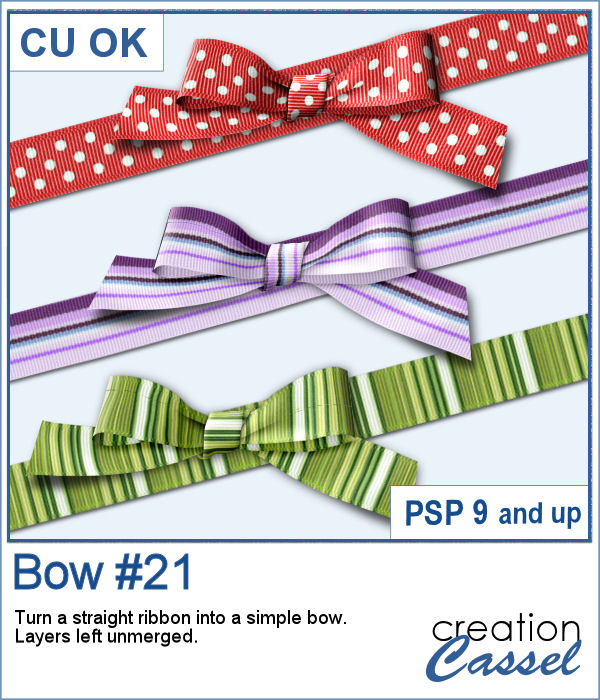 Bows are very versatile elements to use to decorate any project. From large bows to little ones, from single bows, to double or multiple, you have lots of options.
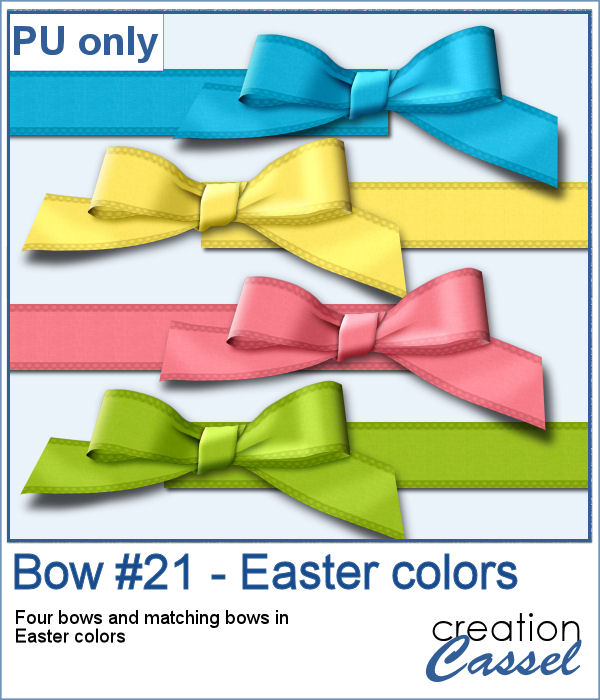 For a sampler, I created four bows from four colorized ribbons in an Easter color palette. I used a ribbon from Marisa Lerin and colorized it four times, then ran the script four times. You get the bows AND the matching ribbons so you can combine them into a single project if you want.
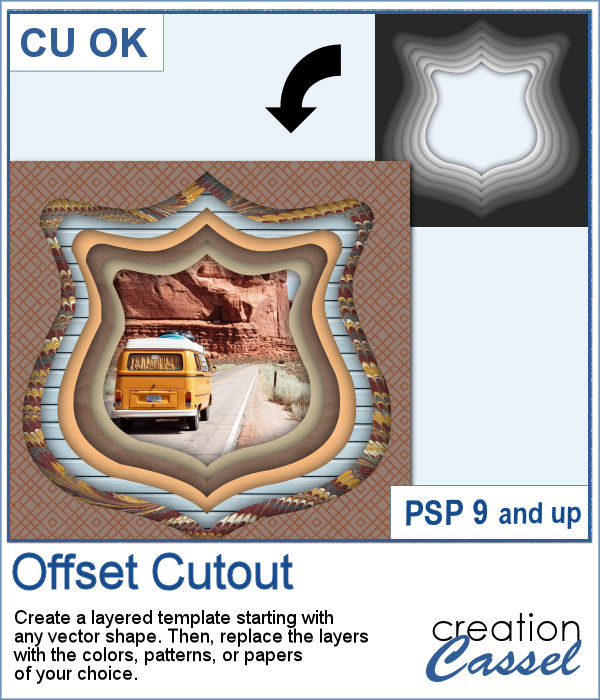 In order to create a depth effect, you can use several cutouts in decreasing sizes along with large shadows. But doing it by hand can be tedious, which is why I created this script.
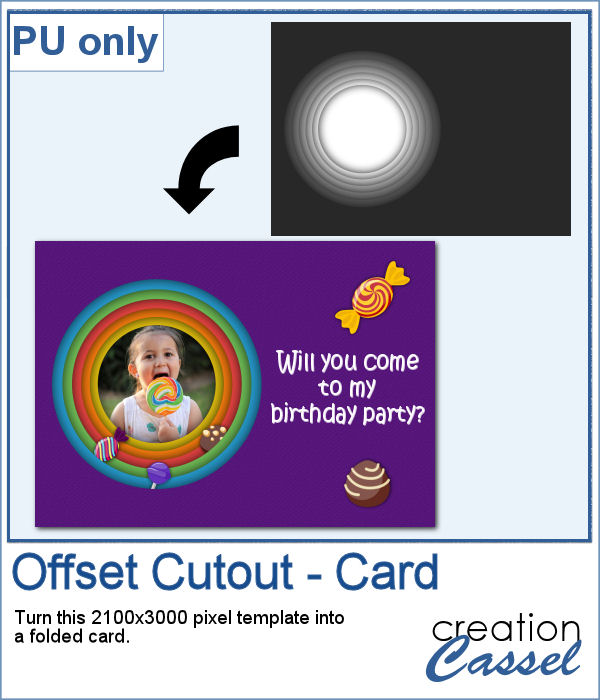 For a sampler, I created a template for a folded card, 2100x3000 pixels with a round cutout. You can use it as a folded card by keeping it in full size of you can just use the bottom part to make it into a postcard, or a framed image.
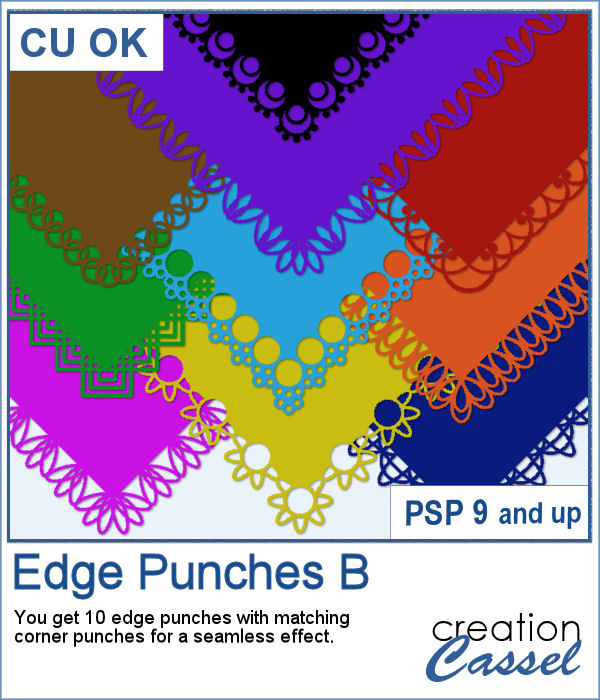 In paper crafting, punches are popular to create a decorative edge on papers, frames, photos, etc. With PaintShop Pro, you can create a similar effect by using the Eraser tool with special brush tips.
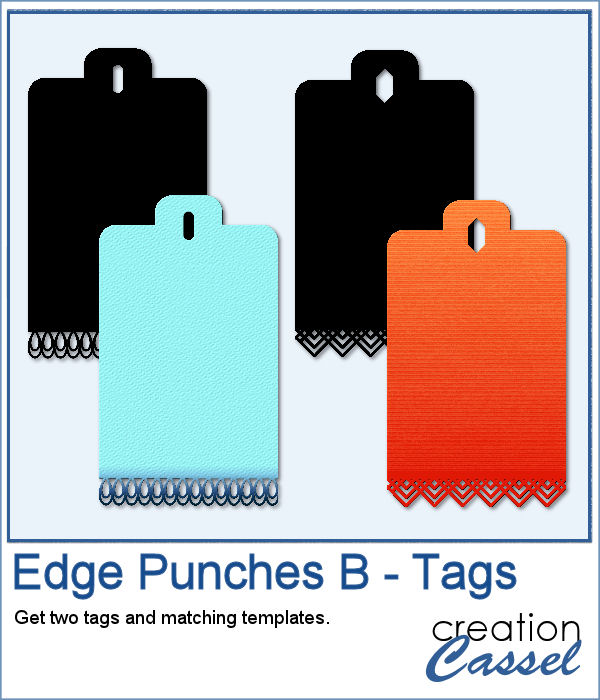 As a sampler, I created two tags with different colors but I also include the template for each of them so you can create your own in the color that will suit your project. Then, simply add texture, bevel or decorations to them.
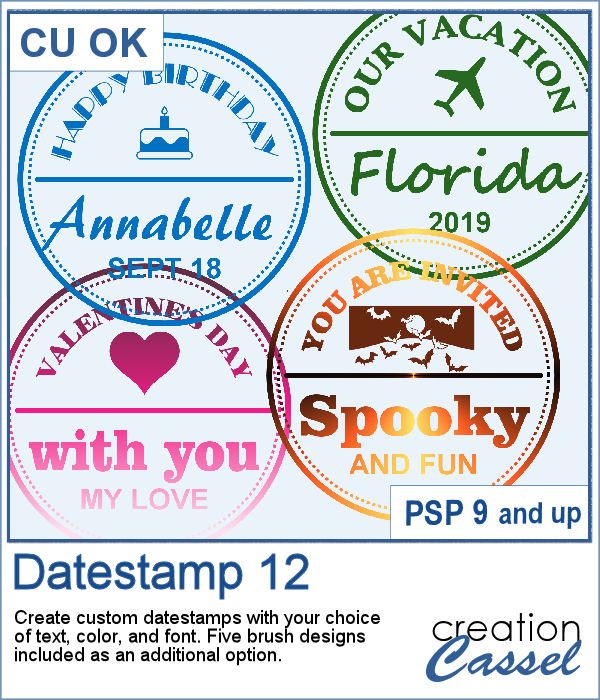 Datestamps can be used for much more than just dates. It is a way to add a name, a location, an event, or even a common phrase that can be associated with a photo or a story.
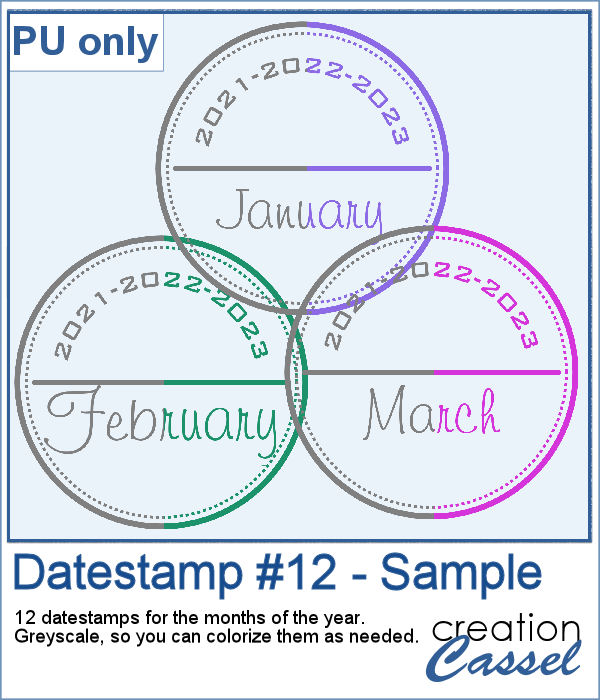 For a sample, I created a set of 12 datestamps with the months of the year. I have three years listed on top so you can always circle the one that matches your project. I purposefully left the space empty at the very bottom so you can add a date if you want. Everything is in greyscale so you can colorize it, and it is in png format.
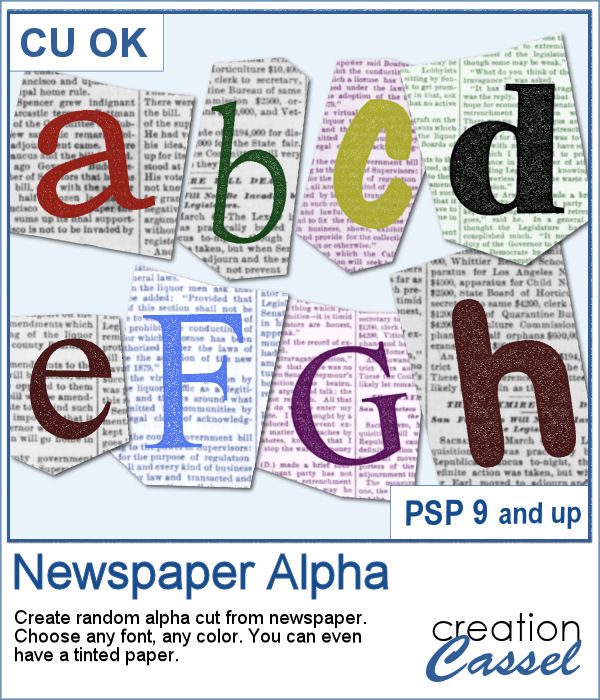 Newspapers can be a fun medium to print letters on, and create a random effect. This might be easy but it is quite tedious to have something very irregular. That is why this script will be a time-saver.
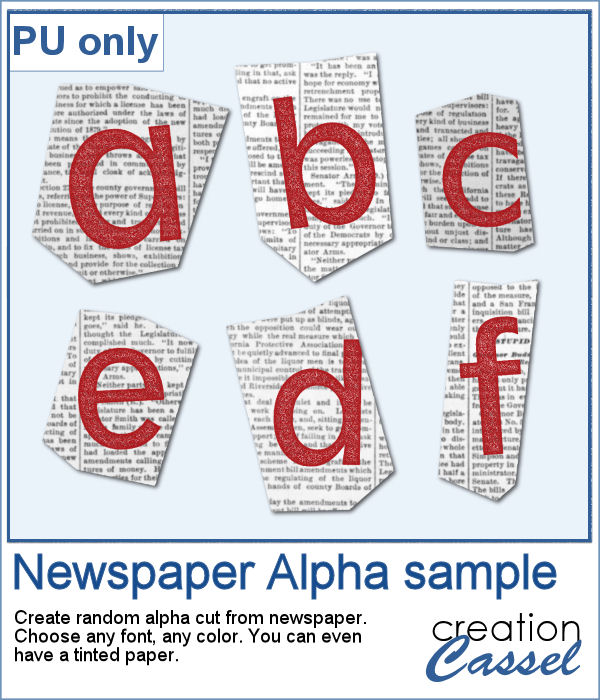 As a sample, I created a basic red alphabet (in lowercase) on black and white newspapers.
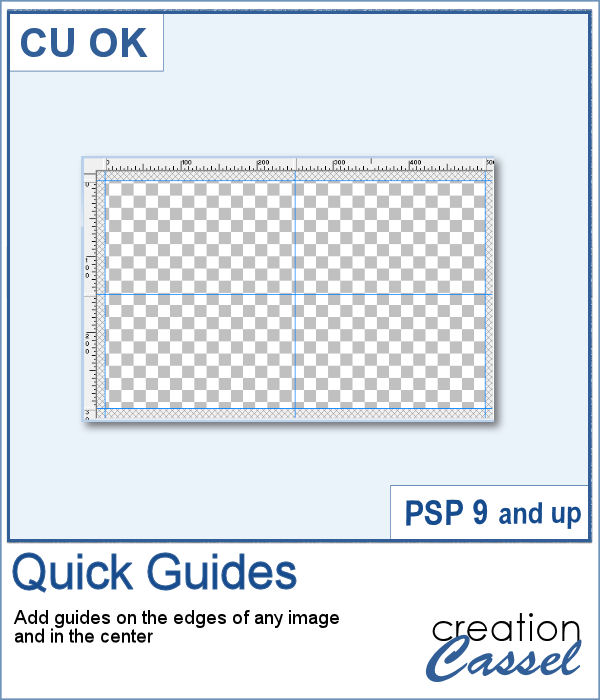 When working with PaintShop Pro to create frames or other effects, it is convenient to use guides so we can snap to them and keep our elements, our lines, or brush strokes aligned. Although adding guides along the edges of any image is not really difficult, it is a little tedious to place them exactly on the edges, especially for all four sides. Furthermore, if you want to place guides in the very center, you have to do some calculations too.
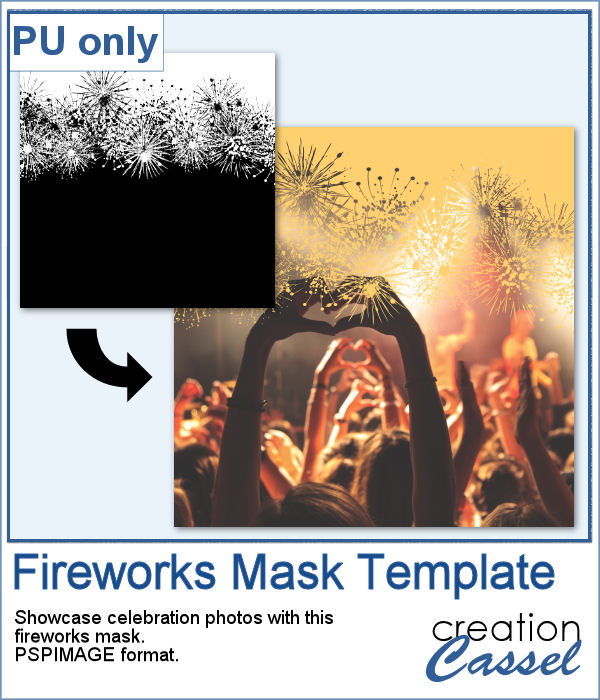 As a utility script, I can hardly create a sample from using it, right? So, as a freebie, I decided to create a mask template for you using the Fireworks picture tubes available in the Campus for the January theme blog post (you can get those tubes
 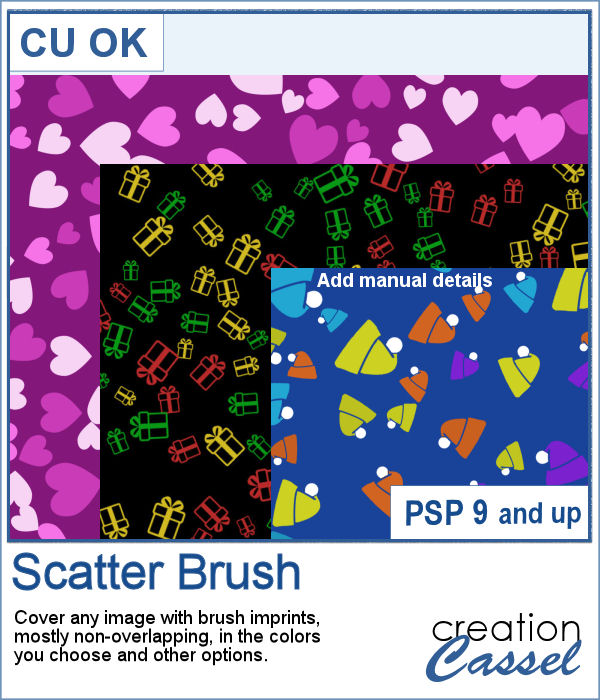 Creating a seamless background design is fairly easy when using PaintShop Pro, but covering a whole surface in random design is much more challenging. In addition, trying to avoid overlaps is an added difficulty.
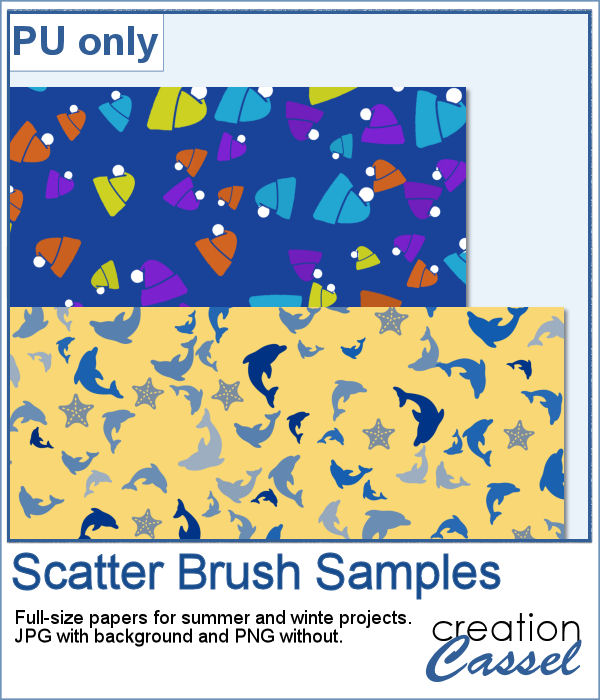 For a sample of this script, I am sharing two full-size papers: one for your winter projects and one for summer. For the winter paper, I manually added the white pompoms while I locked the transparency on the layer. It is a little tedious but the result is worth it. For the summer paper, I used a dolphin brush in blues and added a few starfish afterward. Both papers are available with a background (in jpg format) and without (in png format).