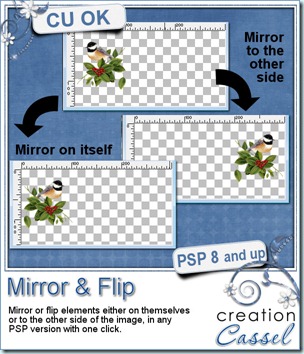
If you have been a Paintshop Pro user for any time, you surely remember the first time you used the Mirror command: the element you mirrored went all the way over to the other end of the canvas. You might have been wondering why it was not mirroring right there, where the element was in the first place. Then, over time, you found some great uses of that particular way it worked: you could easily duplicate and place elements in all four corners without measuring; you could place a decorative border evenly on opposite sides of the image, etc. However, when Paintshop Pro X4 was released, in September, the Mirror and Flip commands behaved differently. I can only guess that some users wished they could mirror and flip elements on themselves instead of across the canvas and I guess, Corel answered by changing that. Well, that might have been a great new feature, but it changed the way previous users were using those commands. So now, PSP versions X3 and before, worked one way, and PSP X4 works another way. Which way is best? It probably depends on what you want to do. In my opinion, they are BOTH equally useful. The problem is that none of the versions has BOTH options. That is… until now.
I started with the plan to create 4 scripts: 2 for X4 users to have their Mirror and Flip commands work like previous versions, and 2 for users of previous versions to have it work like PSP X4. All 4 scripts worked fine, but Suz Shook had a look at two of them and found an even faster way to get the same result. So, the set of 4 scripts include 2 from me, and 2 from Suz.
The zip file includes the scripts and instructions for binding the scripts. This means that, although you can run those scripts like other scripts (through the Script menu), you can ALSO have them directly in the Image menu, right with the default Mirror and Flip commands are. They will then run with ONE click, just like the default commands work. Isn’t that neat?
Best of all, this script is totally FREE. To me, it is a simple utility tool that should have been included with PSP and was forgotten so it is a gift to you. It is free now, and it will stay free in my store. You can go and grab it HERE.
Digital Scrapbooking Day
Yes, you heard about it. You have been stalking a few stores or designers to get the best deal. And you are waiting to see if i am having a sale too. You are right. I am having a sale through the whole store.
News from the Campus
It is Digital Scrapbooking Day in the Campus too. There is a big promotion going on now, and only for 3 days.
Did you find a friend you can share the registration with? Do you have 2 CT members who might benefit from the Basic Scrap Course? Hurry because this promotion is only for a limited time. It will end Sunday, at midnight! Choose your course now:
Basic Scrap Course
Element Creation Tutorials
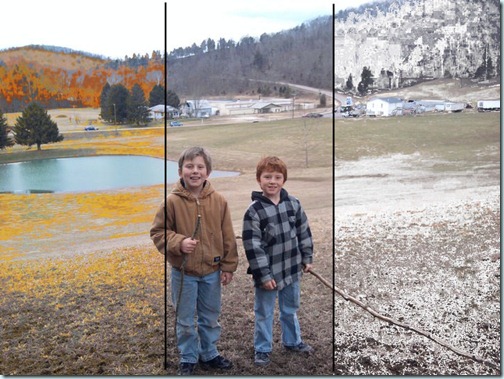
Finally, this Sunday, we will have our Webinar on photo editing: “Be the master of time”.
See some changes in seasons that we can achieve with a few clicks.
Original photo from Bernice
Do you want to see more? Simple: click below to register!
If there are too many registrants for one webinar, i might consider presenting it a second time, so even if you are not 100% sure you can attend, REGISTER! And if you have some photos to offer, email them to me at [email protected] . I might or might not use them in the webinar, depending on the type and number of images i get, but would love to have several choices.



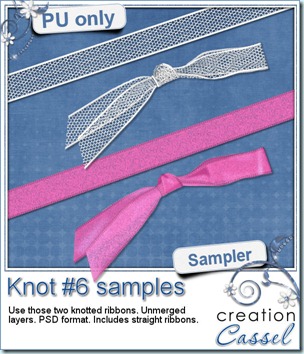
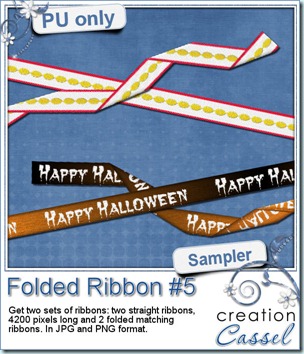 And for a closer look at the result of this script, i created 2 ribbons from scratch (so they are 100% original) and ran the script on them. You get both the straight version and the folded version of both. That means you can use them separately, together or even run another script on the straight ribbon. Remember that there are many other scripts in the store that could be used with a straight ribbon of yours!
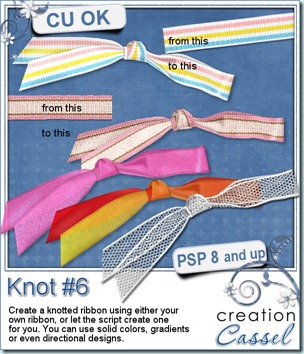
 And how about a chance to “tie the knot” for free? Everyone loves free stuff and i am sure you would love to get this script for free. Then, hop over to the DigishopTalk forum in this
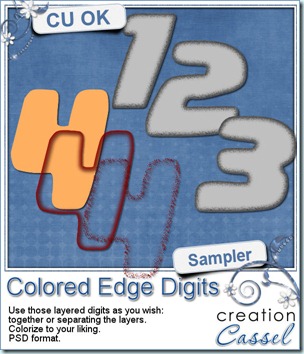 I know, you also want to have a peek at the result of this script by downloading a free sample, right? Well, I cannot disappoint you, can I? So here is your sampler. It is a set of digits in greyscale, layered in PSD format. You can easily recolor each layer separately, merge them or use them separately too. This set is CU.
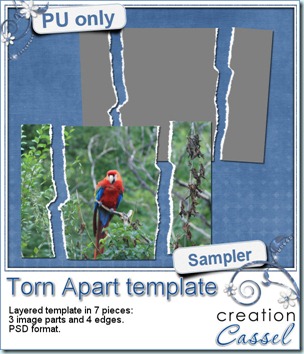 And here is your free sample. This is a layered template in PSD format. It consists of 3 “paper” pieces that will match perfectly, and 4 “edge” pieces. You can adjust the “edge” pieces to match any paper color, and the “paper” pieces are just like a puzzle and you can cut out your paper or photo using the magic wand. The “paper” piece layers are linked to the matching “edge” piece layers so you can move them around together, however, to help you with the “photo” part, all the “edge” pieces are below the “paper” pieces so you will have to rearrange the layers order when you decide to merge them.
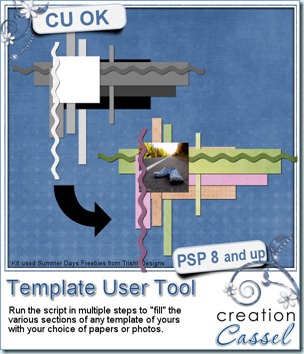
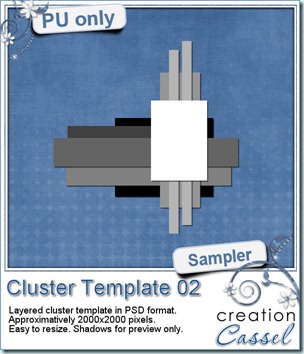 As usual, i have a free sample for you. Since this script is a tool to use with your own templates, i could not run it and give you the end result, but i could run the script from last week, and let you have another clustered template in PSD format.
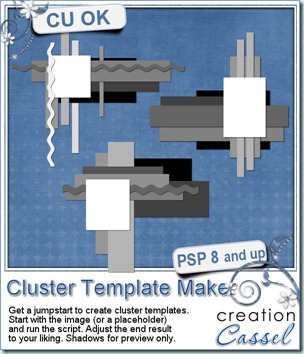
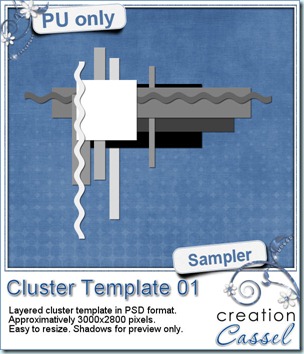 As usual, you want to get a freebie, right? Fair enough. I created this layered cluster template with the script. I added shadows to the preview only, since there is a chance you might want to change some layers and then, the shadows might not work. It is a PSD format, so most of you should be able to open it, and use it. If you DO use it, would you mind showing me how it turns out? I would love to see how different scrappers will turn this ONE template into many unique results.
 How about a chance to win this script for free? You can, by simply adding your name to
 As usual, i have a little freebie for you. This is a set of wet digits on a tag. Each tag was made using handwritten digits run through the script. You get all 10 digits and one blank tag for you to add your own.