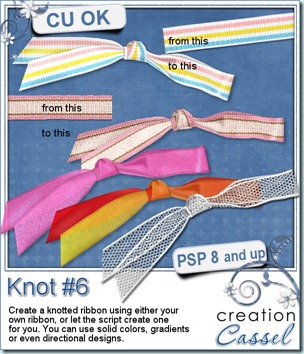
This week, you can get another knot script. Why another knot? Why not? You always have straight ribbons and would love to tie it to a tag, a frame or other decorative element. Now, if you have Paintshop Pro, and a straight ribbon, you might just be able to tie it into a realistic knot with shading. If you don’t have a ribbon to use, the script will create one for you. Unlike other knot/ribbon script, this one will actually have and accurate use of the length of the ribbon, so you can use a directional design, text, or gradient and have the knot look right. You can use opaque or translucent ribbon because the way the pieces are cut and shaped, they follow the actual path of a “normal” ribbon.
Not only you get a fun knot, but all the layers are left unmerged so you can insert elements between the layers or even inside the knot.
If you want the script to create the ribbon for you, you will end up with a 4200 pixels ribbon that you can use separately or to run another script on. For an interesting effect, choose a gradient or even a solid color with a texture (that will give you kind of a see-through ribbon!).
This script is available in my store: Creation Cassel .
 And how about a chance to “tie the knot” for free? Everyone loves free stuff and i am sure you would love to get this script for free. Then, hop over to the DigishopTalk forum in this Knot script thread and give some ideas on how this script can be used. I will draw for a winner on Monday night. And remember, if you buy this script to take advantage of the sales price, you can still enter and if you win, you simply get a coupon for a future new release!
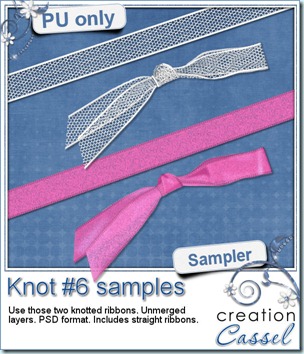
I am sure you want to see this knot up close so i made these two knots available for you. So in this samplers, i am including two straight ribbons and two knots made with them. The knots are in PSD format with unmerged layers so just about anyone can use them.
You need to be logged in to download this sample. You can either login, or register on the top of this page.
News from the Campus
Did you see the tutorials that were added in the last few weeks in the Element Creation Tutorials section of the Campus? Here is a peak!
There are more but it would take up too much room in here. If you want to register to that section of the Campus, you can see more about theElement Creation Tutorials.
The PSPX4 special is still in effect, but hurry; I don’t know how long it will still be available! Get PSPX4 FULL version, downloadable or boxed for $39.99. This is a HUGE deal as it is 50% of the regular price. Hurry and grab it while you can.
And how about the Webinar on “Be the Master of Time”? You will see how to turn a summer photo into a fall or winter photo using only the tools and features of your Paintshop Pro. You will also see how to turn a daytime photo into a night time one, again, using only Paintshop Pro. It will be held on November 6th, at 3pm Eastern. Will you be there? Click the yellow button to register for it and you will get reminders ahead of time in case you forget!
If you are interested in attending, you can send me a couple of summer or daytime photos. I might use them to demonstrate the technique.

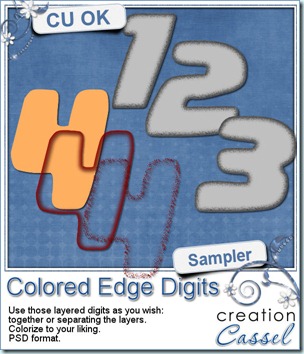 I know, you also want to have a peek at the result of this script by downloading a free sample, right? Well, I cannot disappoint you, can I? So here is your sampler. It is a set of digits in greyscale, layered in PSD format. You can easily recolor each layer separately, merge them or use them separately too. This set is CU.

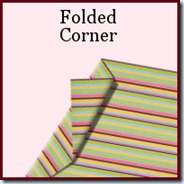
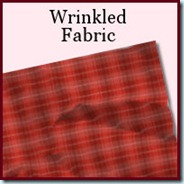
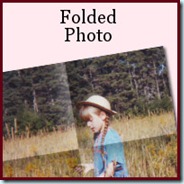
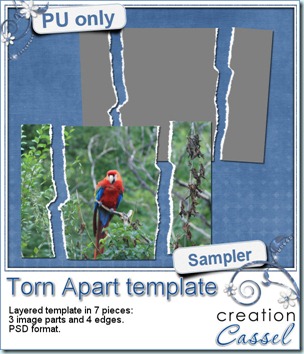 And here is your free sample. This is a layered template in PSD format. It consists of 3 “paper” pieces that will match perfectly, and 4 “edge” pieces. You can adjust the “edge” pieces to match any paper color, and the “paper” pieces are just like a puzzle and you can cut out your paper or photo using the magic wand. The “paper” piece layers are linked to the matching “edge” piece layers so you can move them around together, however, to help you with the “photo” part, all the “edge” pieces are below the “paper” pieces so you will have to rearrange the layers order when you decide to merge them.
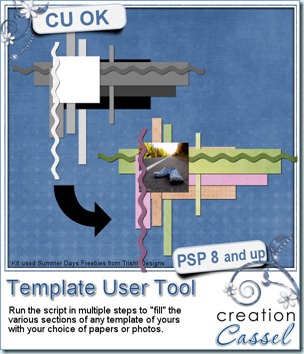
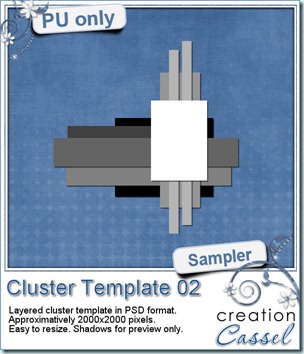 As usual, i have a free sample for you. Since this script is a tool to use with your own templates, i could not run it and give you the end result, but i could run the script from last week, and let you have another clustered template in PSD format.
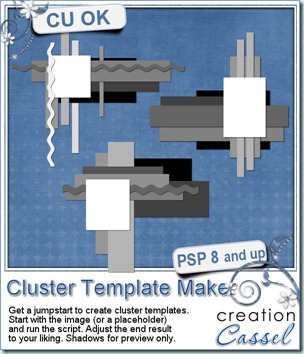
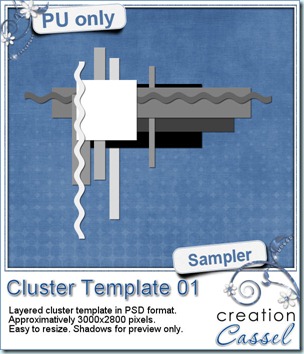 As usual, you want to get a freebie, right? Fair enough. I created this layered cluster template with the script. I added shadows to the preview only, since there is a chance you might want to change some layers and then, the shadows might not work. It is a PSD format, so most of you should be able to open it, and use it. If you DO use it, would you mind showing me how it turns out? I would love to see how different scrappers will turn this ONE template into many unique results.
 How about a chance to win this script for free? You can, by simply adding your name to
 As usual, i have a little freebie for you. This is a set of wet digits on a tag. Each tag was made using handwritten digits run through the script. You get all 10 digits and one blank tag for you to add your own.
 I am sure you are also looking for a freebie sample for this script. That is exactly what i did. I ran the script and got a few random shapes and i played with them. On one layered shape, i added a glittered edge with the