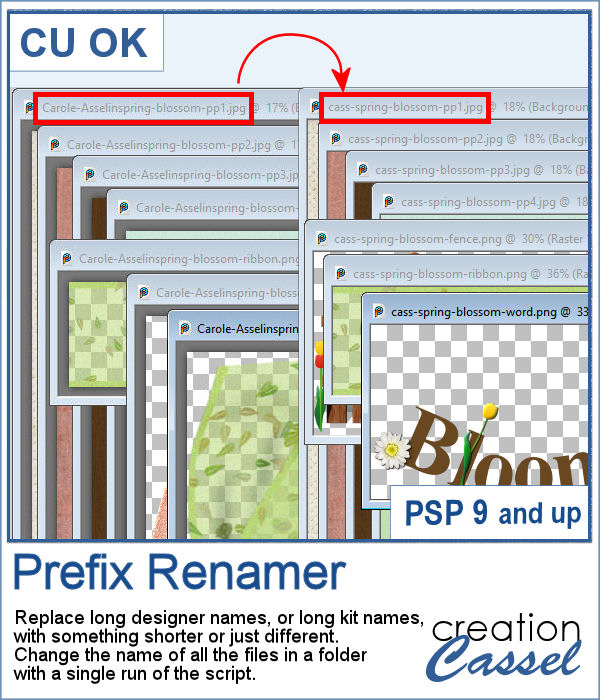
 Sometimes, you have long filenames for your supplies and for whatever reason, you would like to shorten them. Doing it manually, one file at a time is tedious to say the least.
This script will let you choose what prefix you want to replace and by what. You can replace a long name by a shorter one, or by some initials. You can even change the name of the kit on all your files if you want. Although I expect you to use the script to shorten the names, you can just change them instead.
Get this tool script in the store: Prefix Renamer
In order to win this script, add a comment on this Facebook post telling us if you ever had a situation where you wish you could rename or shorten the filenames of files in a folder (remember, add a comment, not just a Like!) The winner will be announced in the newsletter, next week. Not a subscriber yet? Not a problem. You can register here and it is free (and you only get one email per week).
 For today's free sample, I created a series of summer-themed phrase strips. A set of 15 strips are available for you to embellish any summer project.
You need to be logged in to download this sample. You can either login, or register on the top of this page.