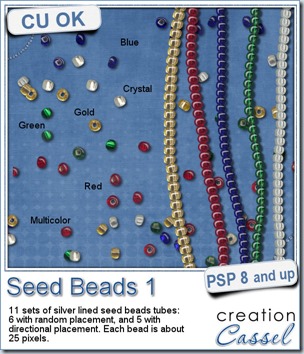
Seed beads are a common supplies in many craft projects. Scrapbooking is one of those crafts where you can see those beads, but you can now do the same thing with digital scrapbooking: you can add strings of seed beads or a random spray of those tiny decorative elements.
With Paintshop Pro, you can place those picture tubes easily with the draw of a mouse. Use the directional tubes to create strings of beads in any of the 5 colors, any length you want, in any shape you want. You can place them in straight lines, curved lines or totally freehand shapes.
You also have 6 sets of tubes that will randomly place one of the 100 slightly different beads more or less along the path you will draw with the cursor. Five sets are monochrome (green, red, blue, gold and crystal) and one set includes all the colors for a truly random effect.
You can get this set of 11 picture tubes of silver lined seed beads in my store: Creation Cassel.
Do you want all those tubes too? You can enter the draw to get this set for free, by adding your name to the RAK thread here. What would you do with those randomly placed beads?
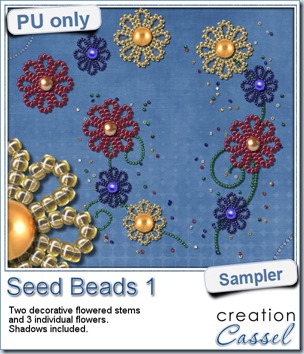 For a free sample, i created a couple of simple decorations. I placed the beads along a vector path using the VectorTube script for the flowers, and added a single “bead” in the center which was part of the Chain Beads tubes set. A little touch of colorization to match them a bit better. Then, the stems were just freehand drawn using also the string version of the green seed beads.
Finally, a little bit of multicolored beads were spilled around each element.
You get two decorative flower stems and 3 individual flowers that you can use separately.
You need to be logged in to download this sample. You can either login, or register on the top of this page.
Did you notice that it says Seed Beads 1 for this product? This means i have plans for several more types of beads tubes. Do you have any suggestion for other beads you would like to see in a picture tube format like this one? Tell me by either commenting below or by sending me an email with a specific bead name or even an image.
News in the Campus
Tomorrow is a big day for many American and Canadian football fans (and their families). Tomorrow is also the day for our next live presentation, on Photo-Graphics with PSP – Part 3.
Join us for this presentation BEFORE the Superbowl (if you are a fan of football) or just for this ordinary Groundhog day.
In the mean time, remember that the video of last month’s presentation is still available to watch (free if you are logged in).



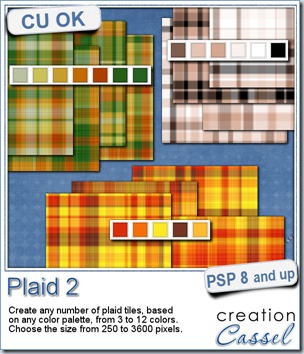
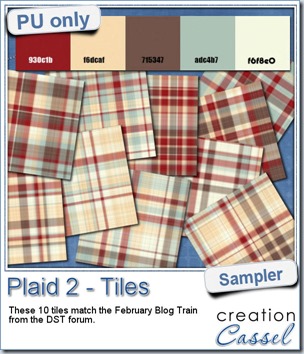 This week, as a sampler of what can be done with this script, i decided to give you a little teaser too. The February 2014 DST Blog Train will use a palette that includes red, brown, beige and blue. Although i am not participating in the Blog Train, i decided to create 10 tiles that are based on the color palette. Once you get all the pieces from the blog train, you can combine them with these tiles and create something even more fun.
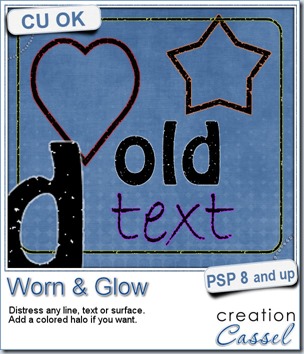
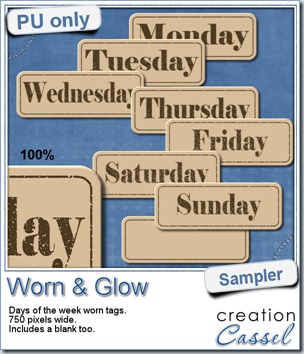 What would you want to get this week, as a sampler? I thought you might be tired of alphas (although that was my first idea when i was thinking of a sample), so i created some labels. Whether you are doing a project 365 or not, sometimes, you might want to add the days of the week to your layout. That is why i created those day tags. I just used the distressed part of the script and didn’t add any glow. I am also including a blank tag so you can add a date or something else (even unrelated to the days of the week).
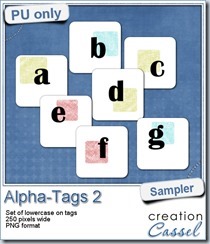
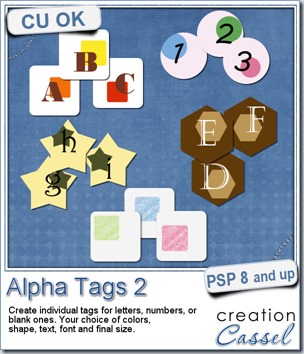
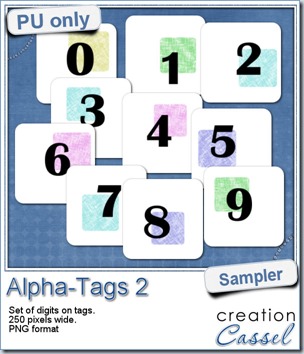
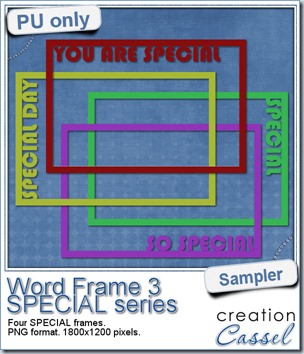 As a free sample, i created a set of SPECIAL frames that will match a 4x6 inch journaling card. Of course, you can resize them for 2x3 cards too.
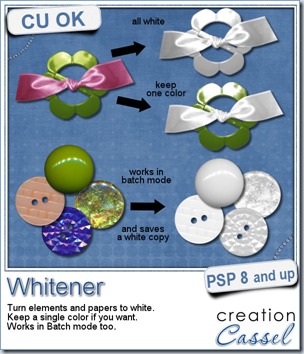
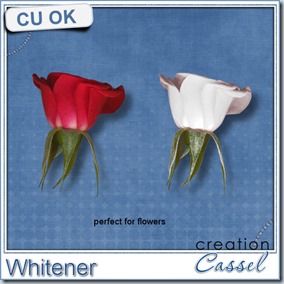
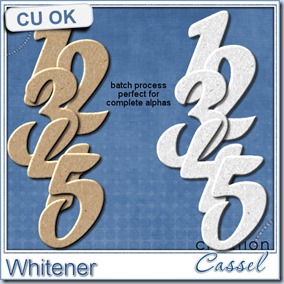
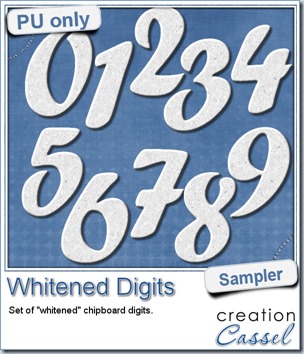 For the sampler, today, i decided to turn an existing set of digits (the
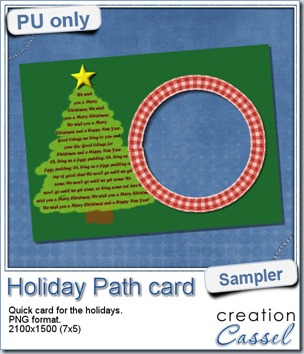
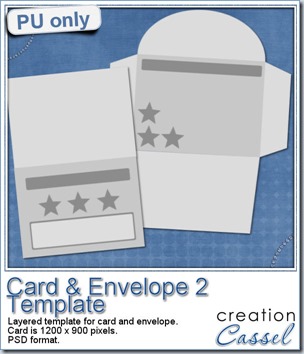 I am including a set of matching Card and Envelope, in PSD format that you can use to create a variety of holiday cards. The basic template was made using the
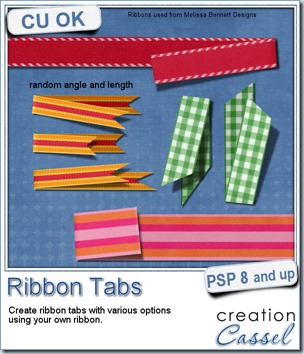
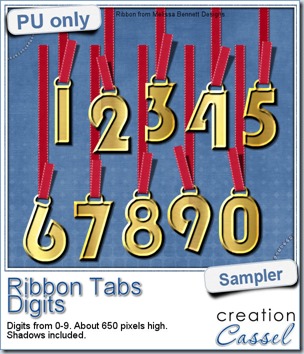
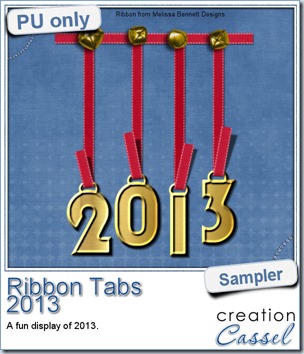 In order to show you what this script can do, i created a whole set of digits, attached with folded ribbon tabs made from a single ribbon (from Melissa Bennett) and i ran the script 10 times on that same ribbon, using the same options (create a tab with the full length, keeping the end straight, and facing the bottom).