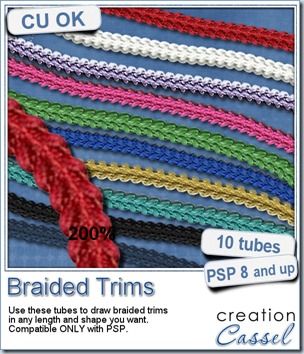
This week, you can get this set of picture tubes created to generate some fun decorative trims. You can draw with them as you want, create any number of interesting edges in any length or shape.
If you like the other directional tubes from the store, you will love these ones too.
You can use the VectorTube script to place those trims along a vector path for a very precise placement around frames, alphas, or decorative designs.
You get 10 different tubes in different colors. If you want to tweak the colors afterward, you can still colorize them.
These are obviously only working in Paintshop Pro (sorry Adobe users).
You can grab this set of Braided Trims tubes in my store.
If you want a chance to win this set, you can add your name to this thread in the DST forum and tell me what version of PSP you are using. I’ll be back next week with the name of a winner.
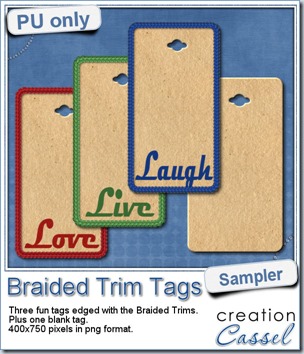 As a way for you to see more closely what those tubes look like in a real project, i created those fun tags. I started with a vector shape (a rectangle with rounded corners) and used the VectorTube script to place the trims along that path. I then replaced the center of the tag (that was a vector layer) by a brown paper texture i had in my supplies. I cut out the hole on top and added some words using the Magneto font.
Each tag is about 400 x 750 pixels so you have ample room to add your own journaling, date, or just use them plain. Add a string or a ribbon to attach them or just to add a decorative touch to it.
You also get a blank tag in case you want to customize it more to your project.
You need to be logged in to download this sample. You can either login, or register on the top of this page.

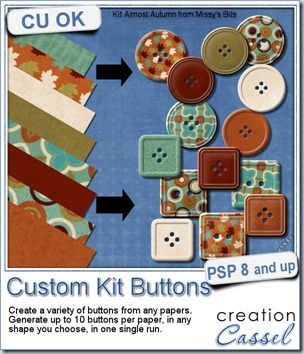
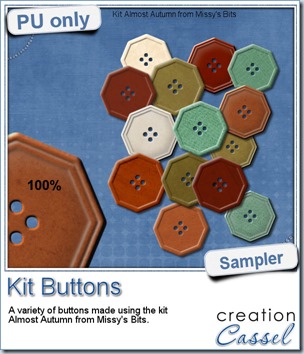 This week, i used Missy’s kit called Almost Autumn to create a set of 14 octagonal buttons. Then, i tweaked them to add a slight variation in size, brightness and contrast, just to make sure they were not all exactly identical. What do you think of that?
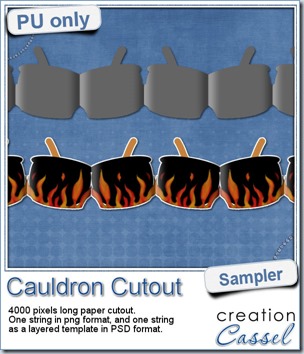 This week, to make sure that everyone (using Paintshop Pro or not) could use my product, I opted to create a paper cutout using a cauldron image, which was turned into a sticker (with a little white edge). Then, i ran the

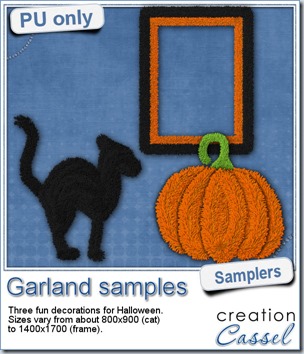 Now, how about a little look closer at those garlands and their texture? I created a few Halloween decorations for you using those garlands.
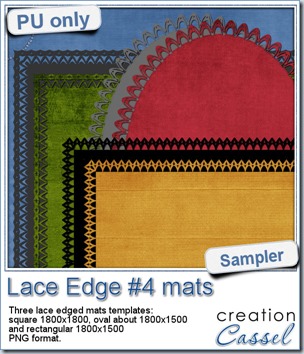 This week, i created more mats for you, using the lace font from last week.
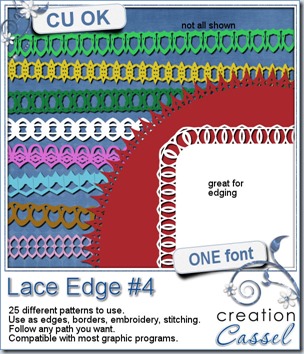
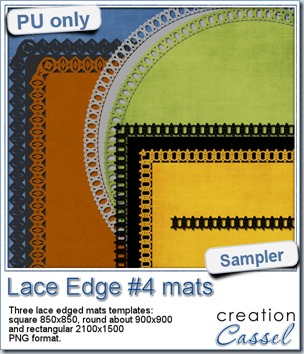 This week, i created 3 decorated mat templates. You can use them to cut out your favourite paper, or simply to color. You can also layer them with other simple shapes since those are very simple to start with.

 Do you want a chance to win this script? Just tell me what you would use it in a scrapbook project, in
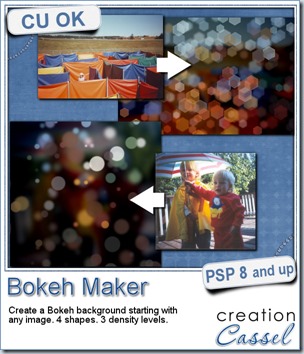
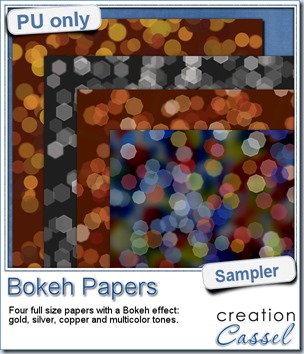 For this week’s free sampler, i created four full size papers for you. Since i dont really know what type of photos you have to use in a layout, i decided to create three of those papers using just gradients i had in my stash: one for silver, one for gold and one for copper. Once i had a paper made out of those gradients, i just ran the script on it.

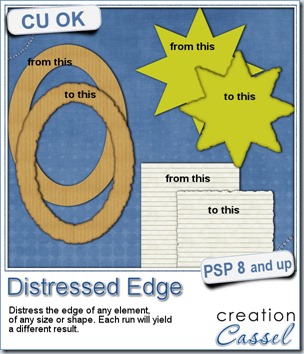
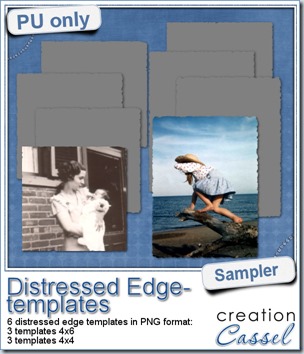 One neat use for the distressed edge is that although you can use it directly on the element you want to have irregular edges, you can also create your own templates for shapes you might want to use in the future. In fact, that is what i did for you. Since i could not show you a sample on YOUR elements, i made some grey templates. They are for 4x4 and 4x6 photos. If you are into pocket scrapbooking, or Project life or using Instagram, you will surely find some use for those. Use them for photos or journaling cards.