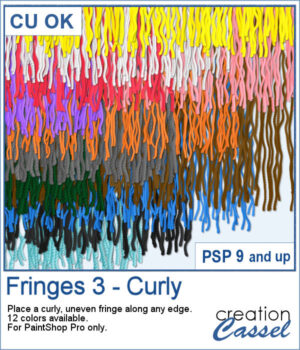
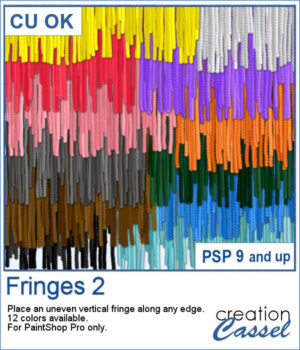
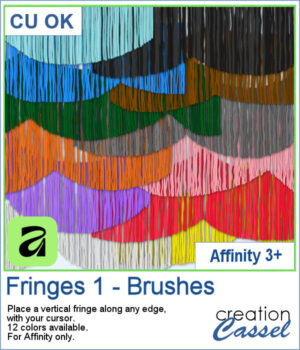
Add realistic fringe details to your projects with these image brushes for Affinity. Draw soft, vertical strands along any edge and customize the look with spacing and color variations.
With 12 colors included, you can quickly enhance scrapbook pages, cards, or decorative elements.
Get these brushes in the store: Fringes 1 for Affinity
In order to win these picture tubes, add a comment on this Facebook post telling us where would you most likely add a fringe effect in your projects (remember, add a comment, not just a Like!) The winner will be announced in the newsletter, next week. Not a subscriber yet? Not a problem. You can register here and it is free (and you only get one email per week).
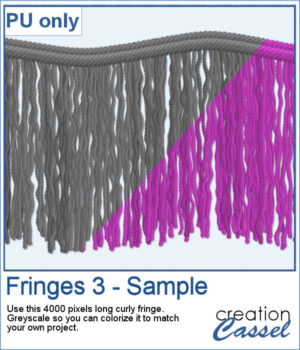
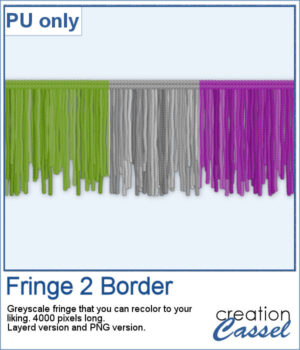
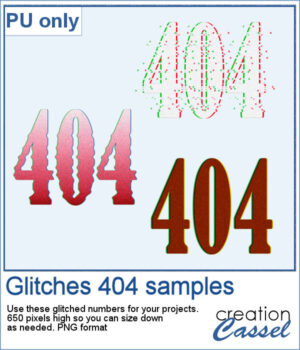
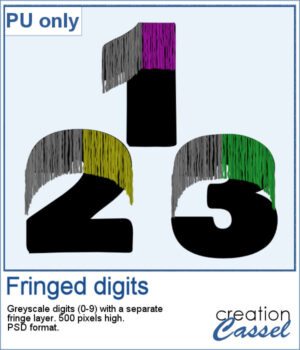
For a sample, I had fun drawing fringes on top of a set of digits in Affinity. You get a complete set (0 to 9) plus a hyphen, in layered psd format. Since it is in greyscale, you can colorize the fringe to your liking in any program that will open psd files.
You need to be logged in to download this sample. Please log in or register using the links at the top of this page.

If you want to add a softer, more organic finish to your projects, the Fringes 3 picture tubes will do just that. It offers uneven, curly strands that follow any edge, giving a textured look similar to unravelled yarn or worn fabric. With 12 realistic colors that match existing thread and wool tubes, it’s easy to add movement and depth to your designs.
This week’s freebie is a curly fringe element created with the grey Fringes 3 tubes. Since it is grey, you can easily recolor it to match any project. The top border is made from the Wool picture tube. Use it as a border, along an edge, or as a decorative accent to add texture and movement.
After several years, I just released another set of two-tone chain picture tubes. As usual, you can use those tubes and place them freely with your cursor or place them evenly with the VectorTube script.
For a sampler, I created 3 different shape frames using three different picture tubes. Each frame is about 2000 pixels high. They are all in PNG format so you can use them in most program.
This freebie includes a coffee-themed word art (made using the ground coffee option) and a decorative frame (created with the included picture tubes).

There are already a dozen of wood fence picture tubes and this is another set. You can draw them as long as you want and even following a slight curve. Every use of those tubes will generate a slightly different result as each planks are randomly selected.
For a sampler, I created a 4000-pixels long "beach" fence. I also decorated it and it is available in layered format (.pspimage) and you can also get only the fence itself (.png).
You can add an envelope with various papers you have. You can add some stains, distressing, or scribbles on those envelope and use them in clusters, or as elements for your project.
For a sample, I created an open envelope and added a little card. The envelope is in layered PSD format, so you can open it in most programs. You can add designs or messages on the card, but you can also add some details to the envelope itself if you want.
If you have the first set of fringe picture tubes, they are even and regular. But sometimes, you need something rougher and less regular. That is why this particular set of fringes.
To get some samples of these fringes, I created a 4000 pixels long fringe, with a wool edge. They are in greyscale so you can colorize them to match your project. I also included one layered version (in .pspimage format) and a "flat" one (in PNG format) for use in any program.
Looking to add a modern, tech-inspired twist to your text or shapes in PaintShop Pro? The new Glitches script offers a fun and creative way to simulate digital distortion effects. Whether you're going for a retro screen error or an edgy design element, this script gives you multiple options to customize the look.
For a sample, I created a 404 message using all of those types of glitches. They are in png format so you can use them in any project, and you can resize them as they are fairly large to start with.
The first Gimp trims were released 13 years ago! But these are slightly different.
For samplers, I created two frames for you. Each one is made from running the VectorTube script twice on a simple shape. One trim is full size while the inside trim is half-size for an interesting effect.