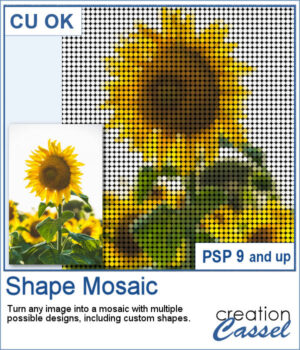
 Turn any photo into a mosaic of repeated shapes instead of simple squares. Choose from a variety of shapes or even create your own for a completely custom result. Each piece keeps the color of the original image, while the shape pattern defines the overall look.
The transparent gaps lets you easily place any background behind it. Try different colors, gradients, or papers to instantly change the style of your mosaic without running the script again.
Get this script in the store: Shape Mosaic
In order to win these picture tubes, add a comment on this Facebook post telling us if you have ever turned a photo into a mosaic (remember, add a comment, not just a Like!) The winner will be announced in the newsletter, next week. Not a subscriber yet? Not a problem. You can register here and it is free (and you only get one email per week).
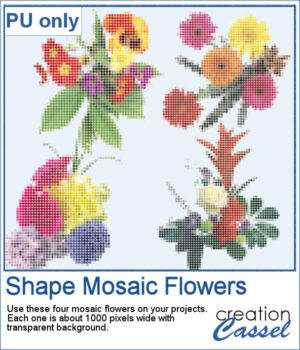 To give you a taste of what you can create, here is a set of mosaic flower elements made with this script. These flowers come with transparent backgrounds, so you can use them on any project and combine them with your favorite papers or textures.
You can use them as they are or experiment by adding shadows, bevels, or even a soft blurred layer underneath for a different effect.
You need to be logged in to download this sample. Please log in or register using the links at the top of this page.