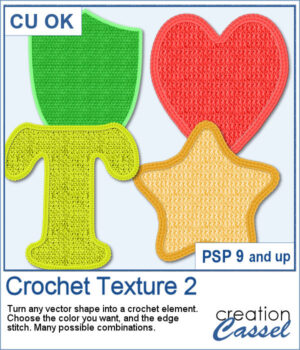
Love the look of crochet? Crochet Texture 2 gives you even more ways to transform simple vector shapes into realistic crocheted embellishments. This new collection includes five brand-new crochet textures and six coordinating edge styles that you can mix and match for dozens of unique combinations.
Choose any color, gradient, or pattern for the fill, add a matching or contrasting crochet edge, and let the script do the work. Whether you're creating titles, embellishments, numbers, or decorative shapes, you'll have a handcrafted crochet look in just a few clicks.
Get this script in the store: Crochet Texture 2
Want a chance to get this script for free? Head over to this Facebook post and tell us what you would turn into a crochet element. Likes and shares are appreciated, but won’t count as entries.) A winner will be announced in next week’s newsletter. If you’re not on the list yet, you can join right here. It’s free, and we only email once a week!
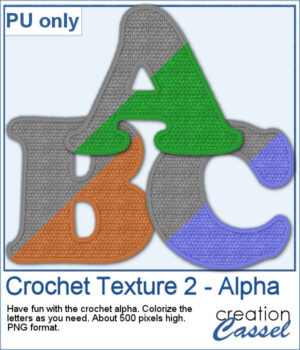
As a sample, you can download a free crocheted alphabet featuring one of the textures from this set. The uppercase letters are provided as individual PNG files, ready to use in your own personal projects. They are in greyscale so you can colorize them to suit your project.
You need to be logged in to download this sample. Please log in or register using the links at the top of this page.
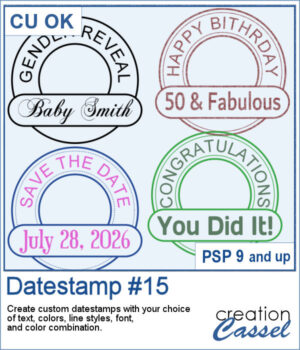
Classic datestamps are great for dates, but why stop there? Datestamp #15 lets you create fully customizable datestamp-style embellishments with your own text, fonts, colors, and line styles. Use them for scrapbook pages, greeting cards, journals, tags, or any project that could use a unique title or sentiment. The lower label remains editable after the script runs, making it easy to fine-tune your design if needed.
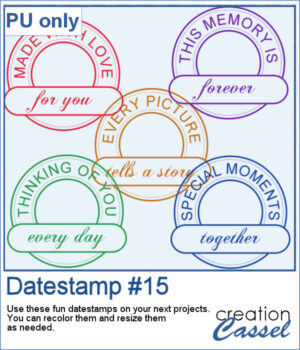
For samples, I generated five datestamps that are varied and generic enough to be used in different projects or scrapbook pages. Each one is a single color, in png format. You can recolor them if needed and resize them if the 800 pixels datestamps are too large.
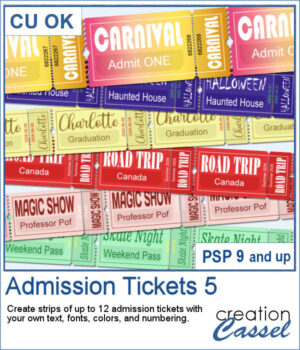
Admission Ticket 5 expands the Admission Ticket series with a realistic detachable stub and even more customization options. Create strips of up to 12 tickets using your own text, fonts, colors, and numbering. Whether you're designing carnival passes, road trip keepsakes, graduation tickets, Halloween attractions, or scrapbook embellishments, this script adapts to your project. Use solid colors, gradients, patterns, or textures for both the ticket and the printing, and let the script automatically adjust oversized text for a polished result every time.
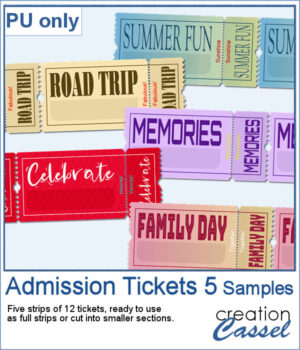
For samplers, I created a set of more generic yet interesting tickets for you. I purposefully left the bottom part of the ticket blank, so you can add a date, a name, a place, or any other word that would fit your project. Each strip has 12 tickets so you can cut them to smaller strips if needed.
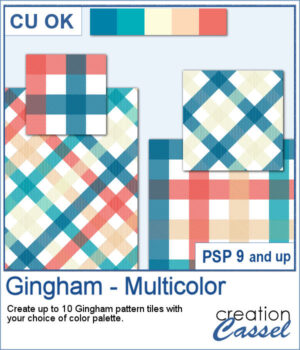
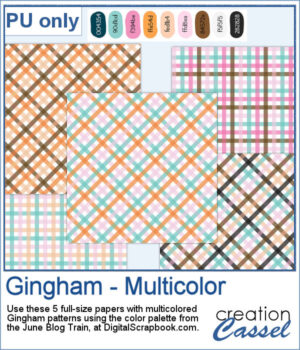
Gingham patterns are timeless, but they don't have to be limited to just one color. Gingham – Multicolor lets you create coordinated pattern tiles using your own color palette, with each tile combining between two and five colors for a fresh look every time.
I used the color palette from the
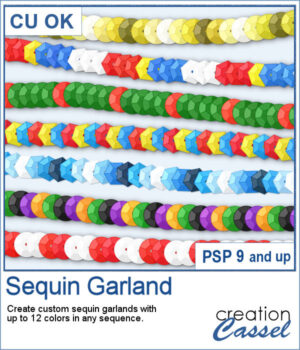
Create custom sequin garlands in any color sequence with the new Sequin Garland script for PaintShop Pro. Combine up to 12 colors, arrange them in any order, and generate unique picture tubes perfect for holidays, country flags, school colors, sports teams, celebrations, and themed projects. With round and hexagonal sequins, the possibilities are almost endless.
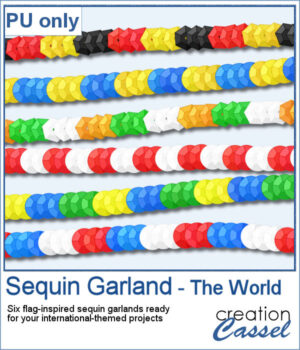
To celebrate the release of Sequin Garland, this week's freebie includes six ready-to-use sequin garlands inspired by countries from around the world. Use them to decorate travel layouts, cultural projects, sports pages, or any project that could use a colorful international touch.
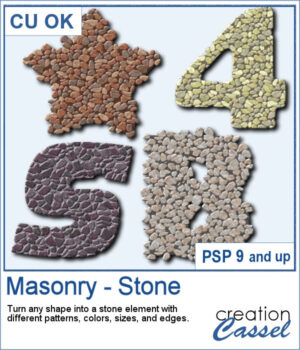
You can turn any shape into a masonry element, whether you want to have a fairly neat edge or give a more rustic look with full stones but more randomly placed on the edges. There are 5 different patterns with 3 different colors each. Furthermore, you can choose to have small, medium, or large stones.
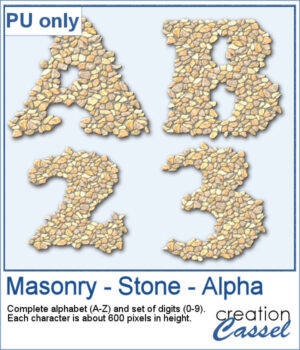
For a sampler, I edited the script to select the same settings for all the characters in a full alphabet and a set of digits. Each character is about 600 pixels high in PNG format so you can use them in any program.
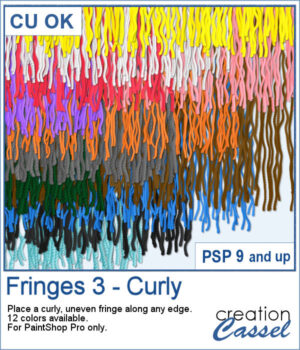
If you want to add a softer, more organic finish to your projects, the Fringes 3 picture tubes will do just that. It offers uneven, curly strands that follow any edge, giving a textured look similar to unravelled yarn or worn fabric. With 12 realistic colors that match existing thread and wool tubes, it’s easy to add movement and depth to your designs.
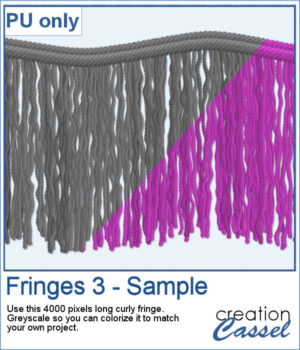
This week’s freebie is a curly fringe element created with the grey Fringes 3 tubes. Since it is grey, you can easily recolor it to match any project. The top border is made from the Wool picture tube. Use it as a border, along an edge, or as a decorative accent to add texture and movement.
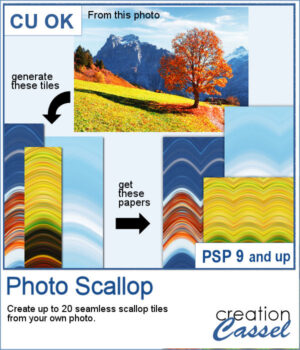
The Photo Scallop script for PaintShop Pro lets you turn any photo into seamless scallop patterns with soft, flowing curves. Each run generates multiple tiles based on different parts of your image, giving you a variety of coordinated color palettes. Use them as full papers, borders, or combine them for more creative designs.
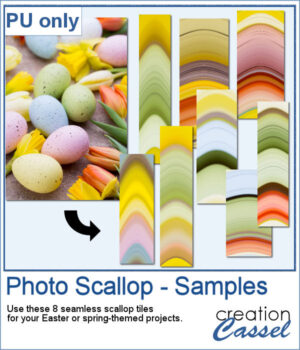
For samples, I generated some seamless tiles from an Easter photo with nice pastel colors. You can use those tiles to fill out a full page and then, you can continue being creative and apply more effects, like the kaleidoscope, the rotating mirror, the brush stroke, etc.
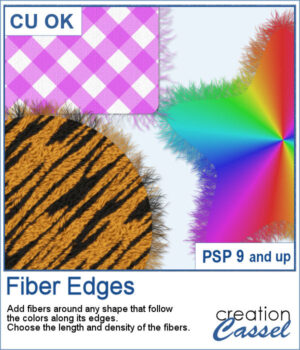
This script adds realistic frayed fibers around the edges of any shape in PaintShop Pro. The fibers automatically follow the colors along the edge, creating a natural and organic finish every time.
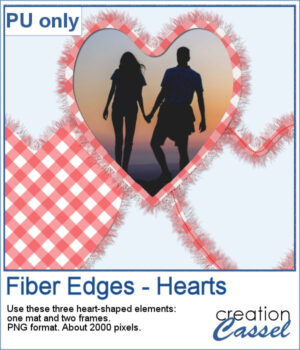
For Valentine Day, I ran the script on a heart filled with gingham. That created a full mat. Then, using the starting shape, I trimmed an inside area to create a frame. Then, I ran the script on the sized down shape, I added some fibers on the inside and included a stitching (from a Styled Line). Three elements you can use in different ways.
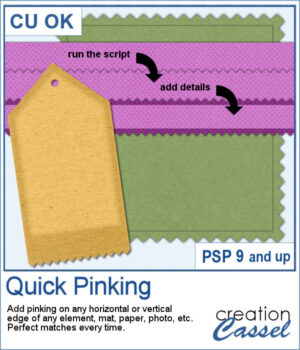
Add a clean, realistic pinked edge to your papers, photos, and elements with just one click. The Quick Pinking script automatically adjusts the spacing so the zigzag edge fits perfectly every time, with no partial teeth. You can apply the pinking to any single side, two opposite sides, or all four sides. You can then add shadows, stitching, or extra details afterward.
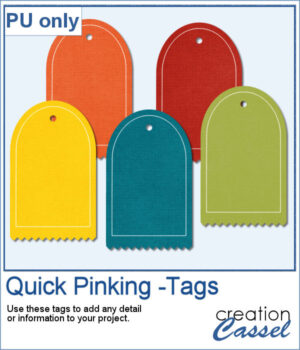
For a sample, I created five tags with pinking edge on the bottom. You can use those tags to add various details, like a date, a name, or a quote.