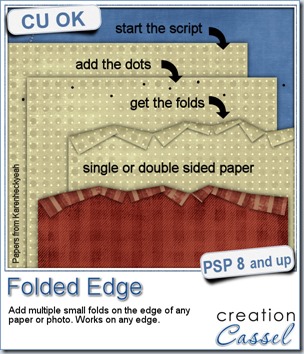
Creating a folded edge on papers, photos or mats can add a definite 3D effect, but it is not always easy to do.
If you are using templates, with each folded piece on a separate layer, you can probably get away with using a plain type of paper, however, as soon as you want to use a patterned paper, or something directional, the templates will not give a realistic result.
Creating the folds manually is one way to get the correct angles on the patterns, but it is quite tedious to match the angles whether you are using the Pick tool or the Rotate function. But, yes, it can be done.
However, using this script will make the whole process much faster and more accurate.
You can use a single paper, and have it fold on itself with both sides being identical or you can pretend you have a two-sided paper, by using two different papers layered on top of each other before you run the script.
The folds will also be custom made. You will choose how many folds you will have, where they will be and how deep they will be because you will place the dots where you want, and the script will execute the commands based on those dots. You can have as many dots as you want, anywhere you want, for a custom look.
You can get this Folded Edge script in the store.
See how this script works:
Do you want a chance to win this script? Check out this thread. Tell me how you would create a folded edge if you didn’t have the script. I’ll be back next week with the name of a winner.
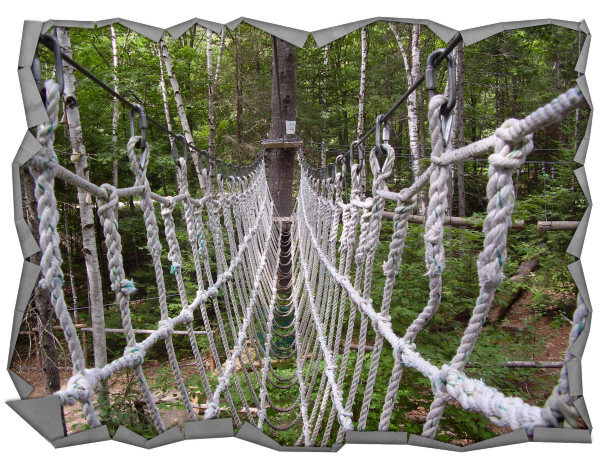
See what can be done with a photo and a slightly patterned paper as the “backing”:
What i did was open a large photo, and added a greyish paper on the layer below. I ran the script on one edge (the top one) first. Then, because it made for a lot of layers and because i was fairly happy with the default shadowing, i hid the photo and paper layers and merged the visible layers. That gave me one layer for all the top folds.
Then, i moved the photo and paper layers on top of the layer palette and ran the script for the right edge. Again, i merged all the little pieces for the right edge making sure i didn’t merge the ones from the top. This allowed me to erase the little bit that extended beyond the right edge (the script didn’t know i had run it on another edge before).
Then, i repeated the same thing for the other two edges. Finally, i just moved the photo below all the folded edge layers.
What do you think?

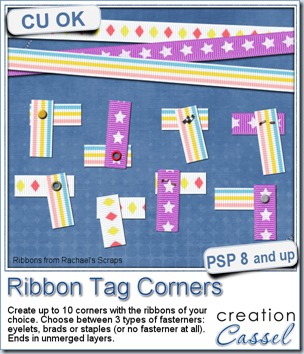
 As a sample of what you can do with this script, i have this one. I started with 3 ribbons from Rachael’s and generated 5 corners. I only picked one to work with.
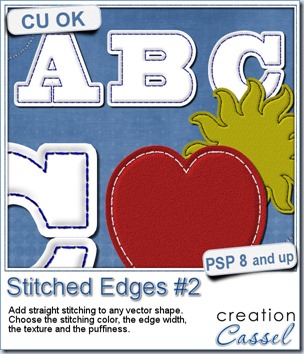
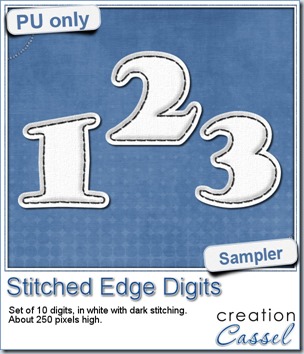 For this week, i decided to play with the idea of creating a whole alpha in one run with this script. I started with the digits (as there were fewer elements in the end). On a large image, i typed in the digits in white. I had to adjust the kerning to make sure the letters would not touch each other when the edge was added. Then, i ran the script. Everything went smoothly from there. I added the texture that came with the


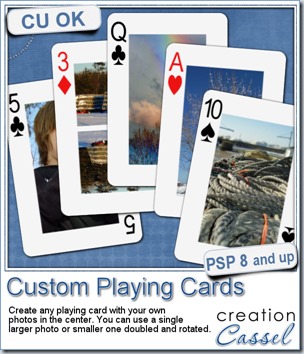
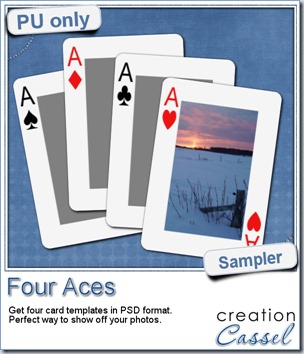 For this week, i decided to give you a template for 4 aces. I am sure you can enjoy havnig 4 aces up your sleeve, right?
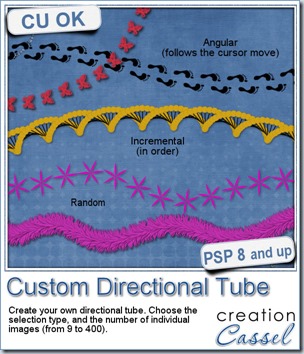
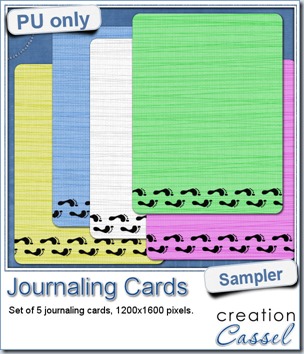 As a sampler, i created some simple journaling cards. I simply used the little footsteps directional tube that i created for the preview above and drew a straight line with it. I could have made a curved line that would have shown the rotated steps, but i really felt it was taking too much space on the cards.
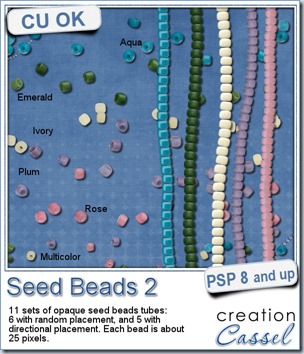
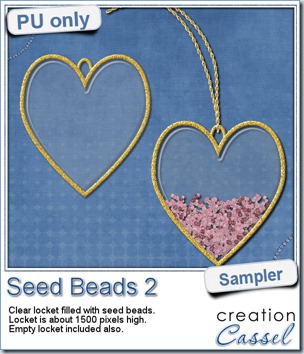 As a free sample, this week, i decided to use these tubes in a different way than last week.
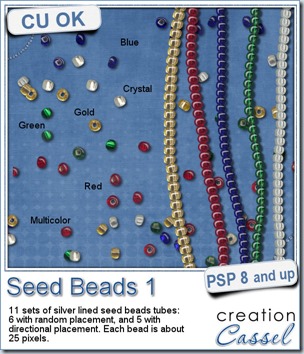
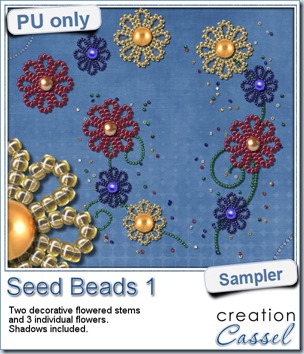 For a free sample, i created a couple of simple decorations. I placed the beads along a vector path using the VectorTube script for the flowers, and added a single “bead” in the center which was part of the

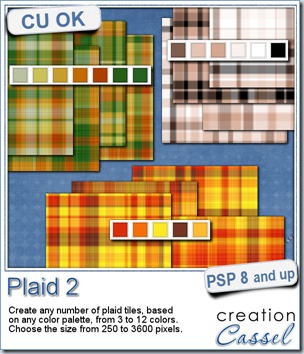
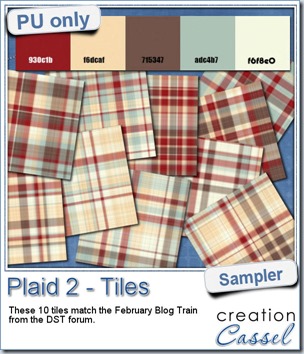 This week, as a sampler of what can be done with this script, i decided to give you a little teaser too. The February 2014 DST Blog Train will use a palette that includes red, brown, beige and blue. Although i am not participating in the Blog Train, i decided to create 10 tiles that are based on the color palette. Once you get all the pieces from the blog train, you can combine them with these tiles and create something even more fun.
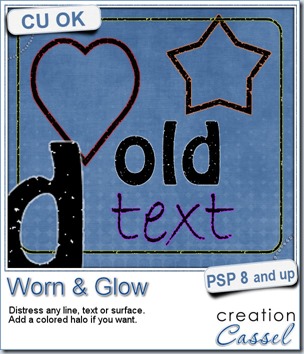
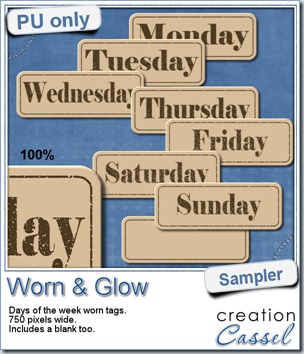 What would you want to get this week, as a sampler? I thought you might be tired of alphas (although that was my first idea when i was thinking of a sample), so i created some labels. Whether you are doing a project 365 or not, sometimes, you might want to add the days of the week to your layout. That is why i created those day tags. I just used the distressed part of the script and didn’t add any glow. I am also including a blank tag so you can add a date or something else (even unrelated to the days of the week).