Kids and adults love puzzles. There are different stores that can turn a photo into a real 3D puzzle, which can be a fun present for the holiday, don’t you think?
But not everyone needs or wants a real tangible puzzle, however, it is a fun way to display a photo either as a desktop, a scrapbook layout, etc. You can get puzzle overlays that will give the impression of a finished puzzle, but in order to have “loose” pieces, you would still have to cut them out individually. This can be tedious and not very accurate.
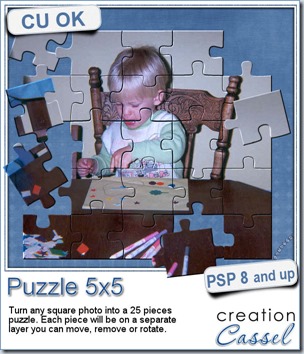
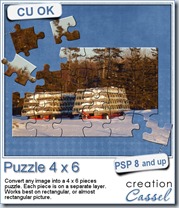
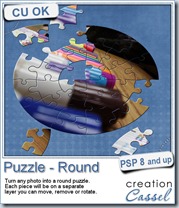
This script for Paintshop Pro, will really turn your photo into a puzzle. Each piece will be on a separate layer so you have all the flexibility needed to move, remove, or rotate any piece you want. This way to display a photo adds a touch of dynamism, don’t you think?
The script will create a 25 pieces puzzle (5x5). It is meant to work on a square photo, but it will work equally well on a rectangular photo, except for the fact that the pieces will be slightly elongated. And it will work on ANY size photo too (although the very small ones might yield some jaggied edges).
You can grab this original Puzzle script in my store: Creation Cassel.
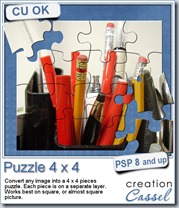
If you want other size, check out the other puzzle scripts:
If you want a chance to win this script, check outthis thread in the Happy Place and add your name to it. Let me know if you ever converted a photo into a puzzle before, and if so, how.
This week, instead of giving you a sample of the puzzle script, i decided to give you a challenge!
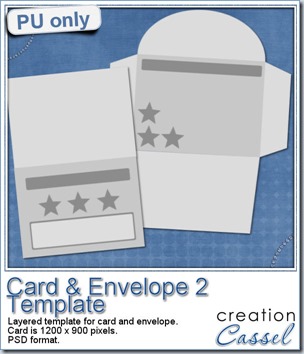 I am including a set of matching Card and Envelope, in PSD format that you can use to create a variety of holiday cards. The basic template was made using the Card&Envelope script, and then, i just added various elements to decorate the base. Since everything is on a separate layer, you can really be creative. Use any paper you have. Use elements you have. Move things around. Rearrange elements.
You need to be logged in to download this sample. You can either login, or register on the top of this page.
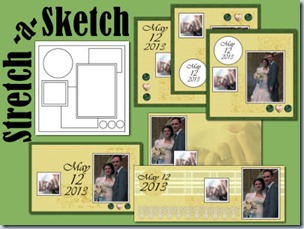
I would LOVE to see cards you will make with this template. Did you watch the Stretch-a-Sketch video? It is available in the Campus, here, for free until it is replaced by the Part 2 (which might mean only a couple of days?). So you better hurry.
News from the Campus
 Are you still looking for last minute ideas for Holiday projects? Check out this article in the Campus.
Whether you want to create a calendar, embellish a card, make a frame, add sparkles to a project or decorate your room with a fun and unique Subway Art, you have many options at your fingertip.

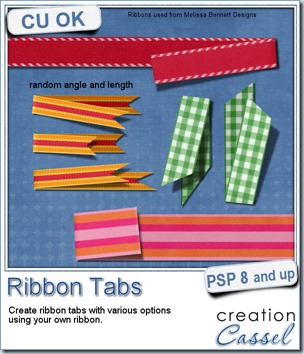
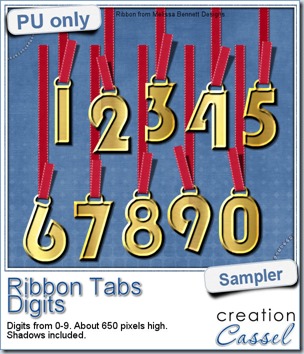
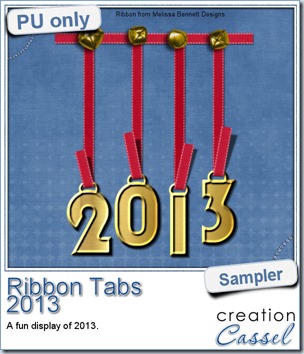 In order to show you what this script can do, i created a whole set of digits, attached with folded ribbon tabs made from a single ribbon (from Melissa Bennett) and i ran the script 10 times on that same ribbon, using the same options (create a tab with the full length, keeping the end straight, and facing the bottom).
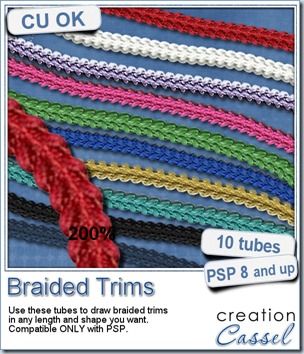
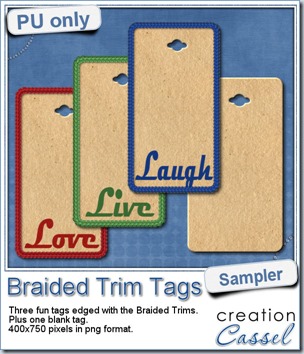 As a way for you to see more closely what those tubes look like in a real project, i created those fun tags. I started with a vector shape (a rectangle with rounded corners) and used the VectorTube script to place the trims along that path. I then replaced the center of the tag (that was a vector layer) by a brown paper texture i had in my supplies. I cut out the hole on top and added some words using the Magneto font.
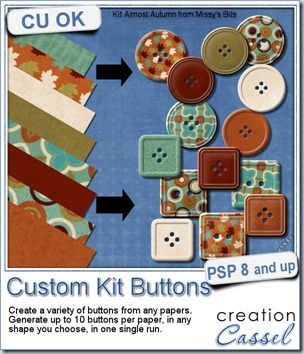
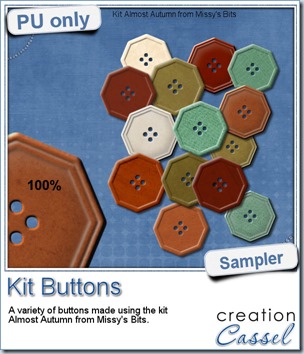 This week, i used Missy’s kit called Almost Autumn to create a set of 14 octagonal buttons. Then, i tweaked them to add a slight variation in size, brightness and contrast, just to make sure they were not all exactly identical. What do you think of that?
 Do you want a chance to win this set of scripts? Head over to the DST forum in
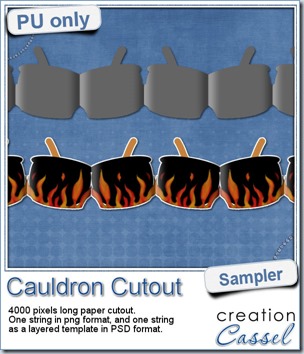 This week, to make sure that everyone (using Paintshop Pro or not) could use my product, I opted to create a paper cutout using a cauldron image, which was turned into a sticker (with a little white edge). Then, i ran the
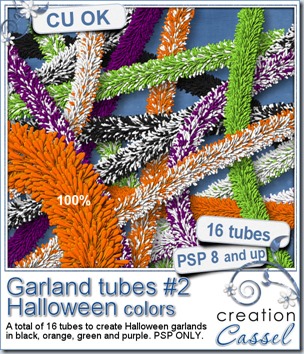
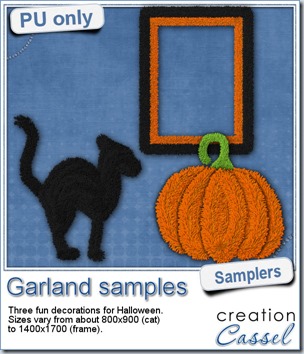 Now, how about a little look closer at those garlands and their texture? I created a few Halloween decorations for you using those garlands.
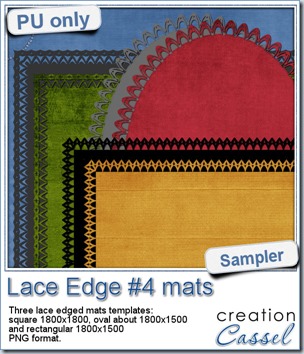 This week, i created more mats for you, using the lace font from last week.