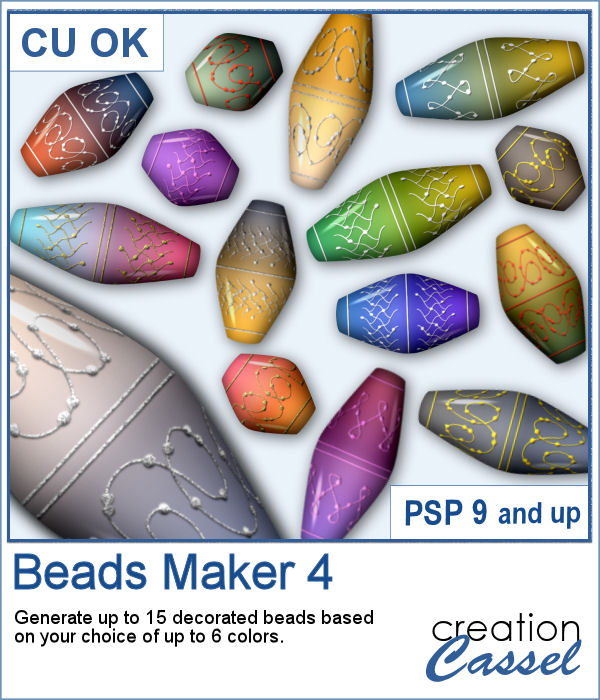
Another script will allow you to create a variety of decorated beads. This time, the beads will be a slightly different shape than the previous scripts. Furthermore, you can create monochrome beads in addition to the duotone ones. Different rotations will be associated with the correct bevel and shadows to give a more realistic effect.
You can create up to 15 beads in one run using up to 6 colors. The script will randomly combine those colors. Keep the beads you like and discard the others.
Get this script in the store: Beads Maker 4
In order to win this script, add a comment on this Facebook post telling us what other shape beads you would like to see (remember, add a comment, not just a Like!) The winner will be announced in the newsletter, next week. Not a subscriber yet? Not a problem. You can register here and it is free (and you only get one email per week).
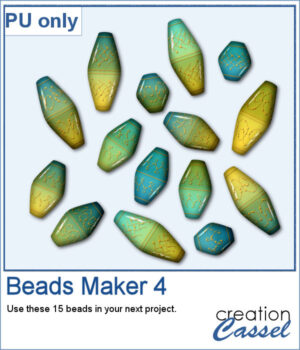
For a sampler, I used the same color palette as for the previous freebies for the Beads Maker 1 and the Beads Maker 2. This way, you will have a total of 45 matching beads to play with and create a variety of elements.
You need to be logged in to download this sample. You can either login, or register on the top of this page.
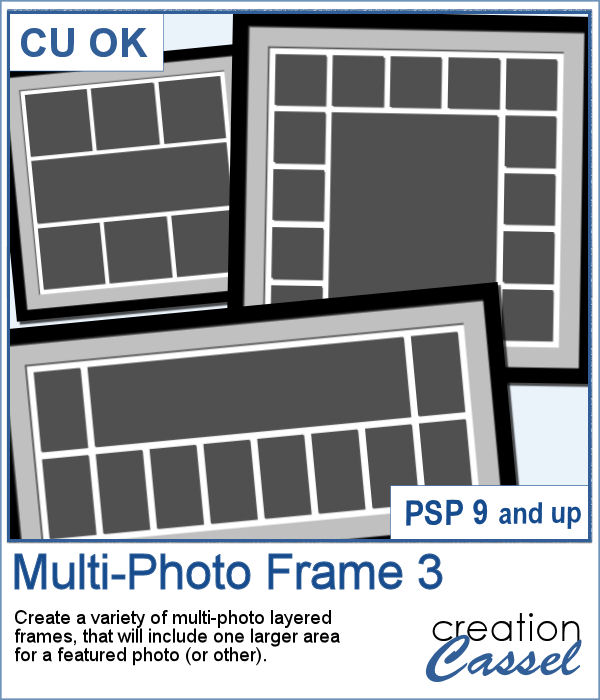
Whether you want to showcase school pictures or flowers in your garden, you might also want to feature one special photo. This script will create a template for you with all the settings you want.
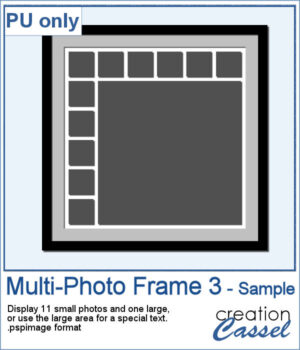
As a sampler, I created a 6x6 template with small images on top and on the left only, leaving an even larger area in the bottom right.
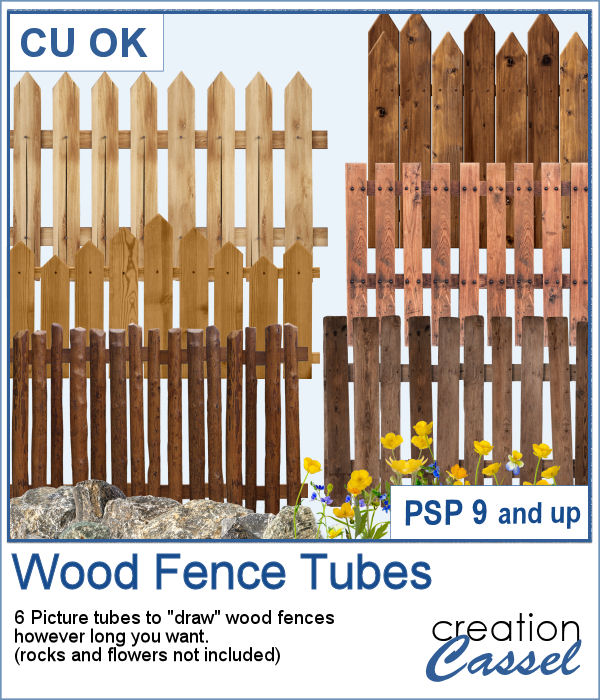
You can add one of our 6 types of wood fence, in just about any size but also, in any length. You can draw those fences on a perfectly straight line or follow a slight hill.
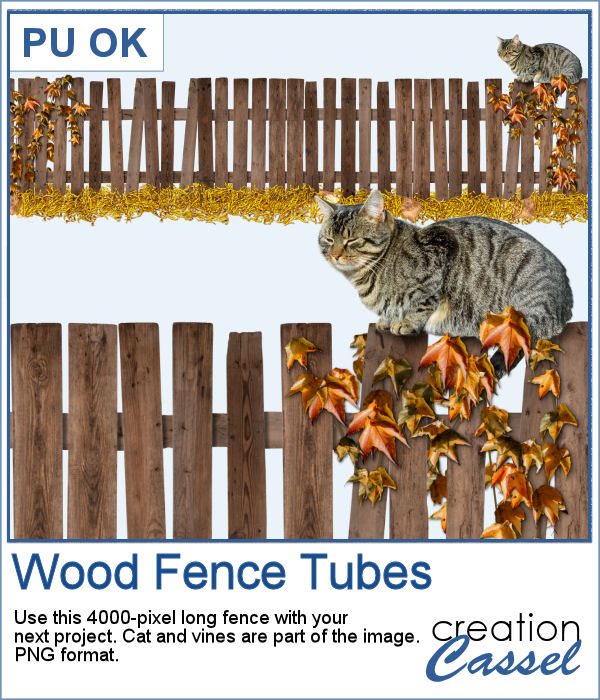
As a sampler, I created one long fence (4000 pixels) and added some vines and a lovely cat. It is in PNG format so you can use it with any program.
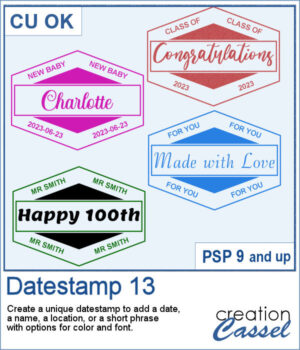
There are so many ways to add a date, a name, a location, or a short phrase to a project. This script will let you choose a main word/date to place in the center, with your choice of font. In addition, you can select the words to add in the top and bottom corners.
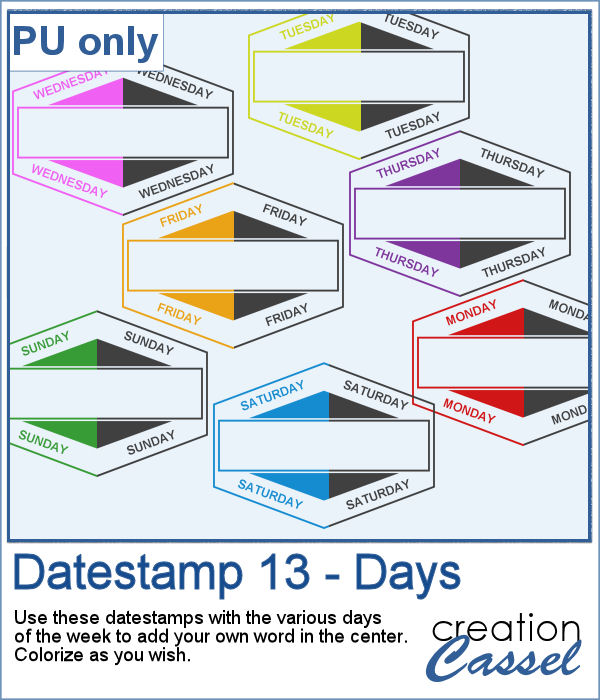
As a sampler, I created a set of "blank" datestamps with the days of the week. You can add whatever you want in the center area. Since they are all in greyscale, you can colorize them however you want.
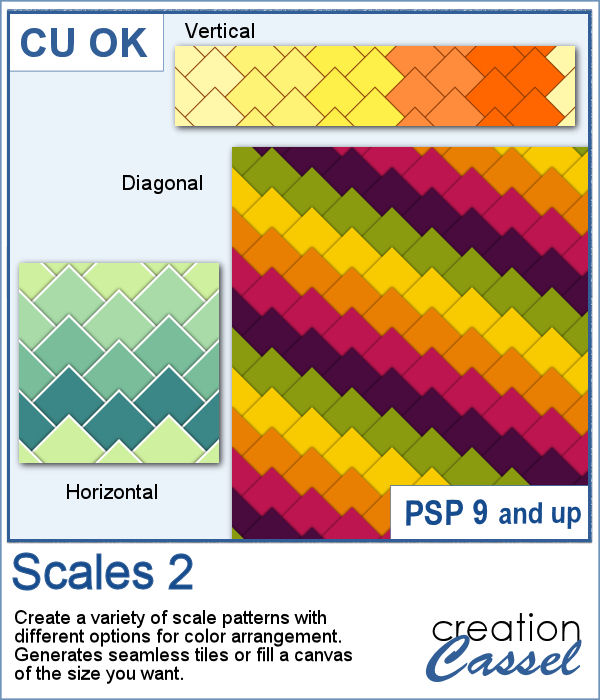
This new script will create some seamless scale patterns with any color palette you want.
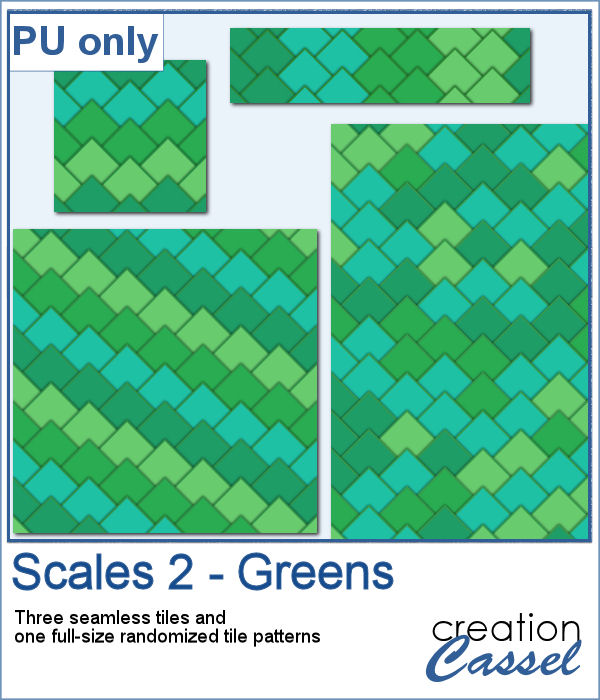
As a sample, I created 3 seamless tiles with green shades to go with a possible dinosaur theme. Of course, you can also use those with a garden theme or anything else. There is also a full-size paper with randomized greens. All the elements used the same color palette so they should match if you want to use them together.
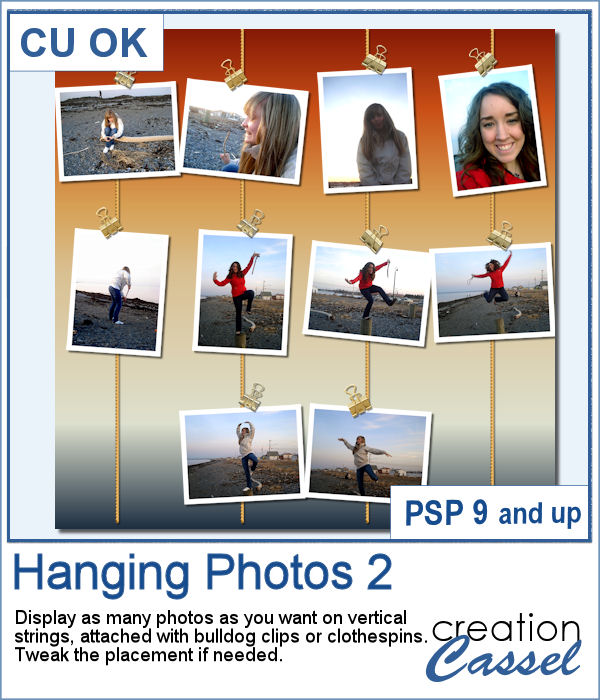
It can be fun to display photos on a string, and in digital projects, it is just as easy, although it can be tedious to resize, move, rotate and attach all the photos on one image. That is why I coded this script.
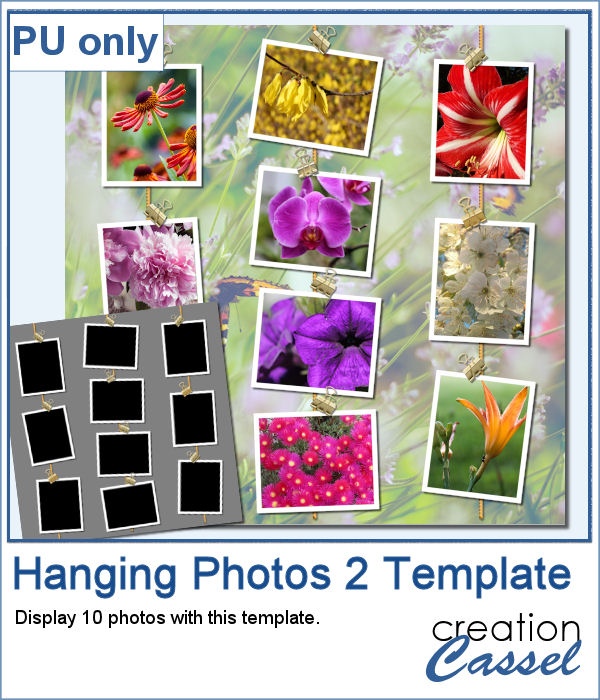
As a sampler, I created this layered template where you can display 10 photos of your choice. The template is in .pspimage format and you simply have to put the photos into the individual mask groups.
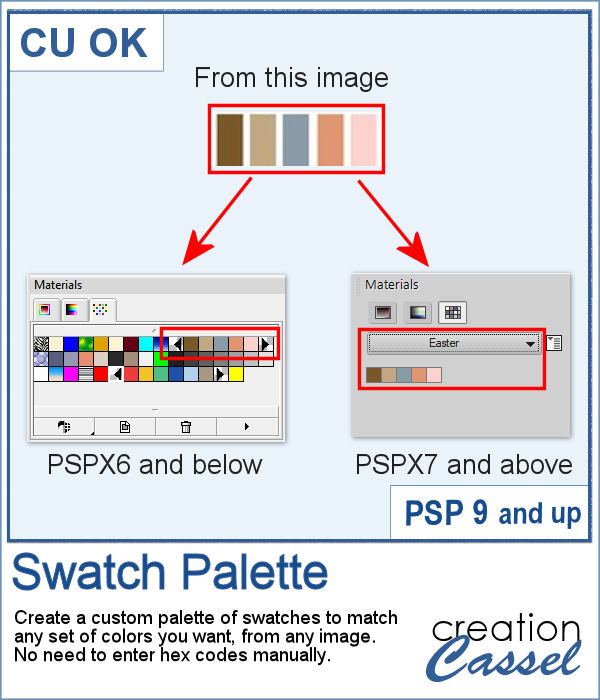
It might be easy to create a swatch palette in PaintShop Pro, but if you are starting with a large number of colors, it can be tedious. And referring to the same image whenever you are working on a project can also be annoying.
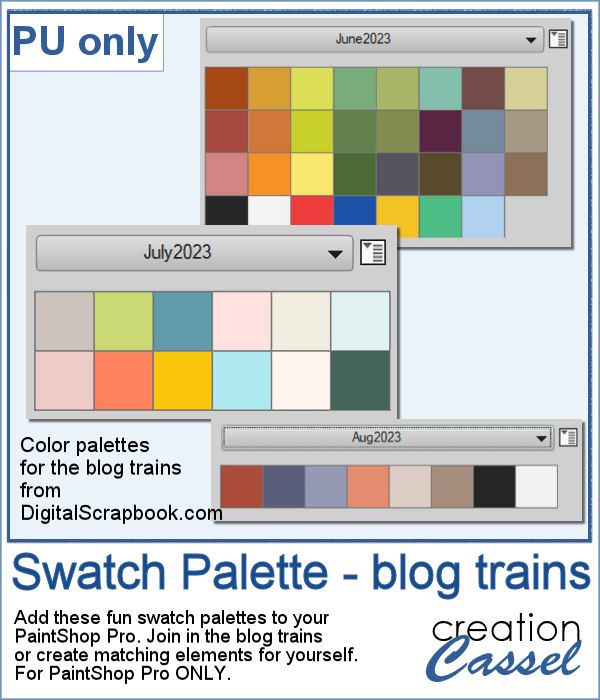
As a sampler, I used the color palettes for the next three blog trains in the DigitalScrapbook.com forum and converted them into palettes you can simply add to your PSP. Two versions of the palettes are available: one for versions 9-X6 (identified with V9 in the name) and one for versions X7 and up (identified with VX7 in the name). Unzip the ones you need for your version and save the files (or the whole folder for versions X7 and up) in the Swatches folder of your PSP. Since they are different for different versions, don't put everything in the same place, if you have earlier and older versions of PSP referring to the same content folder. If needed, simply put them in the default folders, in Documents.
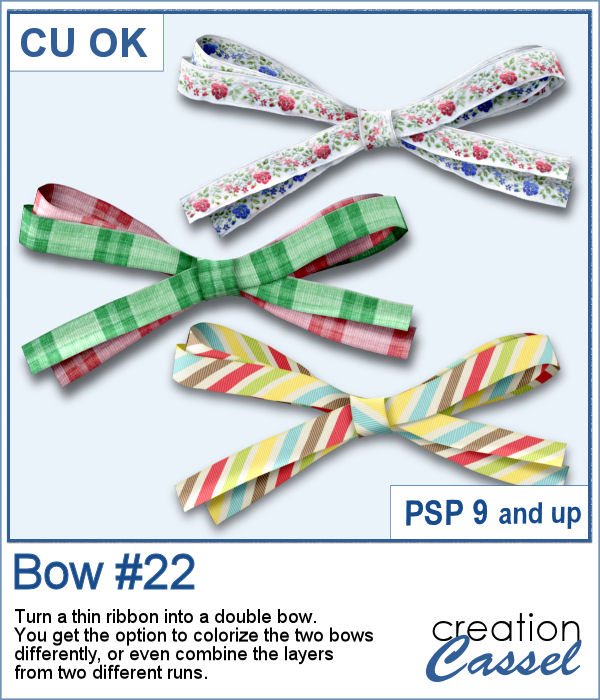
This script will create a double bow out of a single thin ribbon. Although you can have the same ribbon for all the loops, you can also colorize the inside loops and tails to give the impression of using different ribbons.
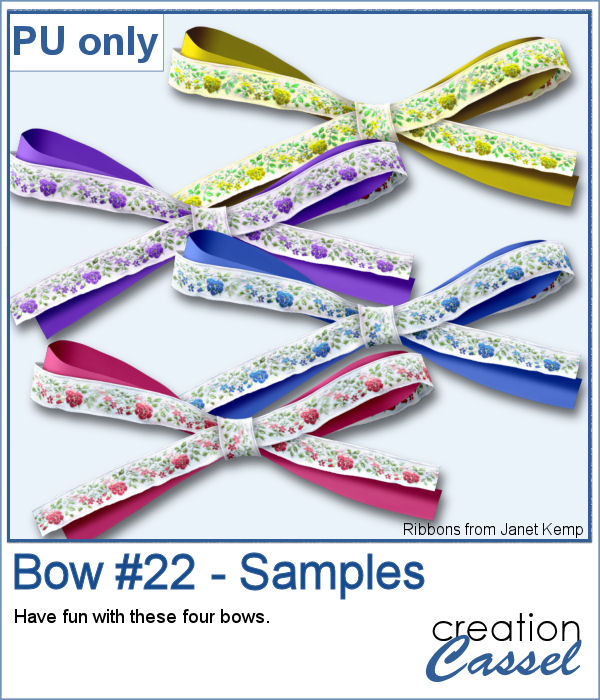
For a sample, I used two ribbons from Janet Kemp (you can get them
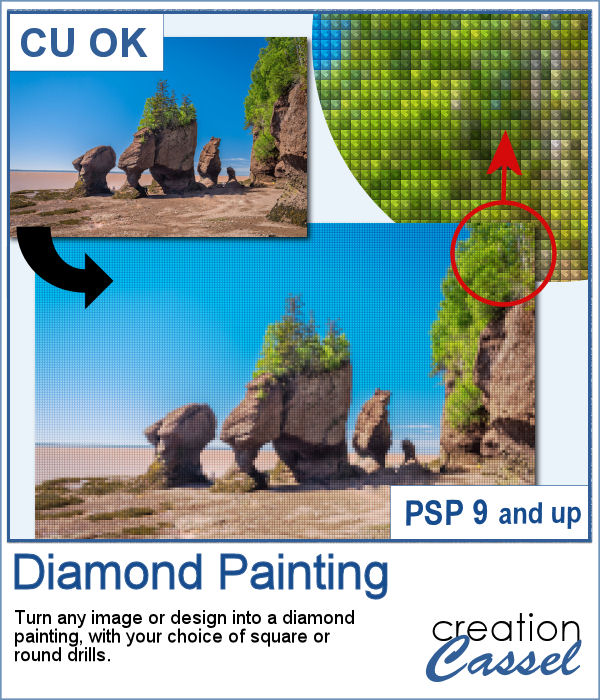
Diamond painting offers a way to turn an "ordinary" image into something magical and shimmering. It is a long and tedious process.
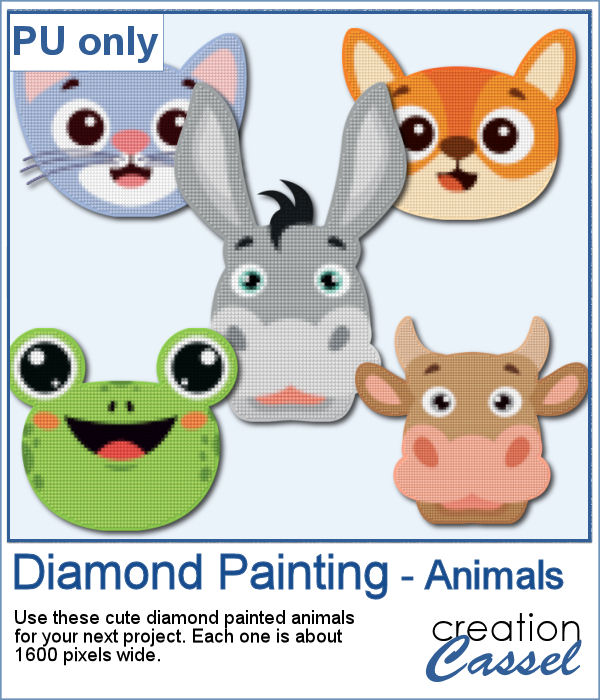
For a freebie, I used some cute animal cliparts and converted them into diamond paintings. Each one is fairly large so you can size them down as needed.
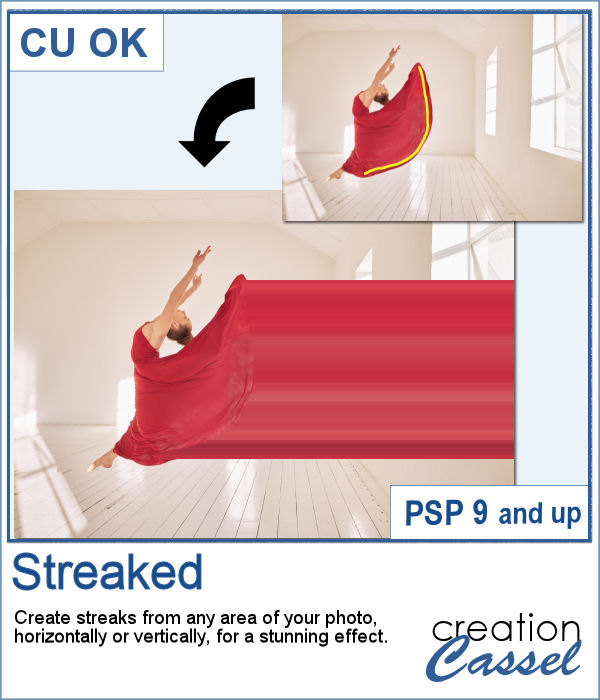
With graphic programs, we can manipulate images in ways that the camera itself cannot do. With this script, you can add streaks from your image, to convey a sense of movement, speed, or displacement. Then, you can also manipulate those streaks to give some wave effects, to show elements through, to fade its colors, etc. So many ways this can be manipulated.
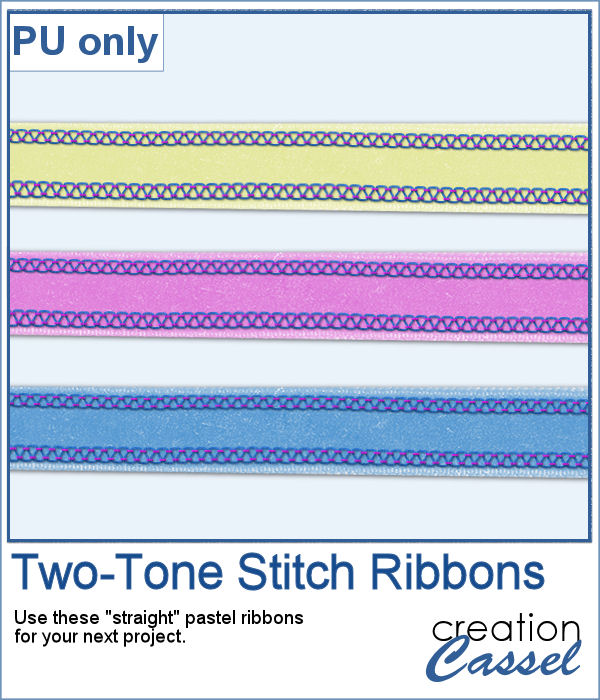
For a sample, of course, I cannot use my photos as they would likely be useless to you. So I decided to create some stitched ribbons for you using the Two-Tone Stitches from last week. I started with a basic greyscale ribbon, added the stitches on both edges, added texture, bevel, and shadows, and then, with the warp brush, I modified the stitching line so it would follow the uneven edges of the ribbon, for a more "realistic" look.