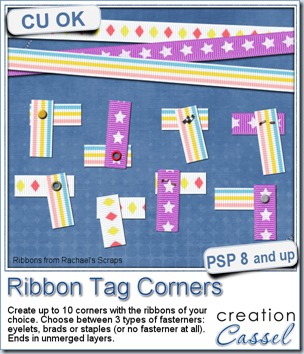
In traditional paper scrapbooking, what would you do with small bits and pieces of ribbons? I am sure you can think of many things you could do. In fact, i saw someone create fun little corners with ribbons and i figured it would be interesting to have a script to randomly select ribbons, cut pieces and a arrange them more or less like a corner and add a fastener.
I know, it is easy to cut two pieces of ribbons, and layer them together. But it is so much more fun to have the option to have 10 of them created in one run, all different and simply pick our favorite.
With this script, you can choose to have as many starting ribbons as you want, and you can create up to 10 corners at once. You also have 3 fastener options: brads, eyelets or staples. For the brads and eyelets, you can choose the color or pattern you want so it is easy to have something that matches the actual ribbons you are using, or you can have a metallic pattern for them too. If you choose staples, there are some staples that come from Rachael’s Scraps, included in the script. Or you can also choose to have no fastener added by the script so you can add your own, like a button, a gem, stitching, or any other element you have in your stash.
You can grab this fun Ribbon Tag Corners script in my store.
You have a chance to win this script for free by adding your name to this thread in the forum. I’ll be back next week with the name of a winner.
 As a sample of what you can do with this script, i have this one. I started with 3 ribbons from Rachael’s and generated 5 corners. I only picked one to work with.
First, i chose the eyelet as a fastener and used a gold pattern instead of a solid color. I think it turned out pretty good.
I added shadows on separate layers for the ribbons and using the Warp Brush, i tweaked the shadows on the ends of the ribbons to give the impression that they were lifted.
For the eyelet, i thought it would be cool to imagine that the ribbons were thick and the eyelet was very tight so i selected a circle almost as large as the eyelet itself, inverted the selection and then, on the top ribbon, i added a wide inner bevel. That is what gives that impression that the ribbon is “indented” by the eyelet. Isn’t that a cool effect?
You need to be logged in to download this sample. You can either login, or register on the top of this page.

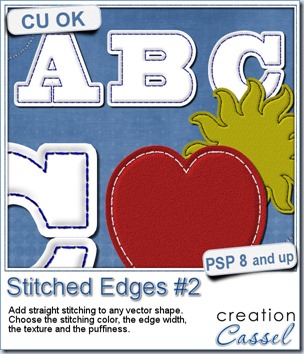
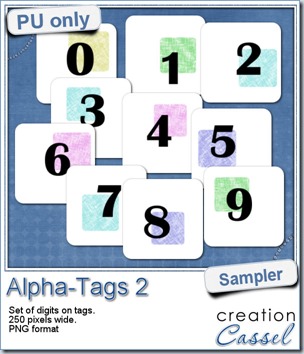
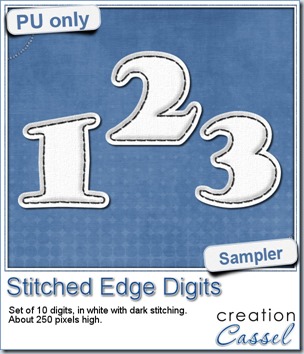 For this week, i decided to play with the idea of creating a whole alpha in one run with this script. I started with the digits (as there were fewer elements in the end). On a large image, i typed in the digits in white. I had to adjust the kerning to make sure the letters would not touch each other when the edge was added. Then, i ran the script. Everything went smoothly from there. I added the texture that came with the

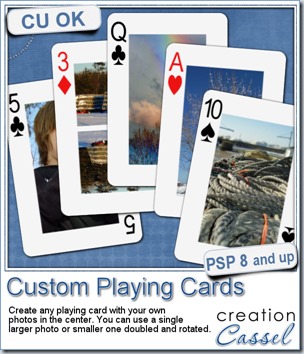
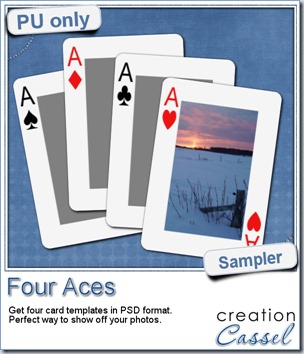 For this week, i decided to give you a template for 4 aces. I am sure you can enjoy havnig 4 aces up your sleeve, right?
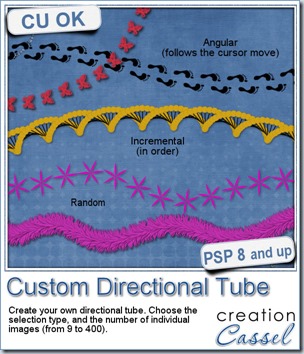
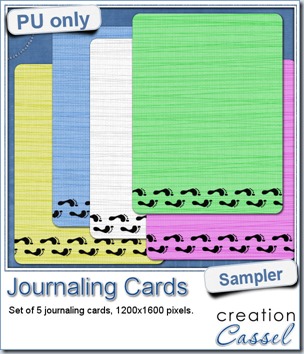 As a sampler, i created some simple journaling cards. I simply used the little footsteps directional tube that i created for the preview above and drew a straight line with it. I could have made a curved line that would have shown the rotated steps, but i really felt it was taking too much space on the cards.
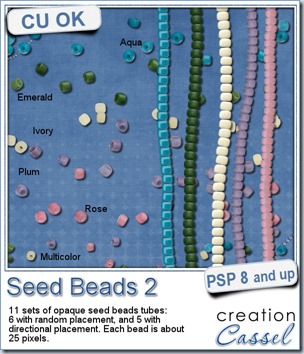
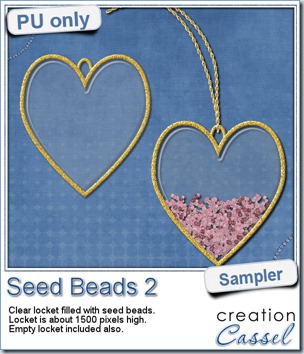 As a free sample, this week, i decided to use these tubes in a different way than last week.
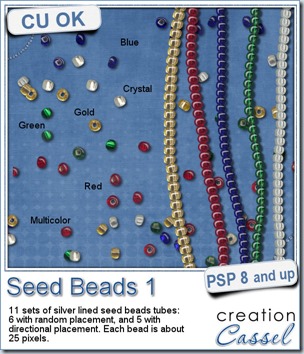
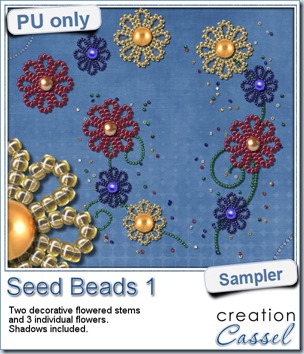 For a free sample, i created a couple of simple decorations. I placed the beads along a vector path using the VectorTube script for the flowers, and added a single “bead” in the center which was part of the
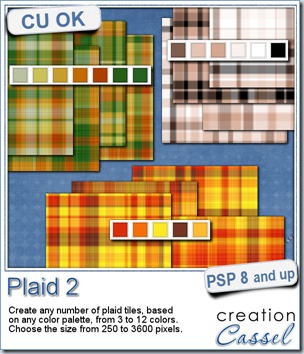
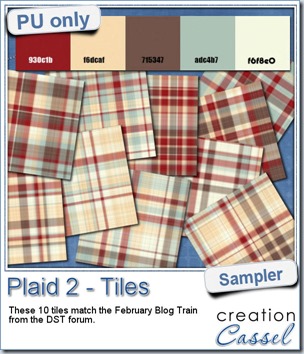 This week, as a sampler of what can be done with this script, i decided to give you a little teaser too. The February 2014 DST Blog Train will use a palette that includes red, brown, beige and blue. Although i am not participating in the Blog Train, i decided to create 10 tiles that are based on the color palette. Once you get all the pieces from the blog train, you can combine them with these tiles and create something even more fun.
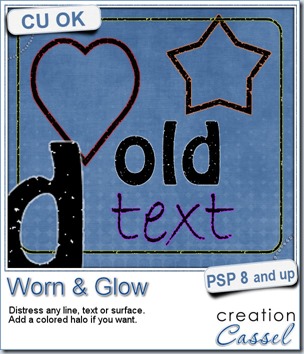
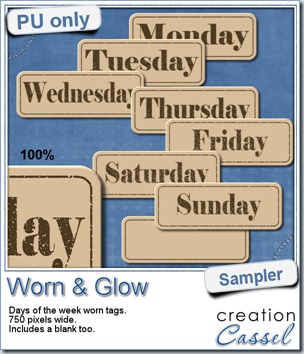 What would you want to get this week, as a sampler? I thought you might be tired of alphas (although that was my first idea when i was thinking of a sample), so i created some labels. Whether you are doing a project 365 or not, sometimes, you might want to add the days of the week to your layout. That is why i created those day tags. I just used the distressed part of the script and didn’t add any glow. I am also including a blank tag so you can add a date or something else (even unrelated to the days of the week).