 Do you like to use ribbons in your projects? Straight ribbons are easy to find, right? Not always. In fact, it is possible to get some greyscale ribbons and colorize them to match your project, but some colors are quite hard to get right (like the yellows). In addition, the ribbons you get would always be the exact same kind, with the same size, same shape, same light/dark areas, etc.
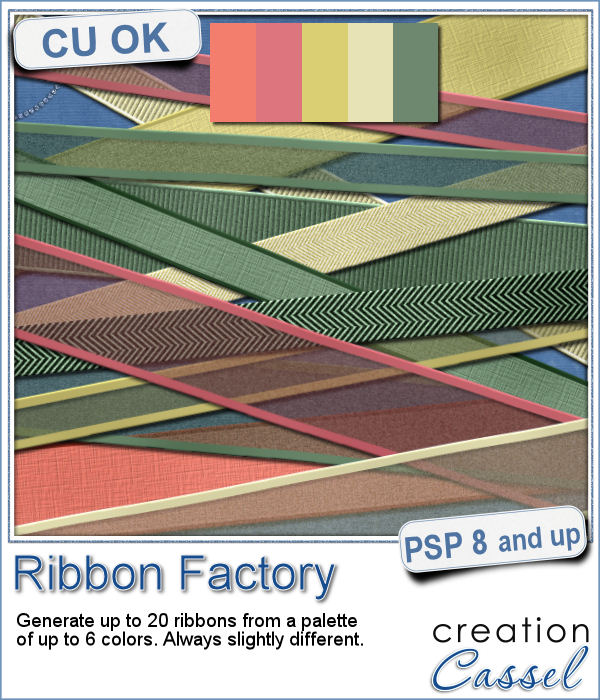
This script was requested by DeLoris who wanted some simple basic ribbons but with the ability to create several of them at once. I just thought it would be best to also add some randomization so that each ribbon created will be slightly different from the next one, even if you are using the same color palette.
You can generate up to 20 ribbons with a single run of the script. You can choose the thickness of the ribbons, from 100 to 300 pixels. Each ribbon will be 4000 pixels so you will be able to use them across your page, even at an angle!
Get this script in the store: Ribbon Factory
In order to win this script, add a comment on this Facebook post (remember, add a comment, not just a Like!) The winner will be announced in the newsletter, next week. Not a subscriber yet? Not a problem. You can register here and it is free (and you only get one email per week).
 I went a little crazy with the freebie, this week. I found a fun color palette that seemed nice for a spring theme (sorry for our Aussie friends who are heading toward winter, but spring will be back in 6 months!).
I created 25 ribbons for you, using the different colors, different size, and the script generated all those ribbons (that makes for an unusually large file).
They are all 4000 pixels long so you can use them in many ways.
You need to be logged in to download this sample. You can either login, or register on the top of this page.