Web
Analytics

New tubes – Fence links

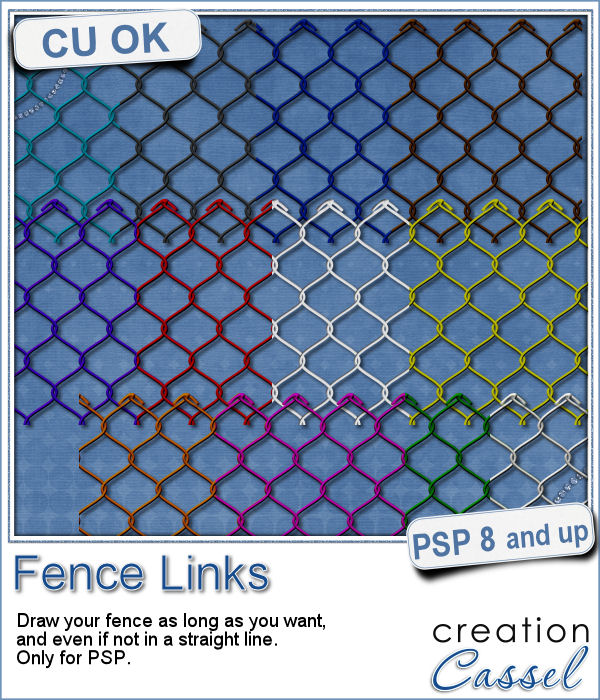
Fence Links tubesWhat could you do with a custom fence made of interlocking links in the color of your choice and the length of your choice?

But the biggest question is where to find such a perfect fence? You can now create it yourself with this set of picture tubes. Draw the fence straight or curvy with your cursor and the links will magically attach together.

You get a set of 12 color fence links. You can make your fence in one single color, or you can attach several colors together.

Get these fence links in the store: Fence Links.

What would you do with a chain link fence? Any idea for a project? A theme to use it? Tell me in the comments below and i'll pick a winner next week to be announced in the newsletter. Not a subscriber yet? Not a problem. You can register here and it is free (and you only get one email per week).
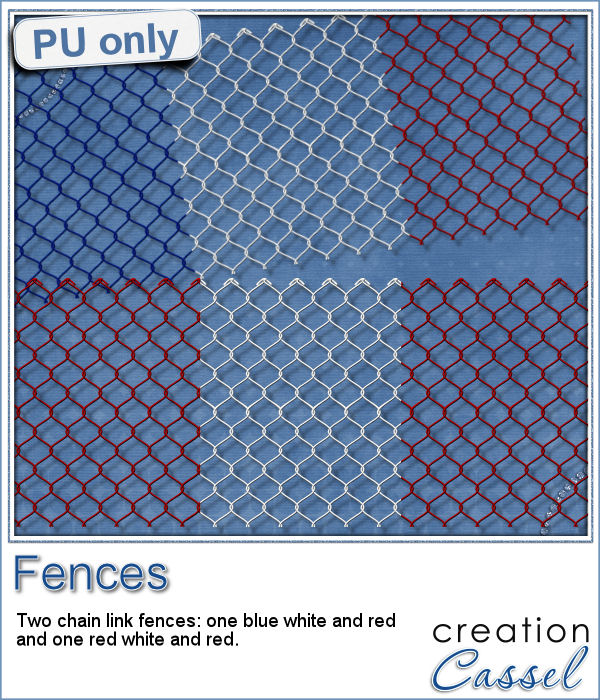
Chain link fencesAs a sampler this week, I created 2 fences for you to use. One is blue white and red (perfect for our American friends celebrating the 4th of July, or our French friends for the 14th of July),  and one red and white for my Canadian friends, celebrating on July 1st.

Both fences are a bit over 3000 pixels in length. You can resize them if needed.

You need to be logged in to download this sample. You can either login, or register on the top of this page.

New script – Mosaic Photo

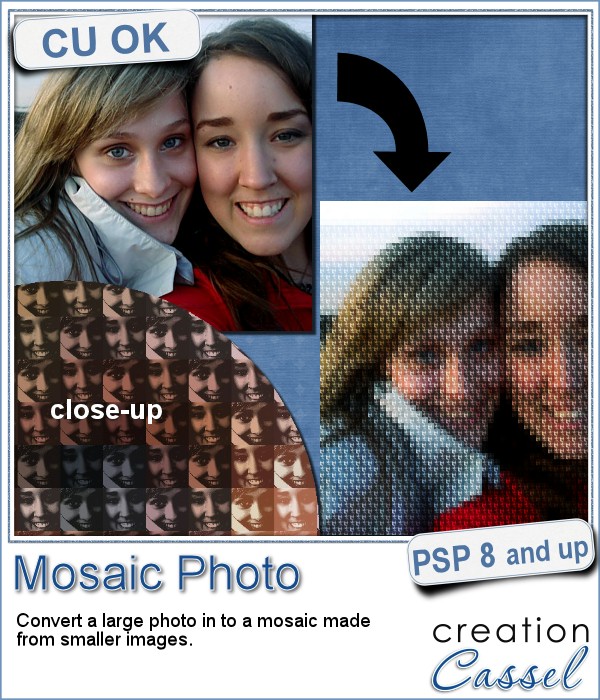
Mosaic Photo script for Paintshop ProYou might have seen tutorials on how to turn a regular large photo into a mosaic using smaller photos. It might not be too hard, but you can create that exact effect in less than a minute with this script for Paintshop Pro.
Start with a large image, and run the script. Follow the prompts and you will see your image turned into a mosaic using 1, 2, 3 or 4 different images of your choice.

Make sure you read the README file as you will have to edit the script to match the configuration of your own Paintshop Pro and your own computer (I can't guess that part for you).

Get this script in the store: Mosaic Photo.

For a chance to win this script, tell me if you ever tried to achieve that effect, and if you did, how you did it. Post your answer in the comments below. I'll pick a winner and announce it in the newsletter, next week. Not a subscriber yet? Not a problem. You can register here and it is free (and you only get one email per week).

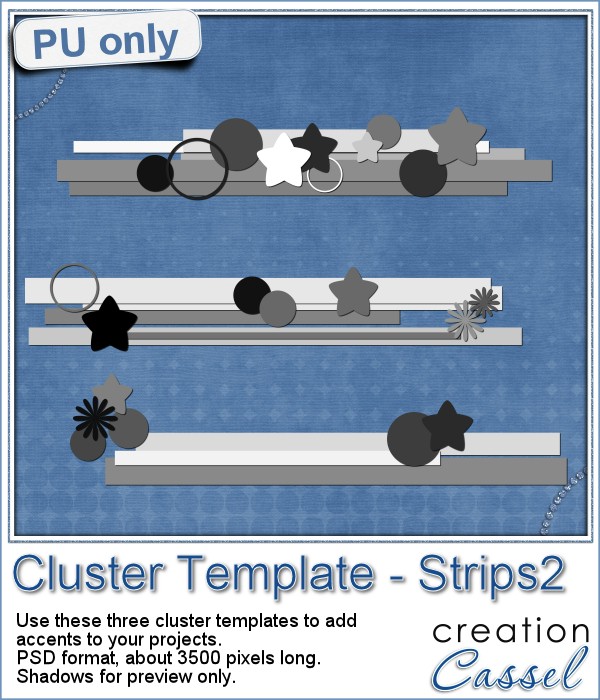
Cluster Templates in PSD format for scrapbookingSince it is impossible for me to give you a sample using a photo that would be of any interest for you, I decided to see what other sampler you seemed to have liked, and I found out that the Cluster Templates were a big hit, so I created three more for your own use.
They are in PSD format, so they can be used by non-PSP users.

Each one is about 3500 pixels in width, so they could be used on a full size scrapbook project, or you can size them down to fit your project.

You need to be logged in to download this sample. You can either login, or register on the top of this page.

New script – Leaf Pattern 1

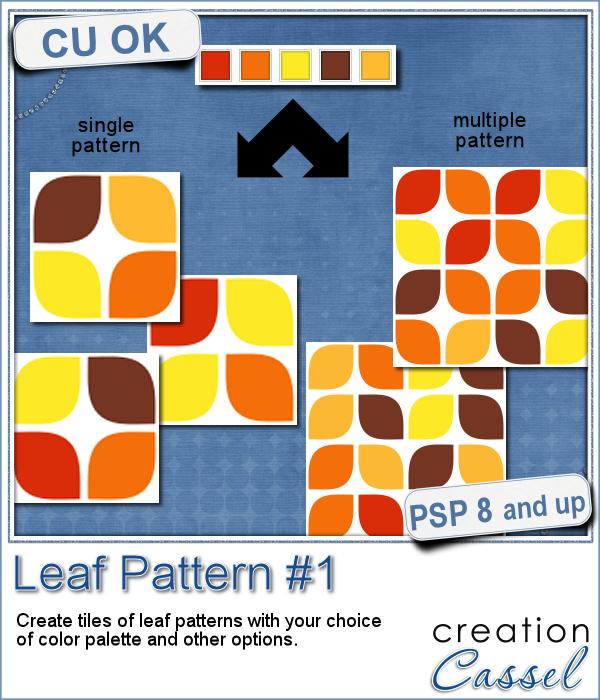
Leaf Pattern script for Paintshop ProCreating a geometric pattern can be easy if you have only one shape, but it can become tedious if you have multiple similar shapes, using different colors. Until now, you either had to do them by hand, or rely on layered templates, which only offer a limited number of color arrangement.
And now, what if you wanted to use totally random colors throughout the whole paper, with hundreds of those similar shapes. How would you do it?

This is exactly what this script will do. Using your own color palette (from 3 to 6 colors), you can generate simple 4-leaf patterns, or multiple ones, and the script will pick the colors at random while creating up to 20 tiles per run. Keep the ones you like, and discard the others. Each tile will have the shapes but no background so you can customize that last element to match your project.

Get this script: Leaf Pattern 1 (and yes, there are plans for a #2 also!)

Do you want to win this script? In the comments below, tell me how you would call this pattern. I called it a leaf pattern, but i am wondering if there is another name for it. I'll pick a winner next week and announce it in the newsletter. Not a subscriber yet? Not a problem. You can register here and it is free (and you only get one email per week).

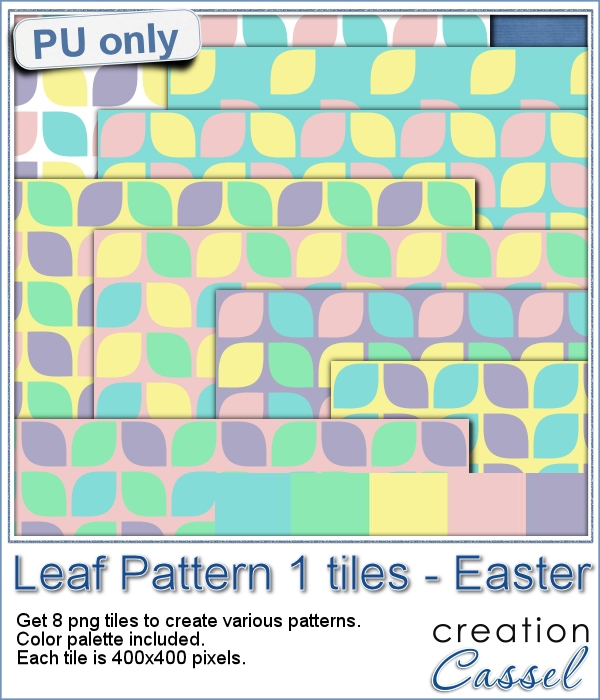
Leaf Pattern tiles - Easter colorsAlthough Easter is over for most people, the colors associated with Easter are still very appropriate for spring, so whether you want to showcase your Easter photos, or spring photos, these colors should be quite suitable.
I generated 8 small tiles using a 5 color palette. In the preview, you can see the result when each tile was used to fill a larger page, with a solid background.

Each tile is in png format, so they can be used in most graphic programs.

You need to be logged in to download this sample. You can either login, or register on the top of this page.


News from the Campus


OutOfThisWorld-400Did you register to our live class, tomorrow? There is still time to do so.
If you have never heard of Out of bound effect, you will be in for a treat, and if you have heard about it, you will see how we can bring it to another level!

Register now


BIGshowoff2016-400


Did you hear about the BIG 2016 Show Off event that is going on in the Campus. It comprises of several parts:

  • a way for PSP users to show off what they do with products from the store, freebies from the blog, or tutorials from the Campus
  • over $900 in prizes to be won at random, among all the participants
  • FREE video tutorials between April 22nd and May 7th (a new video every day)
  • special deals announced in the Campus emails

For more information, check it out HERE.

New script – Painted wood

Painted wood script for Paintshop ProWhether you are creating a scrapbook page or any other graphic project, painted wood elements could add a special touch. And when you can choose one of SIX types of wood, when you can choose any shape, any design and any color, you are sure that your elements will be unique.

There are so many ways to coordinate them with your project, the theme and the the colors.

The script will use a black and white version of your design, leaving the white as bare wood and the black as painted. You will also get a textured paint that will match the grain of the wood, even though the script will randomize the angle and the scale.

You can get this script in the store: Painted Wood.

For a chance to win this script, add a comment below telling me what design you would first use to run this script on. Would you rather do alphabets, arrows, frames, basic shapes, etc.  A winner will be announced next week. Not a subscriber yet? Not a problem. You can register here and it is free (and you only get one email per week).

Painted Wood DigitsAs a free sample, this week, i created a fun set of digits. I used a black fill and a white outline to set the inside to be painted by the script. And instead of a solid color, i used a gradient with the 3 primary colors.

I have to say that i am particularly pleased with the end result. With those primary colors, you can easily embellish a child theme project, or a school theme layout.

You can use those to indicate the child's grade, his age, or the actual year a photo was taken.

You need to be logged in to download this sample. You can either login, or register on the top of this page.


#CorelChallenge

Primary-300

Did you hear about the #CorelChallenge?

This week, you can send in photo, scrapbook page or other graphic projects based on primary colors. Here are some ideas for you:

  • create a monochrome layout
  • use an ordinary photo, turn it in black and white and make one of those primary colors reappear (here is a tutorial).
  • create clusters with elements in primary colors (buttons, ribbons, flowers)
  • use the free digits above to add a colorful date

Go for it. Let's show how we can use primary colors in projects OTHER than just photos. You can do it!

Post your project here.


New script – Knot #11

Knot script for Paintshop ProWe never have too many knots and bows, do we?

This script is all about creating that knot that you can use to tie an element like a ring, a tag, or anything that has a hole on the edge.

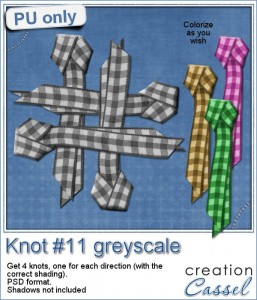
Interestingly, unlike other knots (or bows), this script allows you to get the correct shading whether you plan on using the ribbons toward the left, or the right or the top or the bottom. You know that one element with the correct shading should NOT be rotated, flipped or mirrored as that shading will become incoherent with the light source. Well, this is like having 4 scripts in one!

Each layer is left unmerged (so you can tweak them), and furthermore, they are grouped so you can copy the whole set of layers to paste them on your project without having to re-align them one by one.

You can use just about any type of  straight ribbon: opaque, patterned, directional, translucent, lace, etc.

You can grab this script in the store: Knot #11.

For a chance to win this script, tell me how you can think of using this simple knot. Can you think of something even more original than others? Something a little "out of the box"? Share your suggestions in the comments below, and i will pick a winner next week. Not a subscriber yet? Not a problem. You can register here and it is free (and you only get one email per week).

Knot in greyscaleAs a sampler of what this script will generate, i created 4 knots using the same starting ribbon. So you get one for each of the 4 directions.

Each file is in PSD format and the layers are unmerged. If you want to copy the whole thing onto your project and not have to merge the layers first, here is the process (with PSP):

  • highlight the bottom layer
  • right-click and select New Layer Group; click OK to the window that will pop up
  • activate the layer just above the group; drag it into the group, just above the previous layer (which is now in the group)
  • repeat for each layer
  • activate the Group 1 layer (above all the individual layers); copy that one (Ctrl-C) and you can paste as a new layer onto your project (Ctrl-L)

That was easy, wasn't it?

What will you do with those tied ribbons? Remember to show use your end result!

You need to be logged in to download this sample. You can either login, or register on the top of this page.

New script – Custom Banners

Custom Banners script for Paintshop ProLast week, i attended to my daughter's wedding, and at the reception, she had a cookie bar where people would pick their own treats to bring home. She had a set of banners that said "Love is sweet".  I remember her asking me where to find the individual banners in the colors she wanted, and i didn't know. She ended up having the decorator do them for her, but that sparked the idea in my mind that Paintshop Pro can easily be used for hybrid projects. And that is how this Custom Banners script came to be.

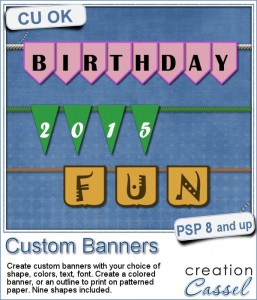
This script will create individual banners with each character of your text (including the blanks) and the color you want. You can choose one of the 9 preset shapes for the banners or use your own if you have others. You can also pick a simple or elaborate font for those banners. All in all, you get the option to create your own banners.

Do you have specific patterned papers you want to use to create the banners? Not a problem: the script will ask you and if that is the case, it will only create an outline that you can cut out and the number would be printed.

And if you want to keep it digital, that is quite ok too as you can create the text message of your choice and size down each banner to suit your layout.

You can use this script to write any message you want!

Get this script in the store now: Custom Banners.

Do you want a chance to win this script? In the comments below, tell me what is the first text/message you would like to write with these banners. I'll announce a winner next week in the newsletter. Not a subscriber yet? Not a problem. You can register here and it is free (and you only get one email per week).

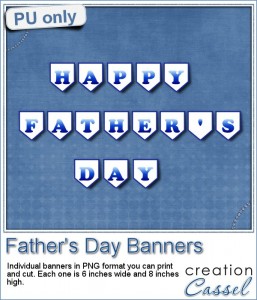
Custom Banners for Fahter's DayFather's Day is coming soon (at least here in Canada), as it is next week. For this occasion, i created all the banners to write the phrase "Happy Father's Day". Since you would need to print out the individual banners, i didn't duplicate the letters like A and Y which are repeated in the message. You can just print them twice or three times. There is also a blank one for you to place between the words or to add your own design.

I created them in white fill so that if you want to use a colored or patterned paper, it would still be possible to do without printing all over it.

Once you have them printed and cut, attach them together with a string or other fastening system, and hang it something (and remember to take a picture).

You need to be logged in to download this sample. You can either login, or register on the top of this page.

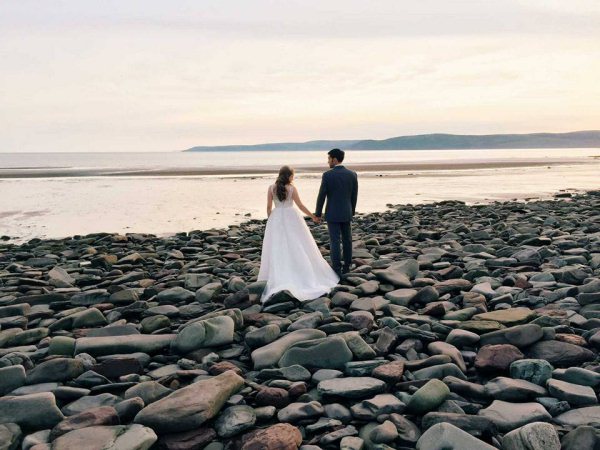
And now, why wasn't there anything in the store last week? Because i was busy with my daughter's wedding, which was taking place out of town. Here is one picture of the happy couple.

Wedding1

New script – Stamps #3

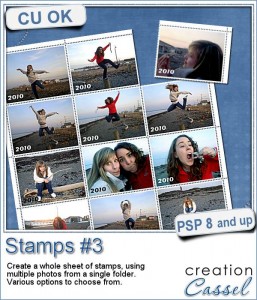
Stamps #3 script for Paintshop ProYou might like the idea of turning a photo into a single stamp, or a full sheet with the same image repeated over and over again, but why not create a full sheet with different photos? This script can let you use a different photo for each individual stamp or use a few photos repeatedly.

The script offers you the choice of the number of rows and columns and the rest will be done automatically for you, after you open one image from the folder where all the photos are stored.

Furthermore, just like a real stamp, you can add text (like the value or the country) and you can be creative and add a date, a location, or a name. Talk about a fun way to display many photos of a single event or theme.

You can get this script in the store: Stamps #3.

If you prefer to create just a single stamp, you can use the Stamp script, and if you want a full sheet with a single image, you can use the Stamps #2 script.

If you want a chance to win this script, add a comment below telling me what text do you think you would add to a series of stamps like these. I`ll announce the winner in the newsletter, next week. Not a subscriber yet? Not a problem. You can register here and it is free (and you only get one email per week).

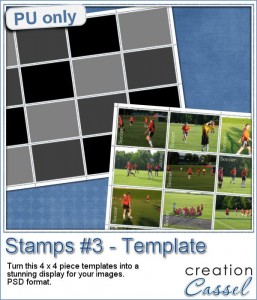
Stamps 3 script sample - free stamp sheet templateSince this script uses your own photos, i doubt you would have had any use for a full sheet of my photos! So i figured i could make a layered template with this script. You get a PSD file, and you can clip a photo of your choice to it, or just re-size your photos to fit the space available.

After that, you can manually add the date, value, or other text on each individual stamp. Of course, it will be a bit tedious (something you would not have to worry when using the script), but in the mean time, that is one alternative for you, or if you are using a non-PSP program.

You need to be logged in to download this sample. You can either login, or register on the top of this page.

And remember to post your result in the collective PSP Scrapbook Showcase pinboard.


New tubes – LED lights

cass-LEDlightsDuring the holiday season, it is a good time to see some colored lights. However, you can probably use them for any occasion, just like neon lights.

These sets of picture tubes for Paintshop Pro will allow you to simply draw with your cursor and have the  lights follow that path. Write words, make a frame around a photo, enhance the outline of a shape or even letters.

This set includes 10 different colors of lights that you can use to light up your project. Since they are lights, they will give a better result on a darker background.

You can grab this set in the store: LED lights.

Would you like to get these lights for free? Add a comment below and tell me what element or shape you would like to light with those tubes. I'll announce the winner in the newsletter next week. Not a subscriber yet? Not a problem. You can register here and it is free (and you only get one email per week).

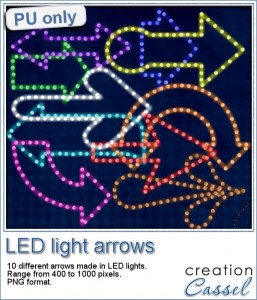
cass-LEDlight-arrowsAs a free sample, i made 10 arrows using the 10 colors available in the set. To make them really nice and regular, i didn't draw them by hand, but i used the script called VectorTube on vector shapes.

Those will be great to add a focus onto an element or a photo on your layout. They range in size from 400 to 1000 pixels so there is plenty of room to size them down to fit your own project.

Remember that they are lights so, don't add a shadow to them! If you find them too light, you can always duplicate the layer. This might be needed if the background is not very dark.

You need to be logged in to download this sample. You can either login, or register on the top of this page.

New script – Ribbon Tag Wreath

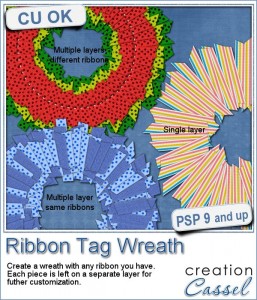
cass-RibbonTagWreathYou can create so many elements using leftover pieces of ribbons in traditional scrapbooking, but what about digital scrapbooking?

Sure you can and although it would be VERY long and tedious to do manually, this PaintShop Pro script will do the work with little effort.

You can create a wreath using one or two or three or however many ribbons you want. They will be picked at random, cut at random (but based on the average you will choose), and placed correctly along the wreath shape.

Each individual piece will be left unmerged and will have a shadow if you want to.

You can add more than one “layer” to the wreath for a totally different look.

Since all the individual layers are left unmerged, you can always tweak them, insert decorative elements between then, etc.

Since each wreath could easily end up with over 100 pieces, just imagine the time you will be saving!

Grab this time-saving script in the store: Ribbon Tag Wreath script.

What would you do with such a script? It might be obvious to use it to create a holiday wreath, but i am sure you could think of more ideas, don’t you think? Add your suggestions in the comments below, and i will pick one person to receive this script for free. The winner will be announced in the newsletter. Not a subscriber yet? Not a problem. You can register here and it is free (and you only get one email per week).

cass-RibbonTagWreath-Holiday-previewWhat about a little free sample and a quick tutorial for this week?

For this wreath, I used a single ribbon that I colorized 3 times. Here are the steps:

  • before running the second part of the script, I colorized the ribbon in green and adjusted the brightness to get a rich color
  • run the script to complete the first “layer”
  • choose a blurred shadow
  • for the second layer, re-open the same ribbon, but colorize it yellow; adjust the brightness to get the color you want
  • run the script to complete the second “layer”
  • for the third layer, re-open the same ribbon, but colorize it red; adjust the brightness to get the color you want
  • run the script to complete the third “layer”
  • merge each group
  • select the Ellipse tool and draw a circle the size of the wreath; adjust the Line Style to use the Dashed, and a size of 10 pixels
  • convert to a raster layer
  • select outside the “stitch” layer with the Magic wand
  • activate the top “layer” and apply a large inner bevel; deselect
  • activate the stitch layer
  • add some noise and a small bevel

The sample you have has not had the bevel applied because it would require merging the groups and removing the option to customize it on your end.

Because the sample has 163 layers (yes, that many), the files are quite large. I have them available in two formats: one PSP format, where all the pieces are grouped by “layer” and one in PSD format, where the individual pieces are linked based on their “layer” (since the PSD format would not keep the groups). So it is up to you to download the file you need.

You need to be logged in to download this sample. You can either login, or register on the top of this page.

New Font – Satin Stitch Font

cass-SatinStitchFont

If you want to use a stitched font, you might be quite limited in finding some ready made alpha, that has one style, one color, and you can maybe colorize it.

Another option is to find a font that has those stitches, but it will not give you the overlapping effect that real stitching would have.

Yet, another option is to do it yourself; NOT convenient, and quite tedious.

Finally, this font is what you were looking for. In fact, you get TWO fonts, and each one will be a layer of stitching, so you can have that exact overlap that you are looking for.

Since it is a font, it can work in most graphic programs, like Paintshop Pro, Photoshop, Photoshop Element, GIMP and more.

And as a font, you can choose the color, the size, the kerning, and if your program allows it, you can even put the text along a path! That would not be easy if you had just a regular ready-made alpha, would it?

You can grab this font in the store as Satin Stitch Font.

Do you want a chance to win this font? Add a comment below, telling me what program you would likely use this font with. I’ll be announcing the winner in next week’s newsletter. Not subscribed to the newsletter yet? Not a problem, you can register here.

cass-SatinStitchFont-LOVEAs a sample, i figured i could do a little combination of the font and something else. I used the font for the letters in this one, but for the heart, i used a regular preset shape and ran the VectorPaint script on it, using a narrow rectangular brush tip.

It is really simple to do, and you can do the same thing. It would be fun to use in creating wordart too.

You need to be logged in to download this sample. You can either login, or register on the top of this page.


News from the Campus

MagicFillDid you have a look at the new version of Paintshop Pro? Did you see the Magic Fill feature that was added? That is much better than the Smart Carver and the Clone tool.

Check the video demonstration in the Campus.