Notice: Function _load_textdomain_just_in_time was called incorrectly. Translation loading for the lepopup domain was triggered too early. This is usually an indicator for some code in the plugin or theme running too early. Translations should be loaded at the init action or later. Please see Debugging in WordPress for more information. (This message was added in version 6.7.0.) in /home/creat419/public_html/creationcassel.com/blog/wp-includes/functions.php on line 6114

Notice: Function _load_textdomain_just_in_time was called incorrectly. Translation loading for the broken-link-checker domain was triggered too early. This is usually an indicator for some code in the plugin or theme running too early. Translations should be loaded at the init action or later. Please see Debugging in WordPress for more information. (This message was added in version 6.7.0.) in /home/creat419/public_html/creationcassel.com/blog/wp-includes/functions.php on line 6114
Freebies | Creation Cassel - Part 2

New script – File Tabs

cass-FileTab

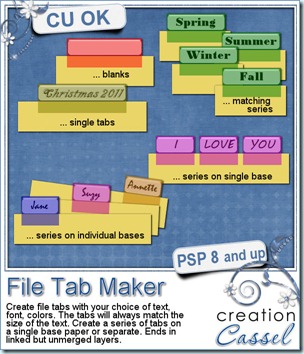
I don’t know about you, but i have thought of using file tabs in a layout only to find that the few tabs i had in my stash, didn’t really fit my project. If you ever experienced the same problem, you will now have the solution. This script offers you MANY possibilities to create your own tabs. Not only you can choose the color of the tabs, but you can choose the text and the font. Even better, the tabs will always be the right size. How can the script do that? It measures the size of each word you want to put and uses the size of the longest word and plan all the tabs around that size. You won’t see the script do it as it works in the blink of an eye but it does give you that perfect result every time.

You can create a blank tab of the size you want or a single tab with some text. But you can create several tabs either separately or on a single image. If you want them on a single image, you can have them all stuck on the same piece of paper or on separate papers. Talk about versatile! What can you use those for? Just about ANYTHING you want. You will fall in love with those and i am sure you will find many uses for them either in kits or in layouts.

You can find this fantastic script in my stores: Creation Cassel and DigiScrapWarehouse.
cass-FileTab-sample-dateI am sure you would love to win this script, right? Just hop over the Happy Place thread HERE and tell me ONE use you can think for those tabs. I will be drawing for a winner on Monday night.

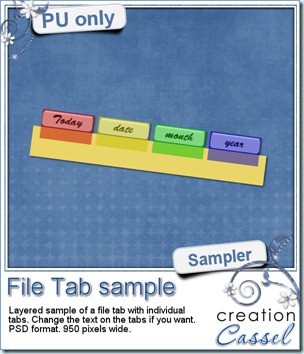
As for a freebie, you can grab this sample here. I created a series of four tabs for you to add dates to your project 365 or any other layout. I initially had the word “December” in there so the tabs would be long enough for you to add a month name, and then i changed it to only “month”. This allowed all the tabs to be larger than if i had use the word “month” in the script itself. This set of tabs comes in PSD format, fully layered so you can use fewer than the four tabs available. You can also use the tabs without the paper base and apply them to your own papers or even directly onto a photo.

You need to be logged in to download this sample. You can either login, or register on the top of this page.


News from the Campus


The March workshop video is accessible to view to any logged in member. Did you have a look? I got several comments from viewers saying that they finally felt more comfortable using vectors after this workshop. Isn’t that a good thing? Go watch the edited recording and you can even purchase the downloadable version so you can view and re-view and re-re-view it as often as you want, without the worry of having to be online! And the downloadable written document is a whopping 22 pages of instructions, tips and illustrations. That is a biggie! Check it out now.

Don’t be afraid of Vectors!

PlayingWithVectorsInPSP


If you like workshops, you will be spoiled in April. I will be hosting one on April 1st called Color your world, on colorizing: we will look at colorizing elements for your layouts or your kits, but also adding colors to photos, so you will be able to use those tips for other purpose than scrapbooking. You can register right now for it. Just click this yellow button.


button-register-150

PSPX4box


But that is not all. Corel also has some regular workshops they call Shop Classes for their various products, including Paintshop Pro. I was invited to present one such workshop on April 2nd (yes, just the day after the other workshop). The topic is: Introduction to scripts in PaintShop Pro. I know a lot of you have asked me questions about scripts, how to use them, what they can do and such. You’ll have a chance to hear answers to a lot of those questions during that one hour class. And it is FREE. I was told they might expect over 100 attendees AND there will be something drawn as a participation prize. Don’t wait and register NOW.


button-register-150

Do you have an older version of PSP and you are looking for the patches since you had to reinstall it to a newer computer? The Corel site does not carry the older PSP version patches, but you can find them all neatly stored in the Campus. Those patches are all free so you can download them as you need them. Check this PSP Patches section.


Last week, due to time limitations, no new tutorial was added to the Element section but i will catch up this week and upload TWO to make it up.


Keep an eye on this blog or on our mailing list as i will be having a special call soon. Not a CT call, but something for the Campus itself. Maybe tomorrow, or Sunday. I am not telling anything more… yet! You’ll have to be patient.

New script – Plastic Pocket

cass-PlasticPocket

I noticed, in the digital scrapbooking forum, that  member was looking for something that simulates those plastic pocket protectors and several designers replied with their own versions. Very interesting products, and varied, but as a script coder I was wondering how one could get a real custom sized pocket for their special element that might not be standard size.

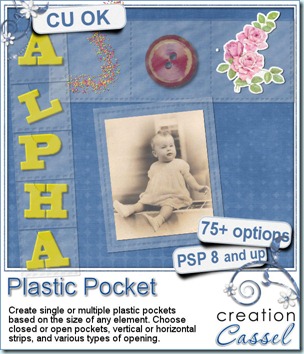
Now, this script will let any Paintshop Pro user create single or multiple plastic pockets. Do you have a large or a tiny element to store? No problem. You can also make multiple pockets (up to 8 compartments), in vertical or horizontal strip. You can have the pockets open or closed, and with different types of cutout for the open pockets (you know, to help you get things in and out easier).

What would you put in those pockets? Just about anything you want. You can place photos, buttons, beads, chains, leaves, stickers, tickets, tags, even alphas to create a title! Yes, why not make a title with those multiple pockets? That is a cool idea!

You can get this script in my store: Creation Cassel.

As usual, you have a chance to win this script simply by participating in the RAK in the DST forum. Check out this thread and tell me what you can think of inserting into those pockets. I will come back on Monday with the name of a winner.

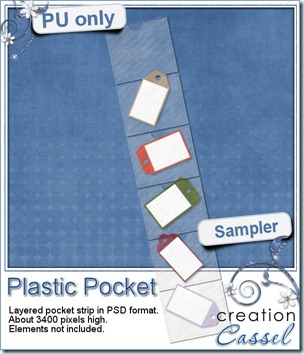
cass-PlasticPocket-sample I know you would like to see one of those pockets on your layout and play with it. You are lucky because i created this multiple pocket for you. It consists of two separate layers, in PSD format, so anyone can use it, even if you don’t have Paintshop Pro.
You need to be logged in to download this sample. You can either login, or register on the top of this page.

You will get a set of 6 open pockets, with that typical cutout on the top layer allowing you to get your elements to slightly stick out. For best results if you want elements to stick out, I would strongly recommend you watch the video on Interlacing element in PSP (even if you are not using Paintshop Pro, I am sure you can do something similar with Photoshop).


News from the Campus

Our next webinar is scheduled for next week. Will you join? We will be tackling Vectors as they tend to scare a lot of people (i have to admit, i was intimidated by vectors myself at first). Do you have specific questions for us? Just email me your questions ahead so i can plan to address those during the webinar. This is what we plan to address (but your suggestions might be added to those points)

  • basic vector shapes
  • create your own vectors
  • using vectors for other purposes

Are you having a hard time with the time zone issues? You are not alone, so here is a little list to help you:

Greenwich Mean Time: 10 PM (you cannot be in bed already!)

Atlantic time: 6 PM (this is where i am)

Eastern time: 5 PM

Pacific time: 2 PM

Eastern Daylight Time: 8 AM (for our Australian friends)


Click this button to register and be sent reminders by email


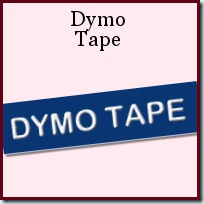
Last week, we added the Dymo tape tutorial for our Element Creation section.

DymoTape

Last weekend, i wanted to do more recording for the Element section but guess what? I got a little ill, and … i lost my voice! Yup, for 6 days, i either had a really bad voice, or no voice AT ALL! I should be able to record more tutorials this weekend to continue the series.


Last but not least, you only have a few days to refer friends to join the Campus (even for a free membership), and have a chance to win the access to one course of your choice in the Campus. Send your friends to THIS LINK so they can put your name as a referrer, and i will announce the winner in an email soon after the end of the month.


See you in the Campus!

New script – Beads

cass-Beads

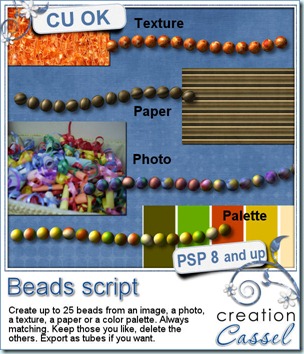
Do you sometimes wish you could have more beads to add to your projects? Maybe you have one or two but you want to have more and you cannot find any more? This script will let you create an infinity of beads based on anything you want. You can start the script with a photo, a paper, a texture, or simply a color palette (with up to 6 colors).  The script will generate up to 25 different beads from that source. And yes, they will be different because of the random feature integrated in the script. The part of the image used will be different every time. You can also choose to have the definite pattern of a paper or a photo show on the bead, or have the colors more blended together for a softer look. And even if you run the script with the same source, and the same settings, you will never get the same result twice. Talk about having resources!

Once the beads are generated, you can delete those you dont want, save the ones you like (and if you have PSP9, you can even export them as a tube with the Auto-Tuber script that is included) so you can place them along a vector path or draw with them.

You can get this creative script in my store: Creation Cassel .

And why not try to win it. I have a draw in the Happy Place of the DST forum. Just check this thread and add your name to it. Everyone will get something, even if you are not a PSP user so do not hesitate.

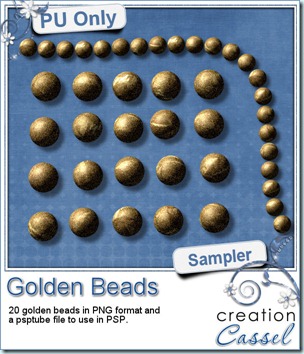
cass-Beads-Gold-Samples How about a little Freebie now? I created these TWENTY beads for you. They are all in PNG format for all to use, but there is also a psptube file for Paintshop Pro users so they can “draw” with it.
You need to be logged in to download this sample. You can either login, or register on the top of this page.

Each bead is 60 pixels wide and you can resize them down. With 20 different beads, it will surely look more “realistic” than the exact same bead repeated over and over again. Place them in the center for a flower, along the edge of a frame, in line to make some kind of “string”. What else could you do with that?


News from the Campus


SeamlessDesign

The recording for the “Seamless Design in Paintshop Pro” webinar is now uploaded in the Campus. You can find it in the Webinars section. The written handout should be available soon.

Our next webinar will be held on Sunday February 5th, at 5pm Eastern time. We will look at using Layered templates with Paintshop Pro. Register below.


button-register-150

Since we have had several registrants in the past who got confused with the time of the presentation (due to the wide time zone differences), please check with this Time Zone Converter to figure out the time for YOUR zone. You can also follow the Campus on Twitter. I will make sure to tweet a countdown, like an hour before, 30 minutes before and so on. That way, it might help you pinpoint the actual time of the start of the presentation.


Twitter_logo2

I know it is frustrating when one arrives one hour too late! We definitely don’t want you to miss it.

New script – Colored Edge

cass-ColoredEdge

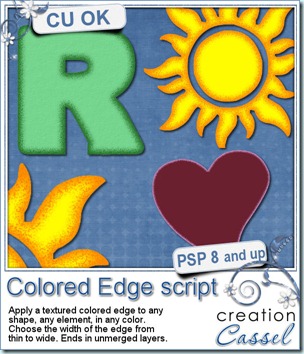
In just a couple of clicks in your Paintshop Pro, you can add a colored and textured edge to ANY shape, of ANY size and you choose the color and the width of the border. Whether you want to add a colored edge to an alpha, a preset shape, or even a cut up photo, this script will make it a breeze.

The script will create TWO colored edge layers and leave them unmerged. Once the script is finished, you can merge the layers, or play with the opacity, the blend mode or simply separate them to use only the edges without the base shape. Perfect to add a little detail directly onto a photo, or on your background paper to include some journaling.

You can get this script in my store: CreationCassel

If you want a chance to win this script for free, just go add your name to this thread in the DST forum, and tell me what you can think you could use this script for. I will be back on Monday night to announce a winner.

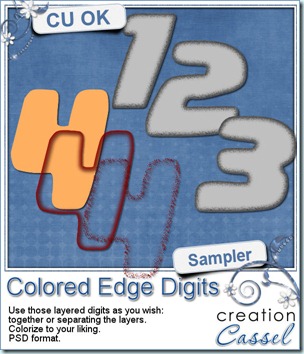
cass-ColoredEdge-Digits I know, you also want to have a peek at the result of this script by downloading a free sample, right? Well, I cannot disappoint you, can I? So here is your sampler. It is a set of digits in greyscale, layered in PSD format. You can easily recolor each layer separately, merge them or use them separately too. This set is CU.
You need to be logged in to download this sample. You can either login, or register on the top of this page.


News from the Campus

The PSPX4 special is still in effect, but hurry as it is only until Sunday, Oct 16th! Get PSPX4 FULL version, downloadable or boxed for $39.99. This is a HUGE deal as it is 50% of the regular price. Hurry and grab it while you can.

Get PSPX4 for $39.99

(although i am an affiliate for Corel, this special is NOT through my affiliate link)

Did you have a look at the Webinar on Shadows? It is available for viewing for free. We showed tips for flat shadows, lifted shadows, cluster shadows and fantasy shadows. See what Carolyn said about the Webinar on shadows:

Cassel,
Thanks so much for posting your webinar on shadows in PSP.  I learned a whole lot!  I know that this will help my layouts as well as the presentation of my kits.  Thanks!
I look forward to future webinars  Unfortunately, I won't be able to join them live if they are held on Sundays.  However, I can still learn from them by viewing them online.  Thanks again for these great resources!!
Carolyn S. Ritter

So what are you waiting for? There are 2 webinars available already. They are FREE. Check Webinar on Shadows And while you are there, you might as well register for NEXT Webinar. It will be on changing photos from day to evening/night and from summer to autumn/winter. Just like magic! And you can use ANY version of PSP.

Finally, The Basic Scrap Course with PSP is still on special and registration at the special price, with the special bonuses will only be until Sunday, October 16th. The registration will give you access to 12 units, 36 lessons, 45 video tutorials, with matching handouts you can download. And all that for unlimited access. Your registration will not run out after 6 months. It will not run out after you view all the videos. You can keep referring to them forever, with NO additional fee. Registration this weekend will give you a coupon for $5 from Mariscrap, 26 layered templates, 50 sketches, and a chance to win a copy of the DVD Slideshow Builder Pro to create fantastic slideshows with your photos or layouts. Perfect to prepare Holiday presents ahead of time!

Register Now for the Basic Scrap Course with PSP

New script – Knot #3

cass-Knot3

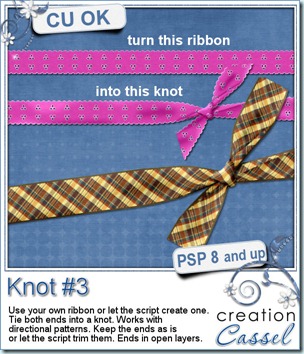
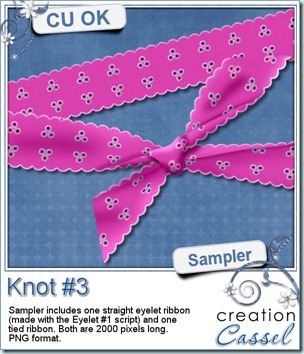
Do you sometimes wish you could tie your digital ribbon? Do you like to have ribbons wrapped around an element but would like to use your own ribbon and not one already made? This will be the perfect script for you. If you can use Paintshop Pro, you can get great knots using any ribbon you already have. Start with a ribbon that is 2000x150 pixels and you end up with a tied ribbon. The script can create a ribbon for you if you dont have one already made. You can use any kind of ribbon: opaque, translucent, eyelets, even ribbons with a directional design. If you want to have some fancy details on the ends, like beads or serrated edges, the script can keep them intact for you, or can trim the ends like a traditional knot. The end result will be left unmerged so you can insert decorative elements in the middle if you want. Of course, you can merge them all if you prefer.

You can get this script in my stores: Creation Cassel, and DigiScrapWarehouse.

You can go add your name to the RAK thread in the DST forum here, if you want a chance to win this fantastic script.

cass-Knot3-sample

I am sure you would love to see the result of this script up close. I created this set for you. I used the  Eyelet script to create a ribbon, and then, the Knot #3 script to turn it into a tied ribbon. It is in PNG format so most scrappers can use it. You get both in the zip.

You need to be logged in to download this sample. You can either login, or register on the top of this page.


New Tube – Spiral Binding #2

cass-SpiralBinding2

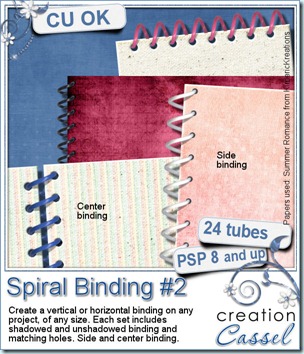
These tubes are perfectly measured to create a regular spiral binding on the edge of any book, notebook or other element. You can place them along any edge, and you can make them as long as you want, with the size you want. You get 4 sets of tubes for Paintshop Pro (only…. sorry Photoshop users); each set includes side binding and center binding, shadowed and unshadowed. You also get a tube to align the holes perfectly. You get a total of 24 tubes in all. These realistic spirals were extracted from real ones, gathered at the printing shop!


You can grab this second set at either one of my stores: Creation Cassel and DigiScrapWarehouse.


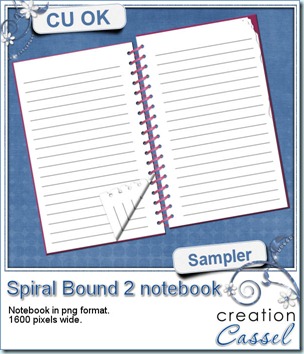
cass-SpiralBinding2-notebook Now, what could you do with the spirals? I made a little notebook for you. Use it for journaling on your pages if you want.
You need to be logged in to download this sample. You can either login, or register on the top of this page.

What kind of little notes will you write in that notebook?


Did you know about my birthday yesterday? Yeah, i share my day with the Earth, as in Earth Day! easy enough to remember! This year, I posted a special sale in my personal store, and a LOT of people took advantage of that rare opportunity: they enjoyed a 50% off sale on everything. Did you miss it? I still have a 35% off everything today (until midnight), and then a 25% off tomorrow. Hurry because sales are not very frequent in my store. Scripts, fonts, tubes, presets, paths, everything is on sale.

Free script – Striking Photo

cass-StrikingPhoto

I decided to create a quick simple script to give away this month. As i was working on some of my own pictures, i realized that i was fixing the photos with the same kind of settings, so why not make a script out of it?

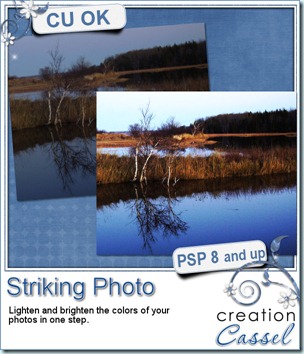
This script will work on PaintShop Pro versions 8 and up. It will lighten and brighten the colors of dark and faded photos.

And best of all, it is FREE. So check it out in my store and grab it! It is like adding sunshine on a cloudy photo!

Available here.

New script – Noted

cass-Noted

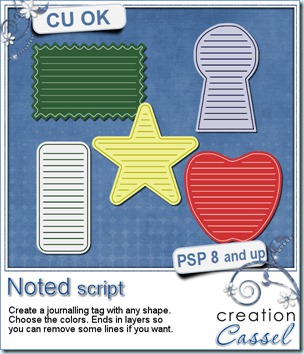
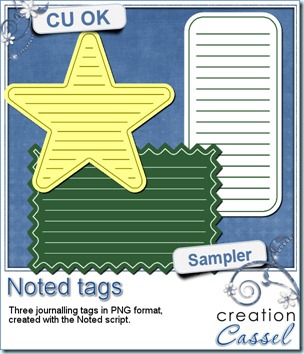
This script for PaintShop Pro will let you create fun journaling tags for just about any occasion, layout or kit. You choose the size and the base color, and run the script. That is it. Oh, wait. You have options. You can choose the colors of the lines, and the number of lines you want to show. In the end, you have unmerged layers so you can remove the outline if you want, remove some lines, change the color of some, etc. You can also create tags to print. Great for hybrid use.


You can get this script at either one of my stores: Creation Cassel, DigiScrapWarehouse.


And as usual, if you want to have a chance to win this script, hop over the DST forum in this thread and tell me what is the oddest shape tag you ever used.


cass-Noted-tags What about a free sample of what this script can do? Here are three fun tags you can use in your layouts or kits (remember that you cannot use these AS IS, commercially, but you can if you modify them). What do you think?
You need to be logged in to download this sample. You can either login, or register on the top of this page.


New script – Element Stacker

cass-ElementStacker

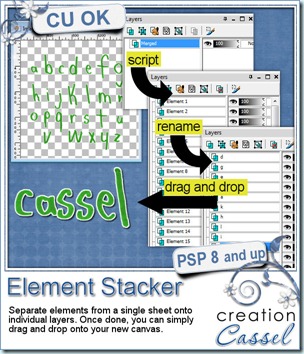
You might know of the Element Separator script that can separate multiple elements from a single sheet into individual files. This script is somewhat similar, but instead of giving you many individual files to work with, it will separate each element into its own layer. That means that you can have 10, 15, 20 elements but all separated at the same time. And what advantages are there to individual layers? First of all, it is faster to copy and paste since you don’t have to make a selection around your element. But there is another trick that can save you a lot of time too. It is simply a drag and drop. You can see a little video explaining it in the product description.

This tool can be great for designers who want to offer three formats for their alpha: single sheets, individual files, and layered file. And for scrappers, this tool will help make their scrapper at least a bit faster.

cass-StackedAlphaYou can get this script in my stores: Creation Cassel, and DigiScrapWarehouse.

You can also add your name to the RAK thread here for a chance to win this script.

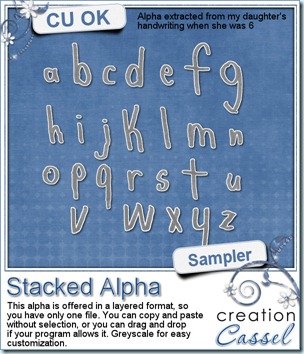
And to show you what you can do with a layered alphabet, i am giving you one that i made using my daughter’s handwriting when she was young. It is in greyscale so you can easily customize it to your layout. Each letter is on a separate layer, so you can copy and paste or drag and drop to use them. Your choice!

You need to be logged in to download this sample. You can either login, or register on the top of this page.


You can surely use this alpha to create a layout to enter the big February contest. Remember? You still have 10 days to enter! Check the details here.

New script – Stamped Paper

cass-StampedPaper

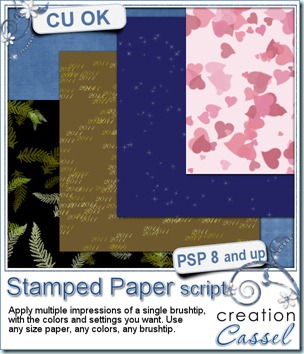
You can now create any size paper with any brushtip that you have. You choose any color palette (from 2 to 6 colors), the size, and the settings. You can opt to have all the “prints” in the same angle (like for text) or various random rotations. You can have all the “prints” using exactly the same settings that you set, or let the script vary the size, the saturation, etc. Try using this script with a texture brush to create your own textured overlay. Since the script uses a random feature, you will never get the same result twice. Run the script once, or continue to add more layers. In the end, use any layer you want, and delete the others. Apply effects to individual layers if you want. Change the blend mode for more possibilities.

The “stamped” layers will be added on a separate layer, so your initial image will be untouched. That means you can even run the script directly on your layout as you work!

You can get it in my stores: Creation Cassel and DigiScrapWarehouse.cass-StampedPaper-samples

And if you want a chance to win this script, hop over the DST forum and add your name to the RAK thread there.

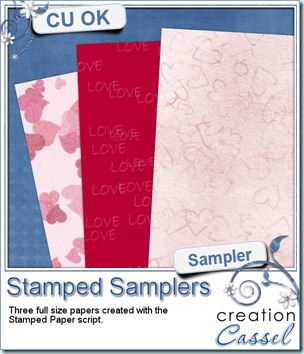
And how about a few papers made with this script? I got a little pack of 3 papers for you, that were made with this script. You can see the end result of one run using the brushtip always at the same angle, and two with varied settings, including the angle of rotation.

You need to be logged in to download this sample. You can either login, or register on the top of this page.

And remember, you can use this FREE paper to create a layout and enter the February Promotion contest.