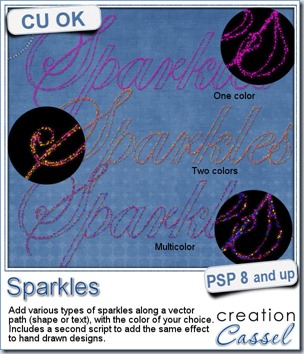
You can now add sparkles to any vector drawing, whether it is a text, a shape or a hand drawn vector design. You can choose various options for colors, like have every sparkle the same exact color, or slightly different variations of a single color, have it with two colors and blends of colors in-between or have it multicolored with a base color to start with.
The script will add the sparkles and a touch of glow to it. Obviously, the effect will be more visible on a dark background.
This script is based on a free script you have to download (that is not mine) and 4 presets that you can also use independently from the script itself.
Since you are using presets, you can also tweak the settings to suit your needs or play with variations.
In addition, since you can use the presets independently from the script, it means you can create your own doodles, and sprays of sparkles. To give those hand drawn sparkles the same effect as what you get with the script (since there is more to do than just applying the presets), there is an additional script in the zip file that is especially coded to give the same effect. This will allow you to create matching elements, whether they are vector based or hand drawn.
Grab this Sparkles script set in my store.
If you want to win this script, head over to the DST forum, in the Happy Place and answer the question there. I’ll be back next week to announce a winner.
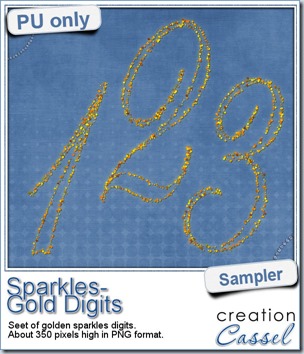 For a closer look at those sparkles, i created a complete alpha. Here are the digits (and it includes a hyphen and a slash if you want to use them for dates).
I used the preset TWO (wich is using one single color as a base and applying some slight hue variations from it). I chose a “gold” color as the base and you can see the result. Every sparkle has a faint glow to it so it will look fantastic on a dark background.
I picked an elegant font. Each digit is about 350 pixels in height so they are big enough for most projects.
You need to be logged in to download this sample. You can either login, or register on the top of this page.
 Do you want the rest of the alpha? I also have the full alpha, complete with lowercase, uppercase, symbols and punctuations. It also includes the accents for accented characters so you can combine them yourself to create any specific characters for your own language. It will be included in the Newsletter that will be released tomorrow. You want it?
Sign up HERE. (link expired)
Now is the time to join the Scrapper’s Dozen event. It will be starting Monday, October 28th with the first tutorial/challenge. Are you up to it?
 The event will include 12 unique PSP tutorials to create specific paper patterns, paper effects, and elements that will be useable in many projects, whether you are doing digital scrapbooking, greeting cards, signature tags, blog design and more. Do you want a peek? This is the first tutorial that will be released: the Linoleum Pattern. You cannot imagine how simple this technique is. I can bet you will be using this in MANY projects to come.
Those 12 tutorials will be spread over 4 weeks, so you will have ample time to follow them and catch up if something happens along the way.
You also get 6 kits from contributing designers that you can use with your challenges (but it is not a requirement, as you can use just about anything you have in your stash).
To find out a little bit more about those 6 designers, check out the Campus blog.
And what is special with a “baker’s dozen”? It is more than 12, so everyone who will be completing the 12 challenges will get a 13th something. What is it? You have to join to find out, but it will be worth your registration fee for sure!
Do you want some additional FREE tips, tricks and cheat sheets? Check out the 3 pre-event videos.
What are you waiting for? Some participants are already in, anxious to start. Lynn, Giovina, Linda, Shirley, Else, and more. Come and join us.
Register NOW
And bring a friend along too!



 Do you want a chance to win this set of scripts? Head over to the DST forum in
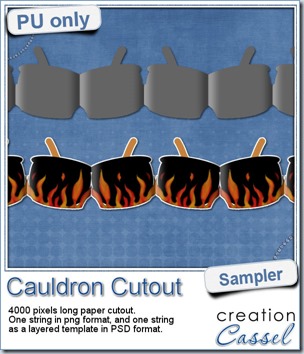 This week, to make sure that everyone (using Paintshop Pro or not) could use my product, I opted to create a paper cutout using a cauldron image, which was turned into a sticker (with a little white edge). Then, i ran the

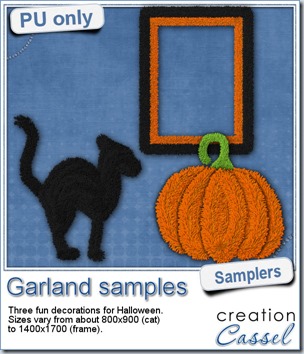 Now, how about a little look closer at those garlands and their texture? I created a few Halloween decorations for you using those garlands.
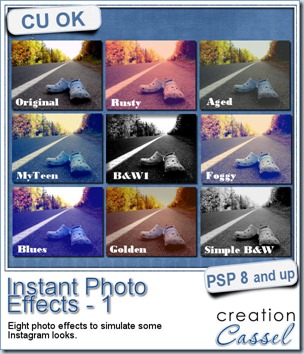
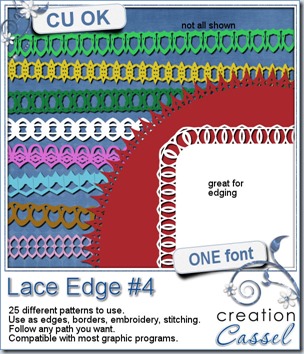
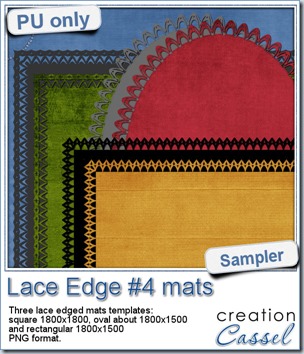 This week, i created more mats for you, using the lace font from last week.
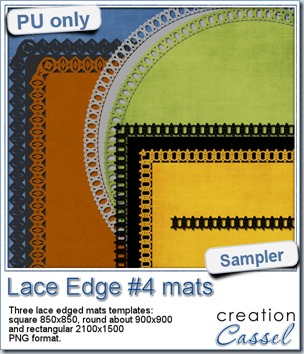 This week, i created 3 decorated mat templates. You can use them to cut out your favourite paper, or simply to color. You can also layer them with other simple shapes since those are very simple to start with.

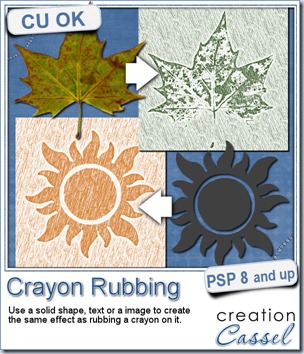
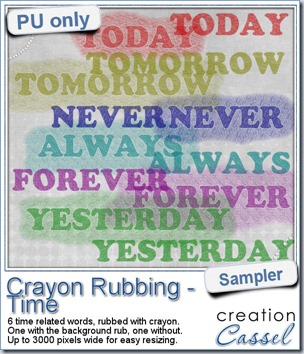 Do you want a chance to win this script? Just tell me what you would use it in a scrapbook project, in
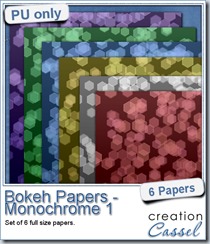
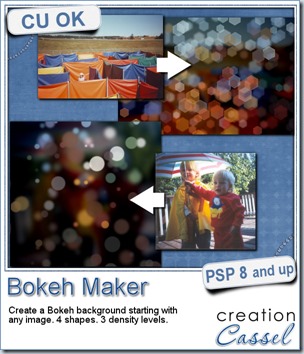
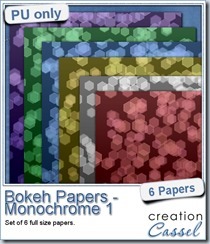
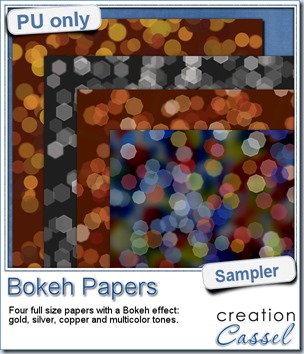 For this week’s free sampler, i created four full size papers for you. Since i dont really know what type of photos you have to use in a layout, i decided to create three of those papers using just gradients i had in my stash: one for silver, one for gold and one for copper. Once i had a paper made out of those gradients, i just ran the script on it.
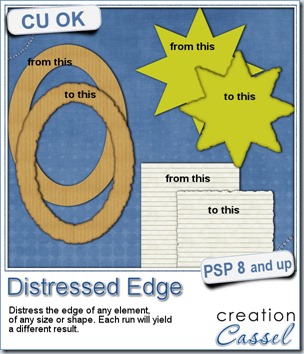
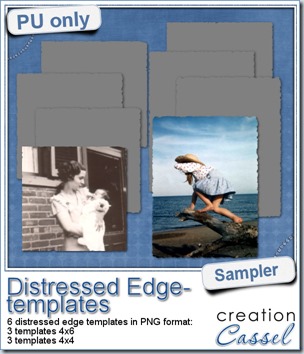 One neat use for the distressed edge is that although you can use it directly on the element you want to have irregular edges, you can also create your own templates for shapes you might want to use in the future. In fact, that is what i did for you. Since i could not show you a sample on YOUR elements, i made some grey templates. They are for 4x4 and 4x6 photos. If you are into pocket scrapbooking, or Project life or using Instagram, you will surely find some use for those. Use them for photos or journaling cards.