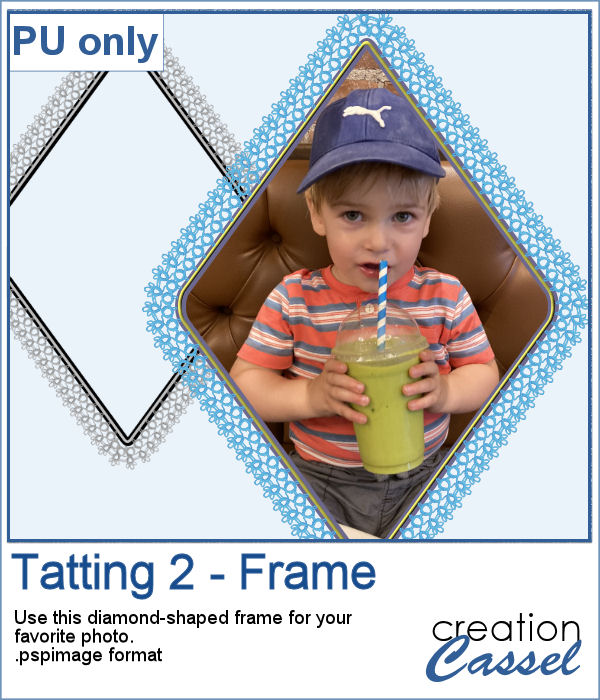
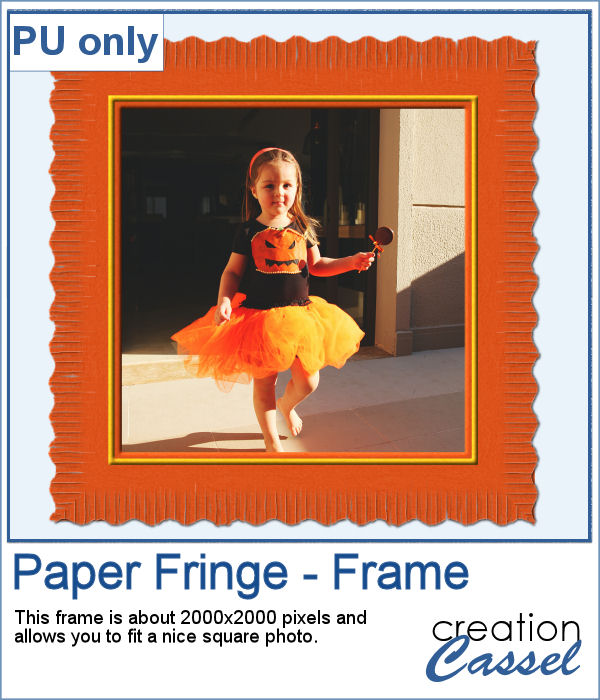
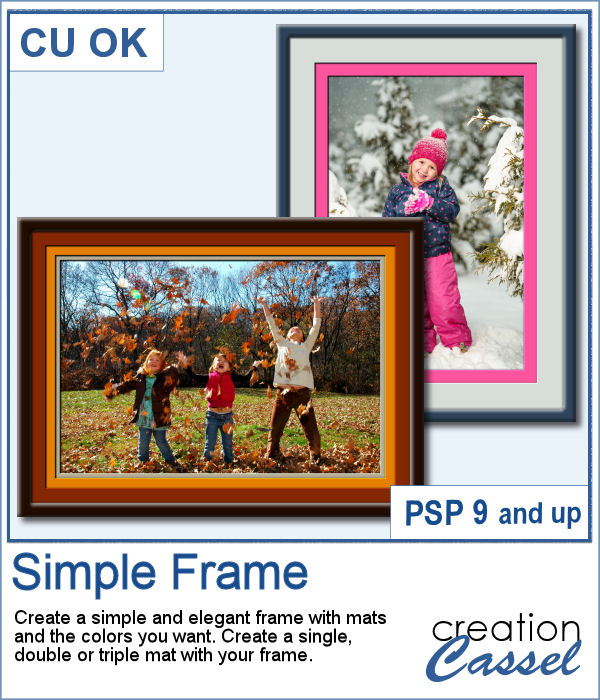
 Sometimes, you just want to add a simple frame to your photo in order to show it off. This script will help you do that quickly, while still letting you choose the colors for the frame and the mats.
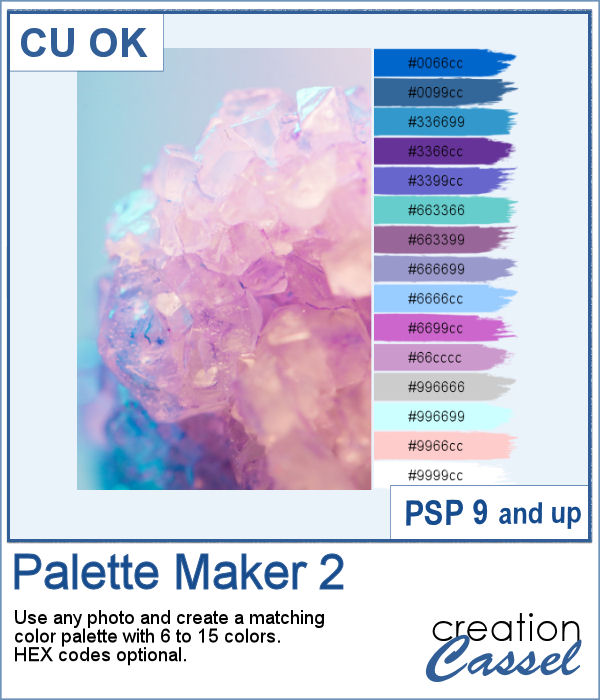
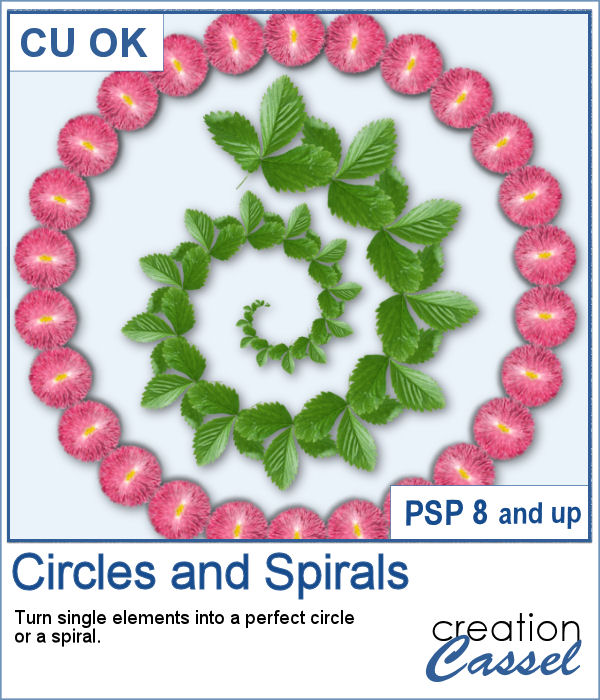
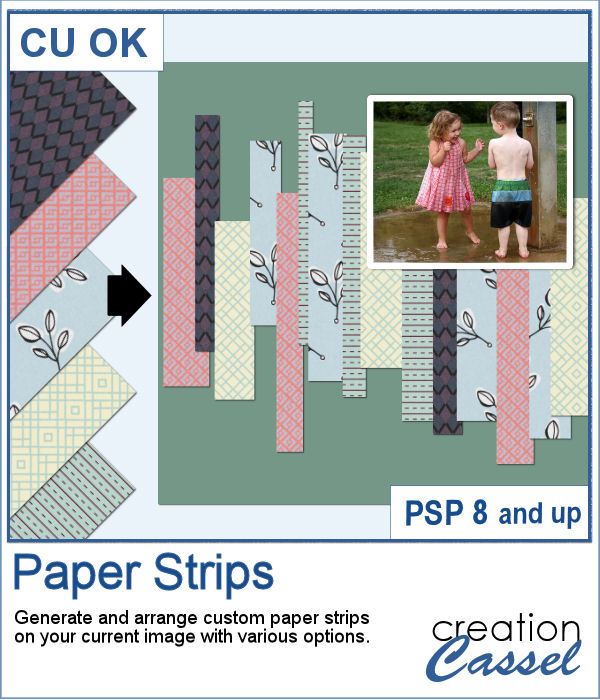
You can choose the width of the overall mats and the frame and also decide if you want the mat to be single, double or triple.
Everything is left unmerged so you can add a final touch if you want.
Get it in the store: Simple Frame
In order to win these tubes, add a comment on this Facebook post telling us what kind of frame you tend to create for your photos (remember, add a comment, not just a Like!) The winner will be announced in the newsletter, next week. Not a subscriber yet? Not a problem. You can register here and it is free (and you only get one email per week).
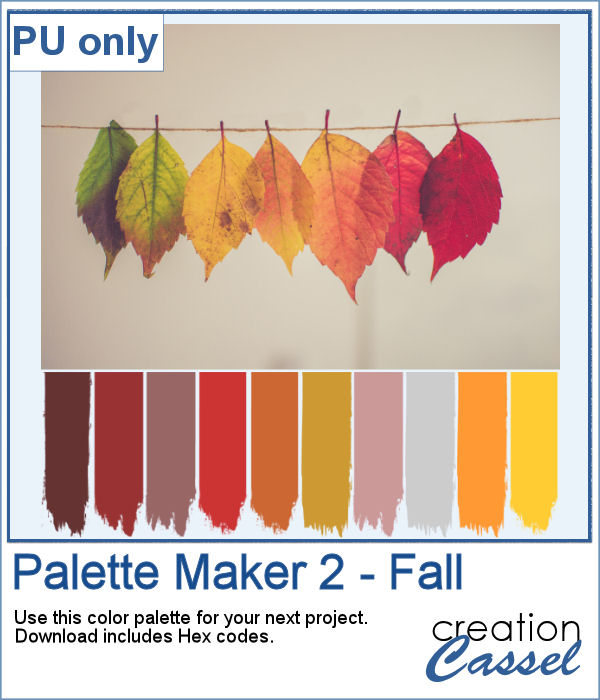
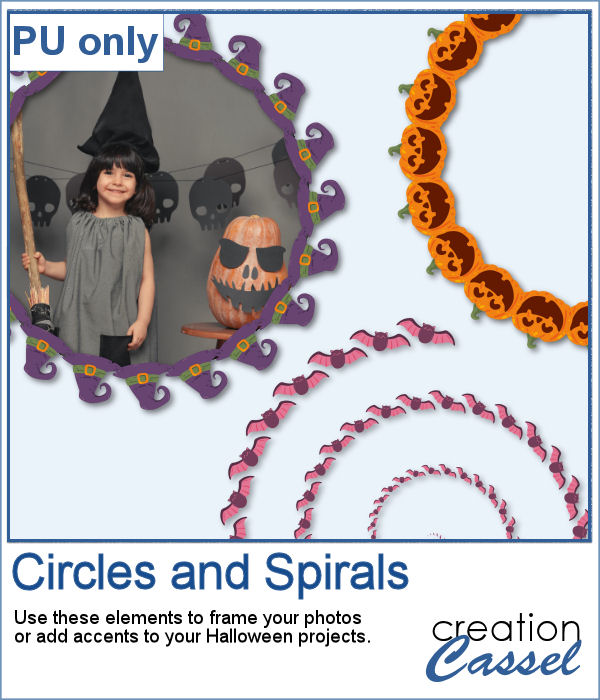
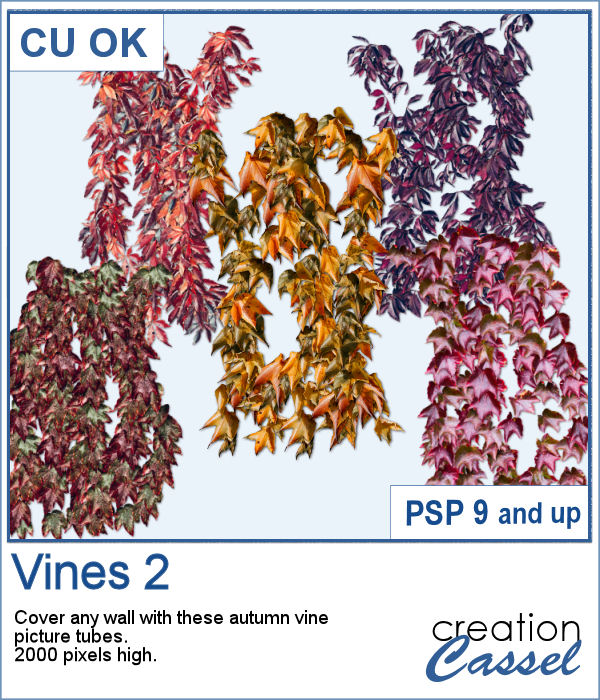
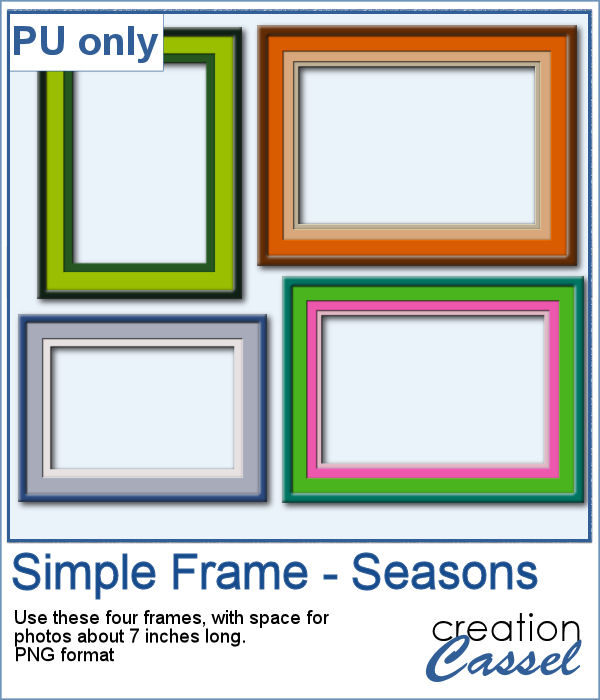 As a sample for this script, I created a set of four frames based on seasonal photos so you get a frame for each of the four seasons. Each frame allows a photo of about 7 inches on the longest side. They are all in PNG format, so they are useful in various graphic programs.
You need to be logged in to download this sample. You can either login, or register on the top of this page.