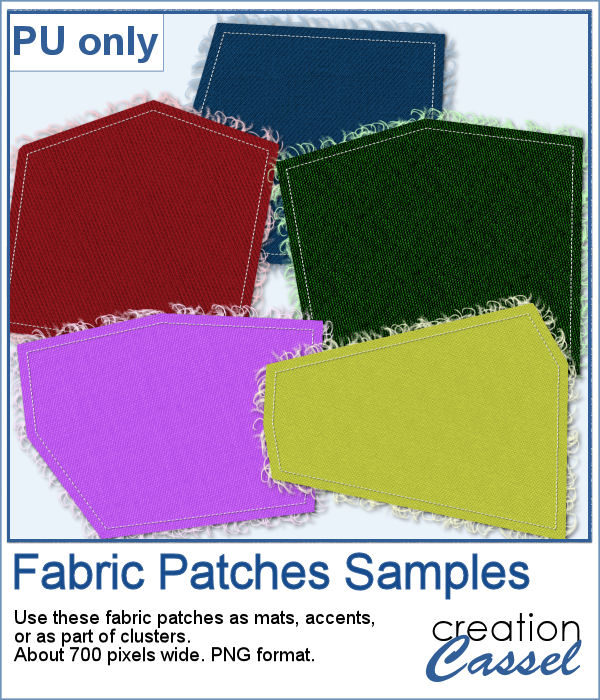
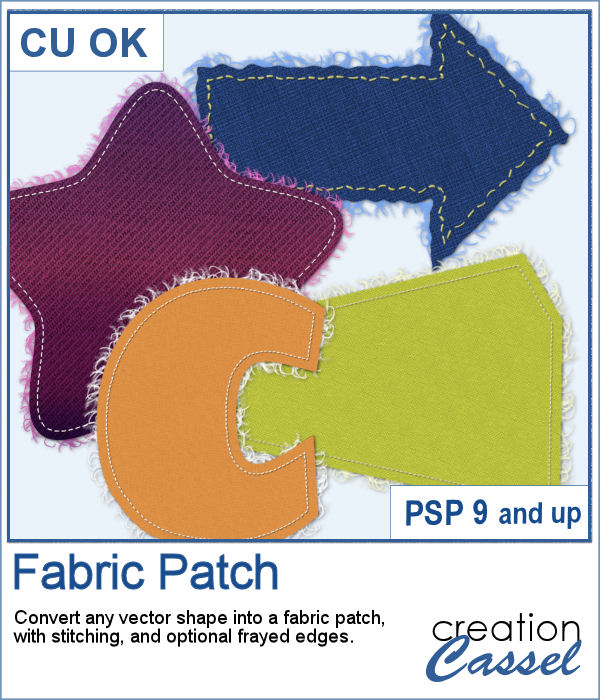
Now, you can turn any vector shape into one of 8 fabric textures. The script will use the color you started with and will blend in the texture. You can create titles with it, frames, mats, cluster elements, etc.
The script will add stitching around the edge (you decide how close to the edge you want it and its color), and you can also have a frayed edge along the whole border. The stitching and the frayed edge will be left unmerged at the end, so you can tweak them, or remove them, or even use them separately somewhere else.
In order to win this script, add a comment on this Facebook post telling us how you could use those fabric patches in a project (remember, add a comment, not just a Like!) The winner will be announced in the newsletter, next week. Not a subscriber yet? Not a problem. You can register here and it is free (and you only get one email per week).
As a sample, I created some random patches in different basic colors. Use them as you wish. They are about 700 pixels in width and in png format.
You need to be logged in to download this sample. You can either login, or register on the top of this page.
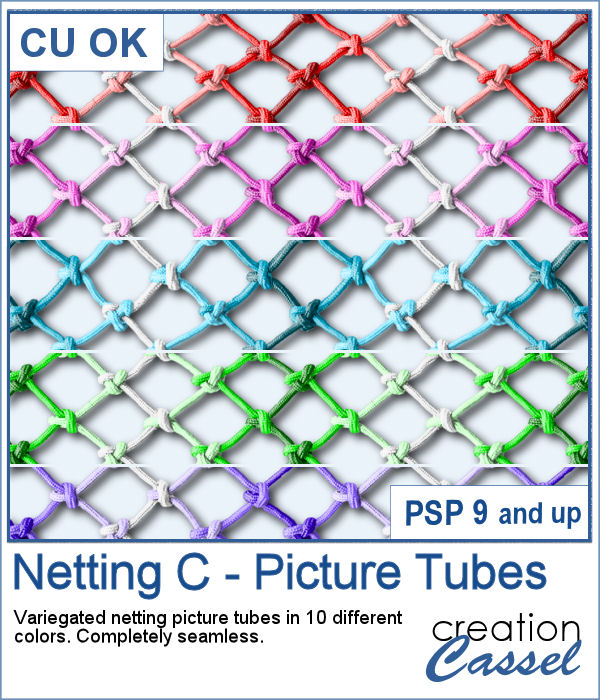
To create a nautical project, using netting is a common element. Recently, we had some netting picture tubes that you could use to embellish your project. This time around, the netting is variegated, giving the whole project a different look.
You get 10 different colors of picture tubes and they are seamless so if you need a net that is taller than 700 pixels, simply duplicate your layer and move it to align it up or down.
(and yes, the Netting B is missing; I was working on another set, but chose to change to a variegated set for now. Don't worry, the Netting B will be released, in the future)
In order to win this script, add a comment on this Facebook post telling us what projects could you make with these tubes (remember, add a comment, not just a Like!) The winner will be announced in the newsletter, next week. Not a subscriber yet? Not a problem. You can register here and it is free (and you only get one email per week).
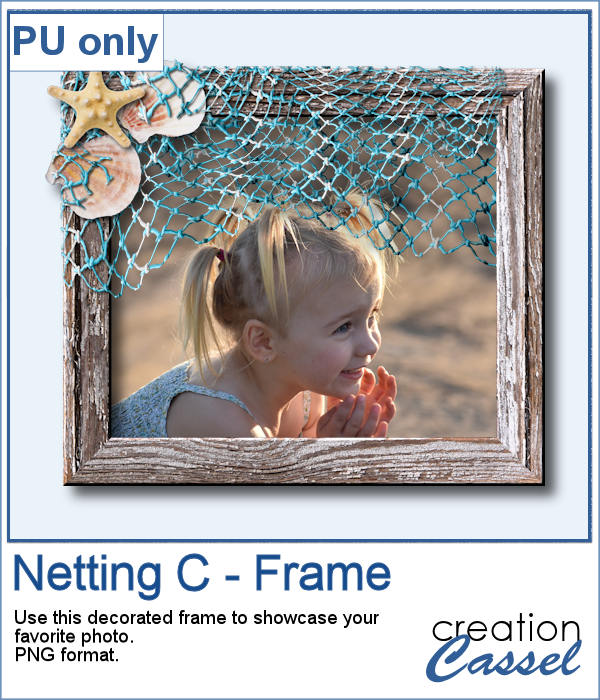
As a sampler, I created a wood frame (using a script) and added three layers of netting. I distorted them irregularly, and deleted what was extending outside of the frame. I then added some seashells from the 2019 picture tubes.
You need to be logged in to download this sample. You can either login, or register on the top of this page.
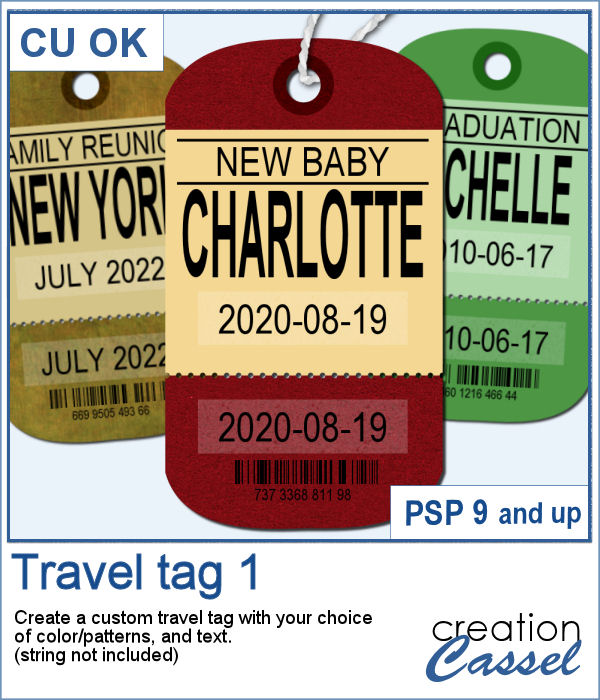
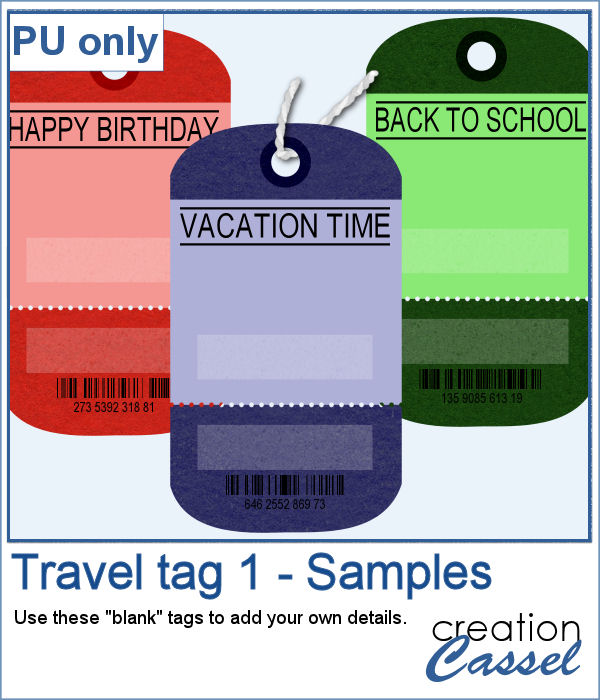
You can now create a custom tag, with the colors from your palette, or even with some interesting patterns, and include details of your choice. Although these tags would typically be associated with travel (like a location, an airport code, etc.), you can use them for any occasion since you can choose any text you want.
Once the tag is done, tie it with a string to another element, or include it in a cluster.
In order to win this script, add a comment on this Facebook post telling us what occasions, other than traveling, could be used for these tags (remember, add a comment, not just a Like!) The winner will be announced in the newsletter, next week. Not a subscriber yet? Not a problem. You can register here and it is free (and you only get one email per week).
For this week, the samples I made were run through the script, but I stopped it before the final merge, which allowed me to remove some of the text. This helps create "blanks" that you can fill however you need.
You need to be logged in to download this sample. You can either login, or register on the top of this page.
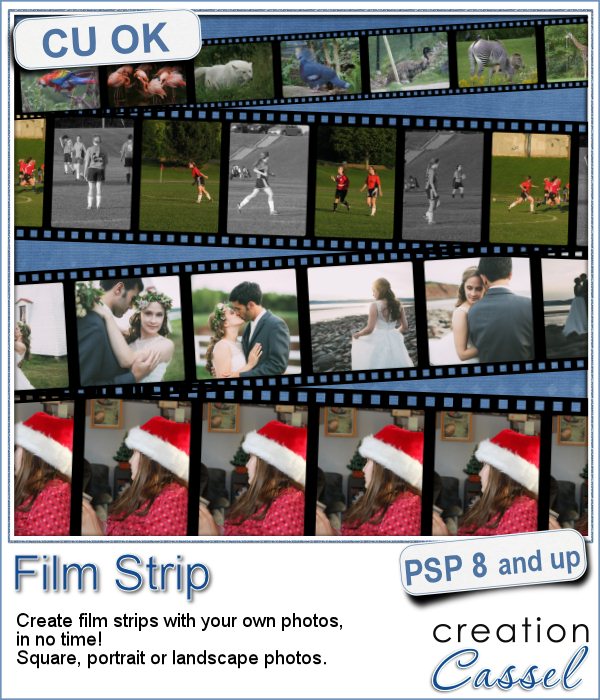
Film strips are common ways to display photos, whether they are a series of photos taken in a rapid sequence, or completely different photos.
It is fairly easy to use a template and insert your photos manually into each slot, but with this Paintshop Pro script, the process will be much faster and you will have more options available than with ready-made film strip templates.
This script will always create a strip that is 3600 pixels long, which will fit traditionally sized scrapbook layouts. It is also big enough for you to size it down to any other size you need.
You can have between 4 and 12 photos on that strip, and the script will adjust each individual slot to still have a 3600 pixels long strip.
In the end, you will still have the option to tweak the exact placement of the photos (in case you don't want to cut Aunt Lucy's face on the edge). You can also apply various effects to the individual photos, like turning them into black and white, adjusting the brightness, adding various effects.
I am sure you would love to use this script and you are already thinking of some photos to use in them. What kind of photos are you thinking of using with this script? Tell me in the comments below and i will announce a winner in the newsletter next week. Not a subscriber yet? Not a problem. You can register here and it is free (and you only get one email per week).
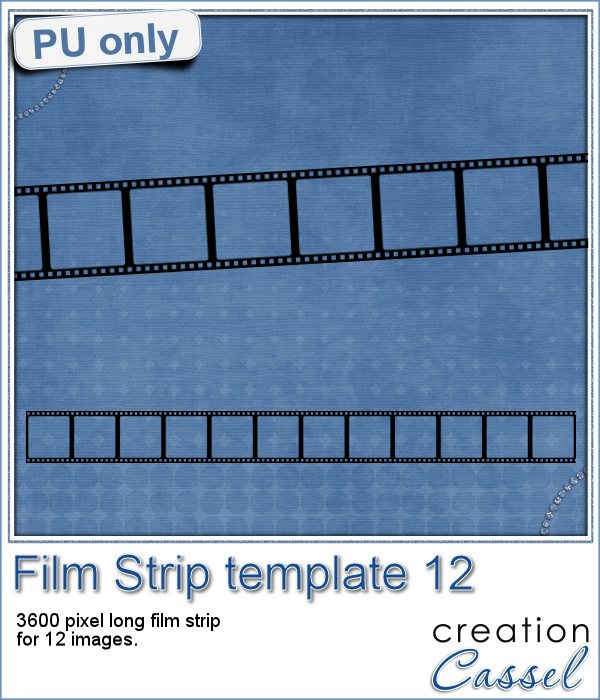
Of course, i cannot give you a sample of this with my own photos (even the wedding photos) since they won't mean anything to you. So, for that reason, i will just give you a sample of a blank template. I used the same strip as the one with the wedding pictures, and just saved the film strip layer in a png format.
As for all those strips, it is 3600 pixels long and this one has 12 square spaces for adding photos.
You need to be logged in to download this sample. You can either login, or register on the top of this page.
Several years ago, it was fashionable to have multiple studs placed on a piece of garment, jeans, t-shirts, etc. It was a lot of work to create those, especially to have all those studs evenly placed.
In scrapbooking, it could seem easy to fill a shape with studs but the problem is that some of the elements would get cut off on the edges. How do you get only full studs and none of the cut ones?
This is what this script does. Using your Paintshop Pro, the script will actually measure the size of the studs you choose and the shape you want and will do the correct calculations to eliminate all the “part-studs”.
You can start with any shape of any size (obviously, if your shape is too small, the result might not be as good), and pick one of the two shapes for the studs: round or diamonds.
Then, the script will offer 4 possible metallic finish: gold, silver, bronze and copper, but if you want to use something totally different to match your photo or your kit, you can also do so. Use the sculpture effect or simply color and add a bevel.
How about a chance to get it for free? Tell me what shape you would like to use to create a series of decorative studs? I’ll announce the winner in the newsletter, next week. Not a subscriber yet? Not a problem. You can register here and it is free (and you only get one email per week).
Free Decorative studs with a Paintshop Pro script
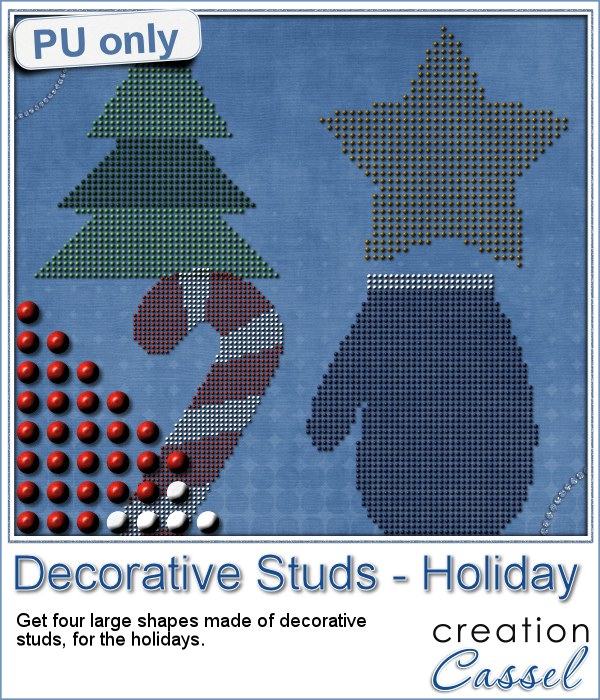
As a sampler for this script, i created some holiday decorations for you. To do them, i simply used a large shape and ran the script.
I used the gold finish for the star, but for the other elements, i chose the option 5, to add my own finish. In my stash, i had various color tiles from the Felt Presets, so i used those tiles as a base color for the other shapes.
For the tree, i selected the center area, promoted the selection to a layer and deleted them from the base shape. Then, i applied a different color to that layer.
I did the same with the mitten.
For the candy cane, i applied the red tile, then i used the point to point selection tool to select sections that would be white. Since the selection was cutting off some of the studs, i went through a few more steps:
edit selection
using the Eraser tool, with a round brush tip, i erased the sections over the studs that were mostly outside the selection
using the RIGHT click with the Eraser tool, i added selections for the studs that were mostly inside the selection
edit selection again
promote selection to a layer
delete from the original layer
deselect
increase the brightness of the promoted layer so everything turned white
inner bevel on those white studs
merge visible
And now you have it! That is the trick to have full studs in different colors without having to select them one by one.
You need to be logged in to download this sample. You can either login, or register on the top of this page.
Scallops can be a delicate addition to the edges of elements. Although it is not too hard to make, we always love the idea of achieving that effect quickly and mostly, accurately.
This PSP script will do that for you much faster than you could do it by hand. In addition, it will always match the size of your element perfectly. You will not end up with a half scallop on the end of the ribbon or on the edge of the tag. The script will do the measuring perfectly. Furthermore, this will be extremely important if you want to add scallops on all four sides of an element, a photo or a mat.
What can you use this script on? Anything that has a straight, horizontal and vertical edge. It could be the bottom of a tag, a photo mat, a journaling card, a long ribbon, a frame, or more.
Do you like the look and feel of soft woolly elements? Are you looking for those elements all over the net to add to your graphic projects? Although you can probably find strings, ropes and ribbons, wool is harder to find because of that fuzzy texture that is terribly hard to extract. And if you are lucky enough to find one, it might not be in the color you want, or the shape or size or length you want. What can you do?
If you have Paintshop Pro, you can use these fun tubes. Yes they are tubes, which means you can simply draw with them and have a wool “string” in any shape, or length you want. You can use straight lines, place the wool along a vector shape (with the Vector Tube script), or just hand draw it.
This set includes 12 different colors. They are slightly different in size and texture, which will make for something more realistic, don’t you think?
You can grab this set of Wool tubes in my store. Remember they are 25% off until Tuesday.
If you want a chance to win this set, just check out the thread in the Happy Place and add your name to the thread and give me one suggestion on how these could be used. Who knows? I might just create something from your ideas!
What can you do with those? See what i did. I used a heart shape and since it was a vector, i just ran the VectorTube script on it. Then, on a new layer, i simply wrote, freehand, the phrase “I LOVE YOU”. Simple enough, isn’t it?
This actually reminds me of a little pillow i sewed fr my husband, many years ago. I did some simple patchwork on one side and on the plain side, i put the words “I Love You” in wool, but just sewed the wool on the fabric. I think we still have that pillow somewhere as i seem to remember seeing it not long ago when we moved things around.
Creating a folded edge on papers, photos or mats can add a definite 3D effect, but it is not always easy to do.
If you are using templates, with each folded piece on a separate layer, you can probably get away with using a plain type of paper, however, as soon as you want to use a patterned paper, or something directional, the templates will not give a realistic result.
Creating the folds manually is one way to get the correct angles on the patterns, but it is quite tedious to match the angles whether you are using the Pick tool or the Rotate function. But, yes, it can be done.
However, using this script will make the whole process much faster and more accurate.
You can use a single paper, and have it fold on itself with both sides being identical or you can pretend you have a two-sided paper, by using two different papers layered on top of each other before you run the script.
The folds will also be custom made. You will choose how many folds you will have, where they will be and how deep they will be because you will place the dots where you want, and the script will execute the commands based on those dots. You can have as many dots as you want, anywhere you want, for a custom look.
Do you want a chance to win this script? Check out this thread. Tell me how you would create a folded edge if you didn’t have the script. I’ll be back next week with the name of a winner.
See what can be done with a photo and a slightly patterned paper as the “backing”:
What i did was open a large photo, and added a greyish paper on the layer below. I ran the script on one edge (the top one) first. Then, because it made for a lot of layers and because i was fairly happy with the default shadowing, i hid the photo and paper layers and merged the visible layers. That gave me one layer for all the top folds.
Then, i moved the photo and paper layers on top of the layer palette and ran the script for the right edge. Again, i merged all the little pieces for the right edge making sure i didn’t merge the ones from the top. This allowed me to erase the little bit that extended beyond the right edge (the script didn’t know i had run it on another edge before).
Then, i repeated the same thing for the other two edges. Finally, i just moved the photo below all the folded edge layers.
Last week, i released a set of brushes to be used like corner punches are used in the traditional paper crafting world. Those brushes are really brush tips that can be used with the Eraser tool to punch out the design but they can also be used with the Brush tool to add a corner “stamp” to the projects.
These brushes were so well received that i thought of making a second set, using mostly circles (the first ones were using mostly squares). They work exactly in the same way.
Each set includes 12 different designs, in two sizes: 500 pixels if you are using PSPX and older and a 999 pixels if you are using a newer PSP version. Of course, you can always size them down when you use them to match your particular project. Add a rotation and you can punch all four corners.
There is still another thread in the DST forum where you can add your name and have a chance to win this Set B. Check out this thread, and tell me what graphic program you are using. I’ll be back next week with the name of a winner.
Are you unsure how to install brushes in PSP? No worries. I uploaded a short video tutorial just for you. You might also want to subscribe to this new channel so you can see the newest videos i will upload as i do.
If you are not yet subscribed to the newsletter, get on that list now! It is free to register and you get advanced notice of sales, and exclusive tips and tricks to make you more efficient with your PSP.
You can be an Ace, or a King or a Queen all you want with this fun script. Although you could, conceivably have a separate template for all 52 cards of a deck, this script will just do the cards you want without the need to search for the correct template.
You can have four of a kind, or a full house, or a royal flush in hand.
Just pick the value and the suit for the card and the script will create it. Then, open the photo you want to display and the script will take care of resizing it, and will create a mask for you so you can actually SEE what it looks like as you can move, resize or rotate your image in that “space”. If the image is higher than the card, the script will resize it. If your image is in a landscape format, you will get the option to either keep the full height of the image or to use two halves of the central space.
You can get this fun script and create your own Custom Playing Cards in the store.
For a chance to win this script, check outthis thread in the DST forum and add your name to the thread. Also, remember to give me an idea on how you could use this script for something OTHER than a game theme project.
For this week, i decided to give you a template for 4 aces. I am sure you can enjoy havnig 4 aces up your sleeve, right?
Each card is full size, meaning 900 x 1300 pixels and has a separate layer for the center image. Since it is saved in a PSD format, you don’t have to have Paintshop Pro to use it.
What will you display with those cards? Four loves of your life? Four places you have visited? Four children or siblings? Maybe four seasons of the same location? Or four funny faces you have of yourself (or someone else)?
You can use one card or all four too.
You need to be logged in to download this sample. You can either login, or register on the top of this page.
 Now, you can turn any vector shape into one of 8 fabric textures. The script will use the color you started with and will blend in the texture. You can create titles with it, frames, mats, cluster elements, etc.