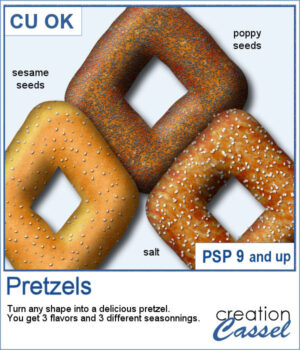
 You can now have some custom-shaped pretzels to either write a title, make a frame, or draw an arrow.
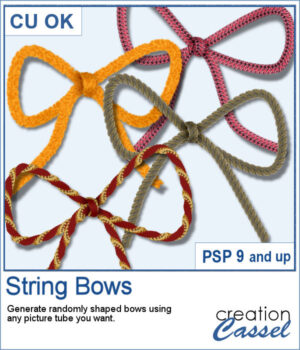
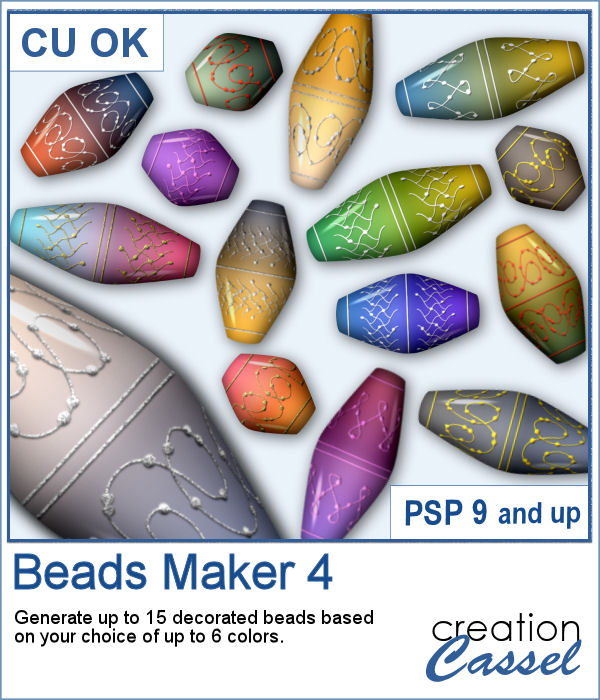
You can use one of the three bases and three seasonings. And you can also choose how much seasoning to add. With the random feature integrated into the script, every run will yield a slightly different result, even if you start with the same design and choose the same options.
Get this in the store: Pretzels.
In order to win this product, add a comment on this Facebook post telling us what do yo ulike as a snack (remember, add a comment, not just a Like!) The winner will be announced in the newsletter, next week. Not a subscriber yet? Not a problem. You can register here and it is free (and you only get one email per week).
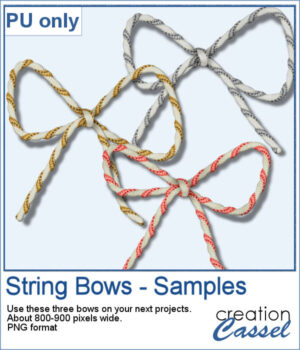
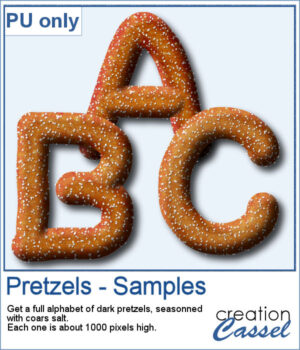 For a sample, I created a whole alphabet using this script. I drew the letters manually and even had separate sections that I merged together to give more 3D effects.
You need to be logged in to download this sample. You can either login, or register on the top of this page.