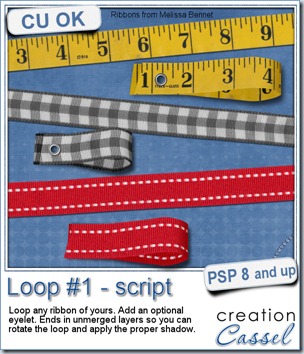
You can now create a simple loop from any ribbon that you already have. Use these loops as an accent, fasten them with a staple, a brad, stitching, or an eyelet. The script can actually create an eyelet for you that will be proportional to the size of the ribbon.
You can tuck the loop under a photo or an element, you can use a particular ribbon with text message or shapes to match your project.
The script has a random feature integrated which means that even using the same ribbon, each run will yield a slightly different result. The length will differ and the segment of the ribbon used will be different.
The script will end in unmerged layers with NO shadows on the ribbon pieces. Why not add a shadow with the script? Because you might want to mirror the loop or have it vertical, or at an angle, and if the script was to add shadows, then they would become very odd looking after rotating the whole thing. You know how it is with shadows: if they are in the wrong direction, it can make your layout look totally weird, and you surely dont want that, do you?
This script is available in my store: Creation Cassel.
And if you want a chance to win this script for free, just post in this thread, in the forum and tell me what you could use this kind of loops for. Be creative. Think a bit outside the box so to speak and share some great ideas. The winner will be announced on Monday night.
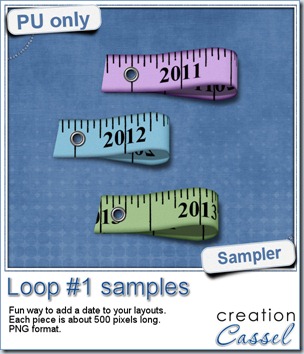
As a free sample today, i thought of creating a ribbon with a date (in fact it is a year) and making a loop out of it. I repeated the process for 3 years. If you are patient, you might be able to create a ribbon for each month, or each day of the week or if you are REALLY brave, one for each date of a whole year! Why not?
You need to be logged in to download this sample. You can either login, or register on the top of this page.
What will you do with those? Show us how creative you are.

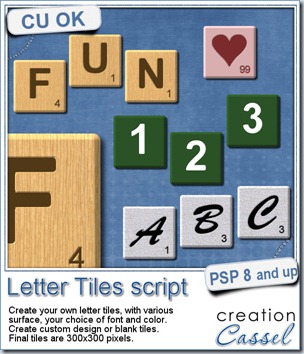
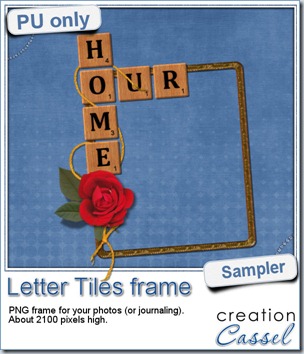 Of course, you can use those letter tiles to create a title on a layout, or maybe a wordart too, but for a sample, i created a frame for you. It is a PNG format so you don’t have to have PSP as a graphic program. It is about 2100 pixels high. Of course, you can always resize it down if needed. the shadows are already placed on the whole montage.
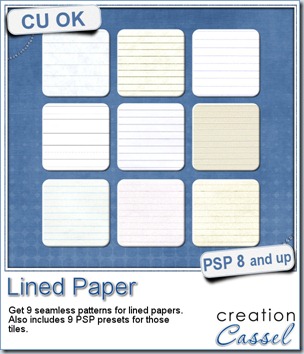
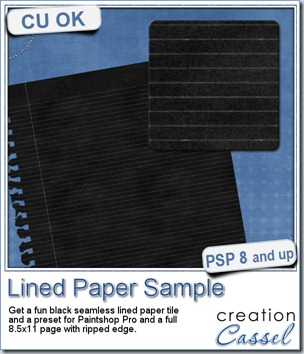 This week, as a sample for this product, i am offering you one tile with one preset (for PSP) and one full size page for everyone else (of course, PSP users can still use it). Do you remember that time when dark papers were popular and kids would use gel pens in neon colors to write on them? Now you can do the same. The tile and the presets work exactly as the lined paper tiles above.
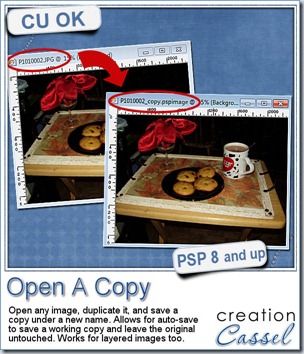
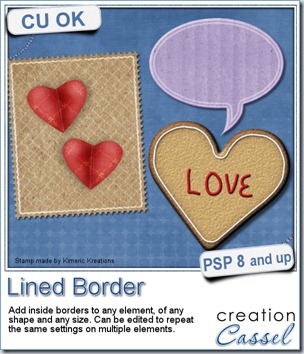
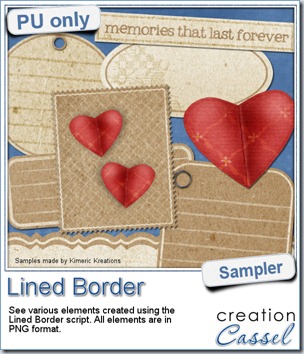 This script was a suggestion from Kimeric Kreations. Kim often uses borders on her elements. It adds a great finishing touch and sometimes, that border is barely visible, yet it is there! Since she was the one who suggested this script idea, she also was the first one to “play” with it. She ended up creating several fun elements using various options of the script and customized the end result for a great look.
 And if you want a chance to win it, check out
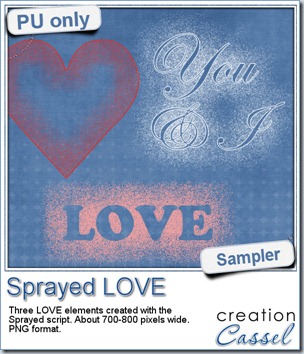 Since we are close the February, the month when lots of people will either celebrate Valentine Day, or simply take pictures or make layouts about their loved ones, I created these three elements that are love related. They are in PNG format, so just about anyone can use them.
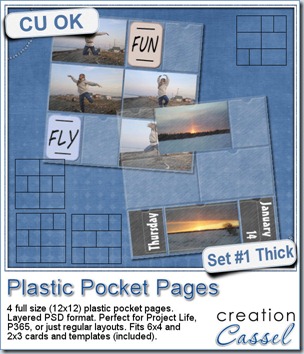
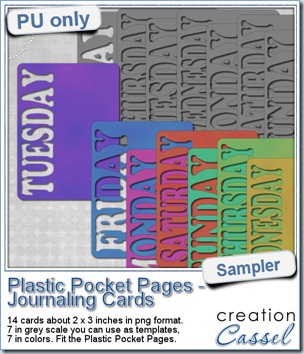 As a sampler, i created a set of template cards with the days of the week cut out of the small base card. I also added a set of colored cards too. You can use them just like that or add the date on the card or even some journaling. That is all up to you. These cards are a perfect match to the Plastic Pocket Pages available in the store, but you can also use them on their own if you prefer.