Bar codes have become almost a boring fact of life whenever you go shopping since every single item has one of those. It is meant for faster checkout by allowing a machine to read the information instead of a cashier. But that “boring” design can be simulated and made much more interesting when used in conjunction with legible text, and fun colors.
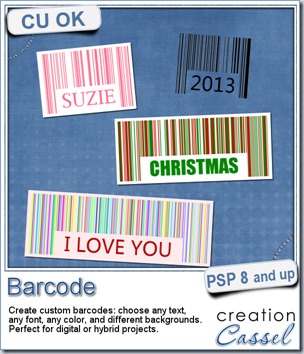
This is exactly what this Paintshop Pro script will do. You can pick ANY text, in ANY font, in ANY color and then decide to replicate the traditional black design, or add fun colors. That is the perfect way to match your label to your current project or kit.
You can also choose to have a common white paper background or another color, or even have no paper at all, so you can apply the “label” onto any background as if it were stamped directly onto it without a paper support.
 You can use any text so that leaves you with so many options: names, locations, dates, phrases. Do you want even more ways to use those labels by modifying them? Check out the newsletter for that additional tip.
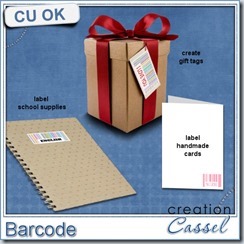
Do you know you can use those labels as printables? Check out what you can do (i am giving you three ideas, can you think of more?)
You can get this fun Bar code script in my store.
You have a chance to win this fun script by sharing some of your great ideas. Hop over to this thread, and tell me of ways to use this script in a printable format. What would you use those labels for?
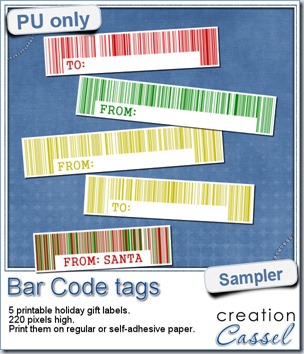 Obviously, i would not be able to create a sampler with the name of your kids, or the school subjects for you to stick them on their notebook, but we all know that Christmas is coming (yeah, i am serious!) and whether you are celebrating Christmas or not, it would likely be a time for gift exchanging, even if it is only between colleagues at the office or the little newspaper carrier, so i thought of creating some holiday season labels with this script.
You can get these 5 labels and print them out. Because they have some blank spots, you can handwrite the name of the recipient or the giver, and put them on presents for the holiday season.
They are pretty simple, but you surely don’t want to overpower the present you would offer, do you?
You need to be logged in to download this sample. You can either login, or register on the top of this page.
News from the Campus
Did you see that the free video of the November presentation is already up in the Campus?
You can watch it for free, as long as you are logged in (registration to the Campus is totally free). So head over to watch it.
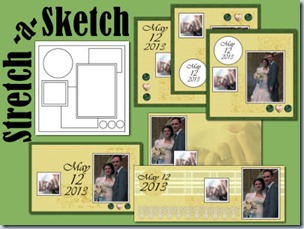
See how you can turn a flat sketch into a layered template.
See how you can use a single sketch and create a variety of layouts.
See how you can turn a square scrapbook layout into a card or a Facebook cover image.

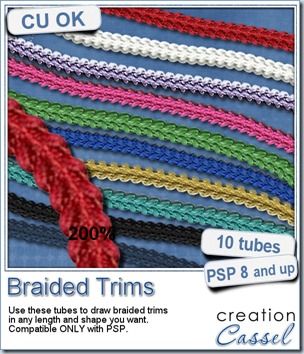
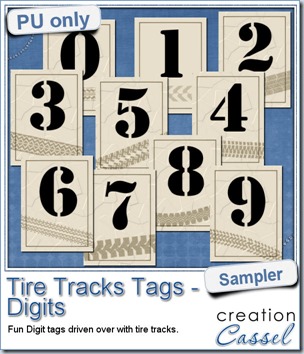
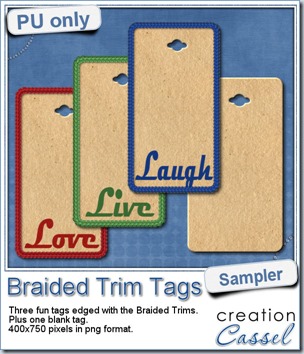 As a way for you to see more closely what those tubes look like in a real project, i created those fun tags. I started with a vector shape (a rectangle with rounded corners) and used the VectorTube script to place the trims along that path. I then replaced the center of the tag (that was a vector layer) by a brown paper texture i had in my supplies. I cut out the hole on top and added some words using the Magneto font.
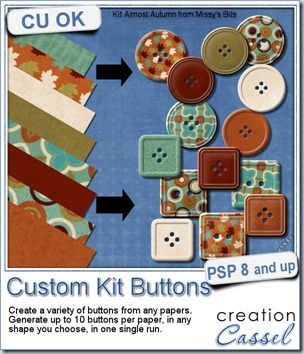
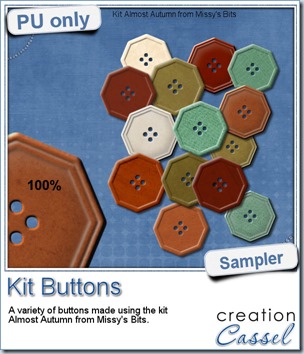 This week, i used Missy’s kit called Almost Autumn to create a set of 14 octagonal buttons. Then, i tweaked them to add a slight variation in size, brightness and contrast, just to make sure they were not all exactly identical. What do you think of that?
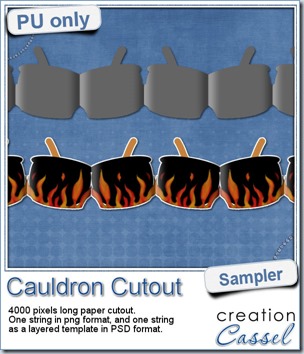 This week, to make sure that everyone (using Paintshop Pro or not) could use my product, I opted to create a paper cutout using a cauldron image, which was turned into a sticker (with a little white edge). Then, i ran the

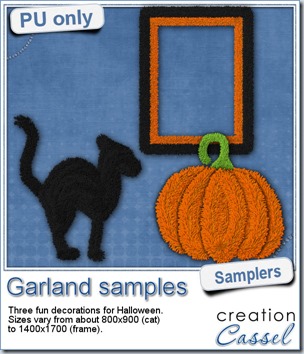 Now, how about a little look closer at those garlands and their texture? I created a few Halloween decorations for you using those garlands.
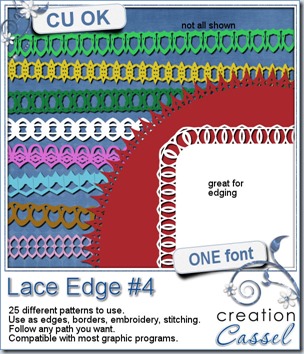
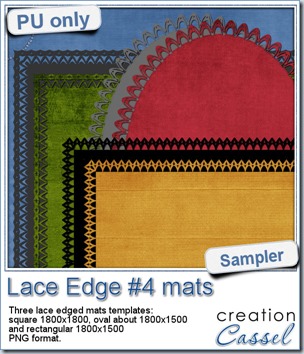 This week, i created more mats for you, using the lace font from last week.
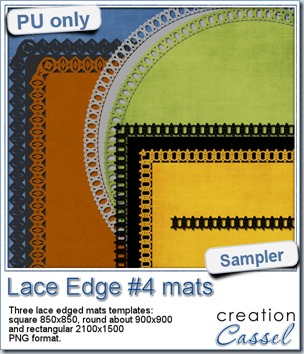 This week, i created 3 decorated mat templates. You can use them to cut out your favourite paper, or simply to color. You can also layer them with other simple shapes since those are very simple to start with.

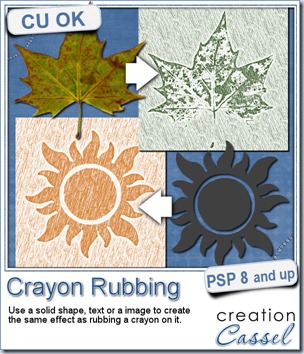
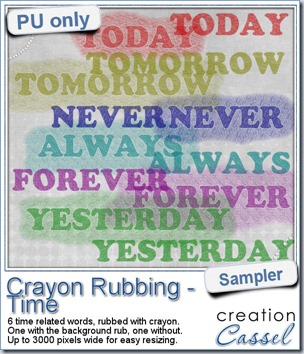 Do you want a chance to win this script? Just tell me what you would use it in a scrapbook project, in
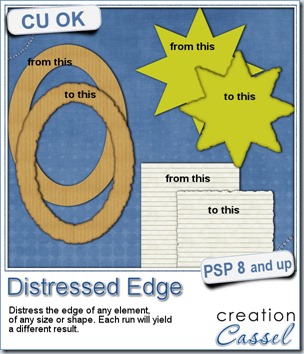
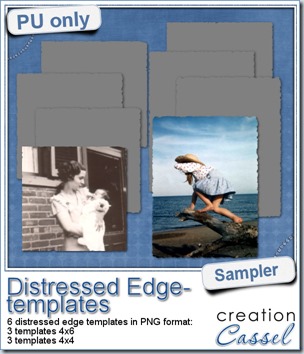 One neat use for the distressed edge is that although you can use it directly on the element you want to have irregular edges, you can also create your own templates for shapes you might want to use in the future. In fact, that is what i did for you. Since i could not show you a sample on YOUR elements, i made some grey templates. They are for 4x4 and 4x6 photos. If you are into pocket scrapbooking, or Project life or using Instagram, you will surely find some use for those. Use them for photos or journaling cards.