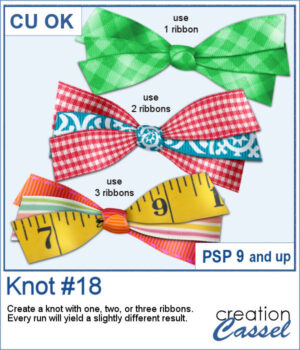
 With this new script, you can turn any straight ribbon into a clean and simple bow in just a few steps. You can even add a second ribbon for an extra decorative touch.
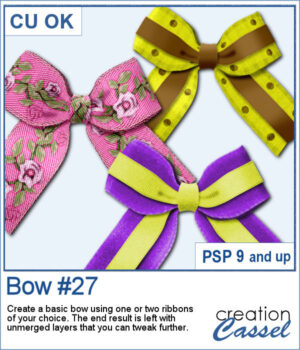
The script guides you through choosing your ribbons, resizes thicker ones when needed, and leaves all the layers unmerged so you can adjust the colors, shadows, and shapes afterward.
It’s an easy way to create custom bows that match any project.
Get this script in the store: Bow #27
Want a chance to win this script? Add a comment on this Facebook post telling us if you have double bows in your stash? (Remember, comments count — not Likes!). A winner will be announced in next week’s newsletter. Not subscribed yet? Sign up here — it’s free, and we only send one email per week.
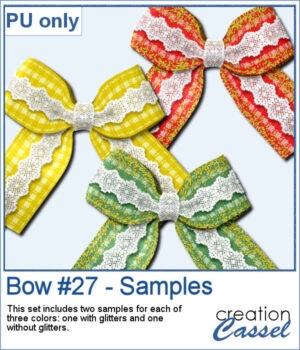 Since it close to the holiday, I created a set of six bows with ribbon and lace. Half of them are plain, while the other half has glitter edges. They are all in PNG format so they can be used in any program.
You need to be logged in to download this sample. Please log in or register using the links at the top of this page.