DSD is on the first Saturday of November, and it has been the case since 2007. For the occasion, I got several activities going on, for you. Let's have a look at them.
1- Storewide sale
Everything in the store will be discounted by 25%, for Saturday and Sunday. Did you ever fill a wishlist in the store? Now it is time to stock up and get those products you want to get to complete your projects faster or create new kits for your store.
2- FREE tutorials
 In the Campus, there is a dedicated page where you will see 12 unique tutorials rotate, one by one, each hour. For 48 hours, you will have the possibility to view video tutorials that are normally reserved for enrolled students. The list of the 12 tutorials is this:
In the Campus, there is a dedicated page where you will see 12 unique tutorials rotate, one by one, each hour. For 48 hours, you will have the possibility to view video tutorials that are normally reserved for enrolled students. The list of the 12 tutorials is this:
Brick wall texture
- License plate
- Ghost text
- Paper clip (2) (not the ordinary ones)
- Reflection
- Wired Ribbon
- Gold Element
- Coffee stain
- Folded Edge
- Accordion
- Separator tab
- Flair button
Which ones will you catch? Come back often.
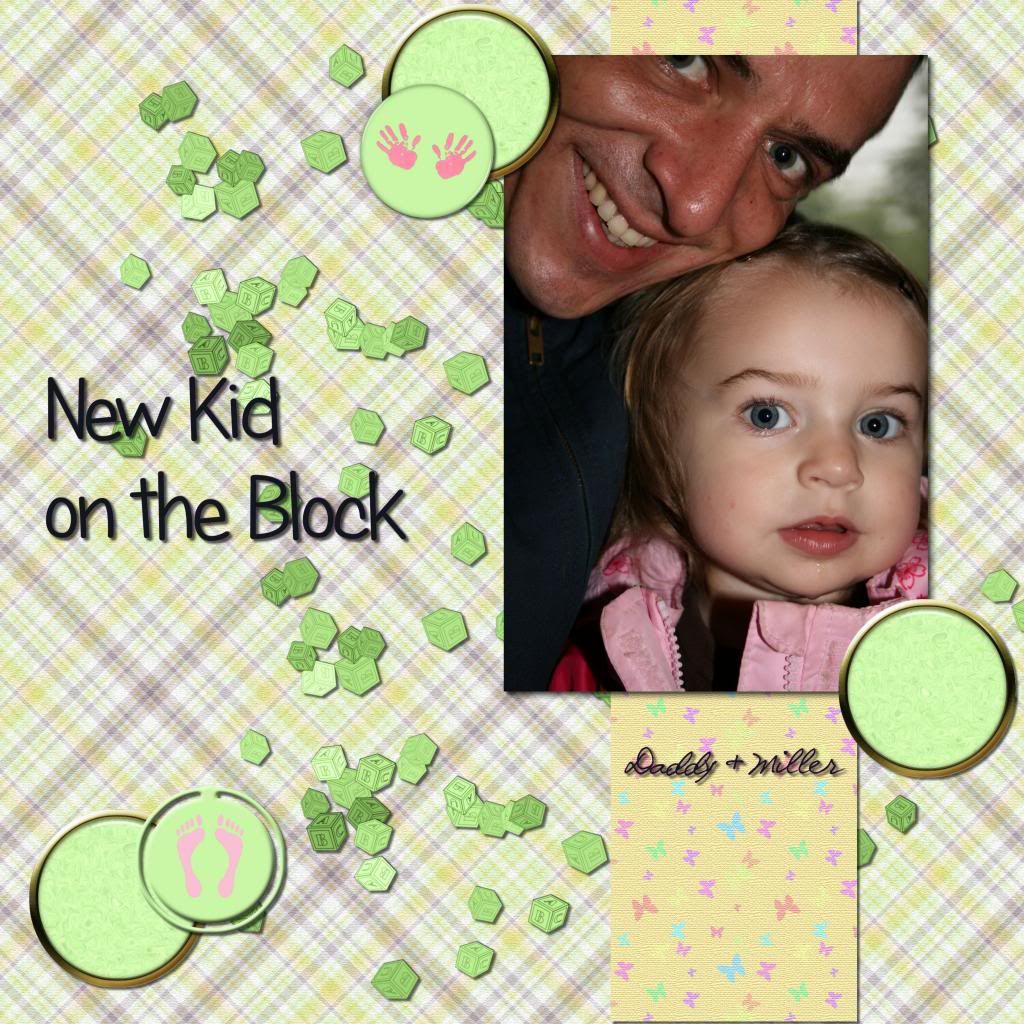
3- Show off contest (with prizes to win)
In order to promote digital scrapbooking using Paintshop Pro, there is a show off contest in the Campus. There are prizes to win too:
- One copy of Paintshop Pro X8 Ultimate (value: $99.99)
- Two Master Classes of your choice (value: $39.98)
- The new 12 Cards for Christmas (value: $9.99)
And what do you have to do? Simple: show off a scrapbook project you made using Paintshop Pro. But, there is a little twist to this: you have to use ANY ONE OF THE FOLLOWING:
- a technique you learned in the Campus
- a free element you picked from this blog (there are lots of those)
- or a product you purchased from the store (or one of mine in the Discovery Center)
Once you have something to show off, you can post it in the Campus forum, while browsing through the other members' submissions. The winner will be picked AT RANDOM, NEXT WEEK, on November 14th (next Saturday). This will give you a chance to pick some freebies from this blog, or view new tutorials in the Campus, or grab a new product in the store, and complete up to THREE projects to enter.
 4- 101 super easy tricks to work faster with Paintshop Pro
4- 101 super easy tricks to work faster with Paintshop Pro
On Amazon.com, there is a countdown deal for this Kindle ebook that offers 101 tips. Since it is a countdown deal, it is now $0.99 but tomorrow, it will be up to $1.99 and then, Monday night, it will be back to its regular price of $2.99. Don't delay.
You don't have a Kindle? No problem. You can download the free app to view any Kindle book on your computer (how cool is that?). Although the deal is only available on amazon.com (in the U.S.), since it is a digital download, you are still able to get it: there is no added shipping fees!
That is 101 tips that where shared through years of newsletter, but they are all in one handy document, just for your convenience.
I would greatly appreciate a review of this book, when you have a chance. I am sure you will learn SOMEthing from it.
So what will you be doing this weekend??


 This week, to make sure that everyone (using Paintshop Pro or not) could use my product, I opted to create a paper cutout using a cauldron image, which was turned into a sticker (with a little white edge). Then, i ran the
This week, to make sure that everyone (using Paintshop Pro or not) could use my product, I opted to create a paper cutout using a cauldron image, which was turned into a sticker (with a little white edge). Then, i ran the

 This week, i created 3 decorated mat templates. You can use them to cut out your favourite paper, or simply to color. You can also layer them with other simple shapes since those are very simple to start with.
This week, i created 3 decorated mat templates. You can use them to cut out your favourite paper, or simply to color. You can also layer them with other simple shapes since those are very simple to start with.

 One neat use for the distressed edge is that although you can use it directly on the element you want to have irregular edges, you can also create your own templates for shapes you might want to use in the future. In fact, that is what i did for you. Since i could not show you a sample on YOUR elements, i made some grey templates. They are for 4x4 and 4x6 photos. If you are into pocket scrapbooking, or Project life or using Instagram, you will surely find some use for those. Use them for photos or journaling cards.
One neat use for the distressed edge is that although you can use it directly on the element you want to have irregular edges, you can also create your own templates for shapes you might want to use in the future. In fact, that is what i did for you. Since i could not show you a sample on YOUR elements, i made some grey templates. They are for 4x4 and 4x6 photos. If you are into pocket scrapbooking, or Project life or using Instagram, you will surely find some use for those. Use them for photos or journaling cards.

 Do you want a chance to win this script? You can do so by adding your name to
Do you want a chance to win this script? You can do so by adding your name to 


 For this week’s free sample, I made this simple frame out of a dingbat that i colored. I used the mirrored repeat and slightly overlapped the first repeat with the original design, then, as the script offered me to merge the first two, i chose a different spacing for the following repeats.
For this week’s free sample, I made this simple frame out of a dingbat that i colored. I used the mirrored repeat and slightly overlapped the first repeat with the original design, then, as the script offered me to merge the first two, i chose a different spacing for the following repeats.


 Just like last week, it is kind of hard to give you a sample of a tool script, so i opted for giving you a spring element (or Easter theme, if you prefer). I made this bunny out of the pipe cleaner picture tubes from the store. This is a PNG format element about 1500 pixels high. I added some fun shadows to give it some volume and the shadows are part of the element.
Just like last week, it is kind of hard to give you a sample of a tool script, so i opted for giving you a spring element (or Easter theme, if you prefer). I made this bunny out of the pipe cleaner picture tubes from the store. This is a PNG format element about 1500 pixels high. I added some fun shadows to give it some volume and the shadows are part of the element.


 As a free sample, i chose to create three seamless tiles for you with the script. First, i used the Grass blades tube from PSP, and created a horizontal seamless tile. This would be great to add to any project with a nature or vacation theme. Second, i use a combination of spruce branches, bows and bells to make a vertical tile. You can use this tile to embellish some stationary or cards with a holiday theme (i know, it might be ahead of time, but you can start early). Then, i made a diagonally seamless tile with the fall leaves tubes from PSP too.
 As a free sample, i chose to create three seamless tiles for you with the script. First, i used the Grass blades tube from PSP, and created a horizontal seamless tile. This would be great to add to any project with a nature or vacation theme. Second, i use a combination of spruce branches, bows and bells to make a vertical tile. You can use this tile to embellish some stationary or cards with a holiday theme (i know, it might be ahead of time, but you can start early). Then, i made a diagonally seamless tile with the fall leaves tubes from PSP too.
