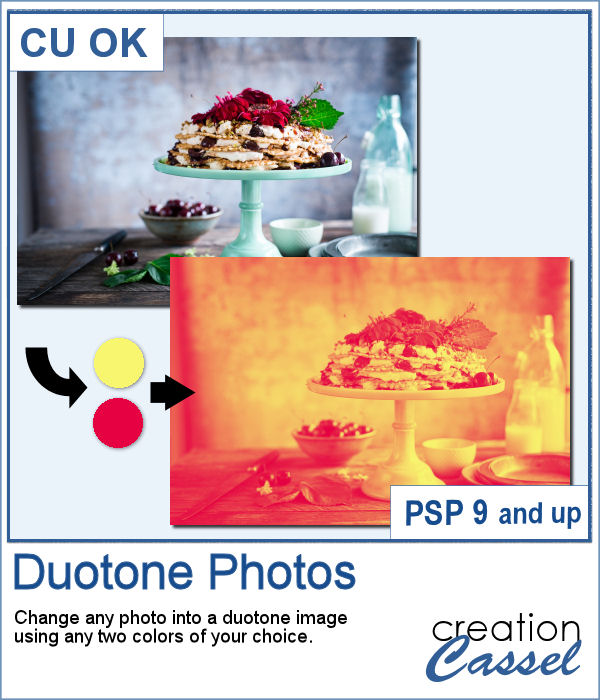
 It might be simple to create a black and white photo with Paintshop Pro, and it is also easy to colorize that photo with one color, but how about using TWO colors? So, instead of light red and dark red, you would want yellow and red, or blue and purple, or blue and brown, or whatever color combinations you want to make a unique image?
This script allows you to choose ANY two colors and will transform any photo into a creative image. Choose colors to match a background or another image, or just make a collage with different variations.
Get this script in the store: Duotone Photos
In order to win these tubes, add a comment on this Facebook post telling us what color combinations you would like to try on your photos (remember, add a comment, not just a Like!) The winner will be announced in the newsletter, next week. Not a subscriber yet? Not a problem. You can register here and it is free (and you only get one email per week).
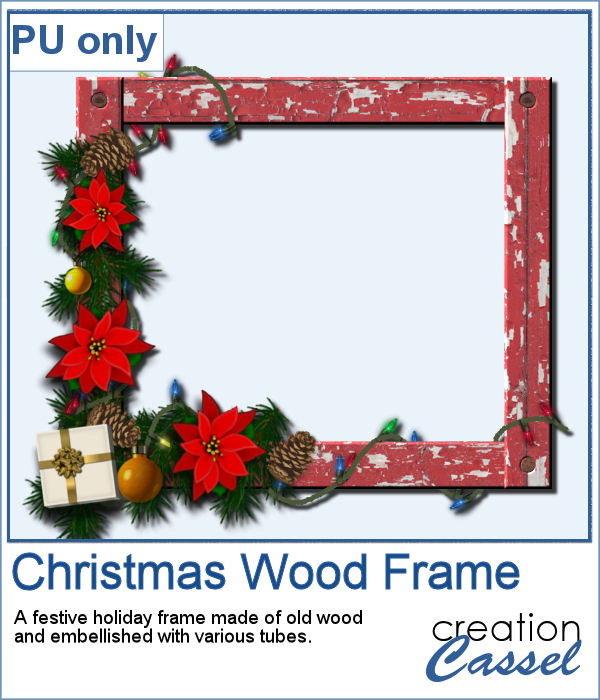 As a freebie, this week, I obviously could not give you a sample of the script since it is applicable only on your photos, so I thought you might want to showcase some photos in a holiday frame so I created one wooden frame using the Wood Frame script, and added some embellishments (branches, poinsetta, pine cones, ornaments and present). I also used the Christmas light tubes to finish off the decoration.
You need to be logged in to download this sample. You can either login, or register on the top of this page.

 Using slats to showcase a photo makes for a fun and unique effect. However, creating slats manually is tedious, especially if you want them even or following a particular outline.
 As a way for you to play around with slats (in case you never tried before), I made a large template (about 3000 pixels wide). It is in png format so you can probably use it in most graphic programs.
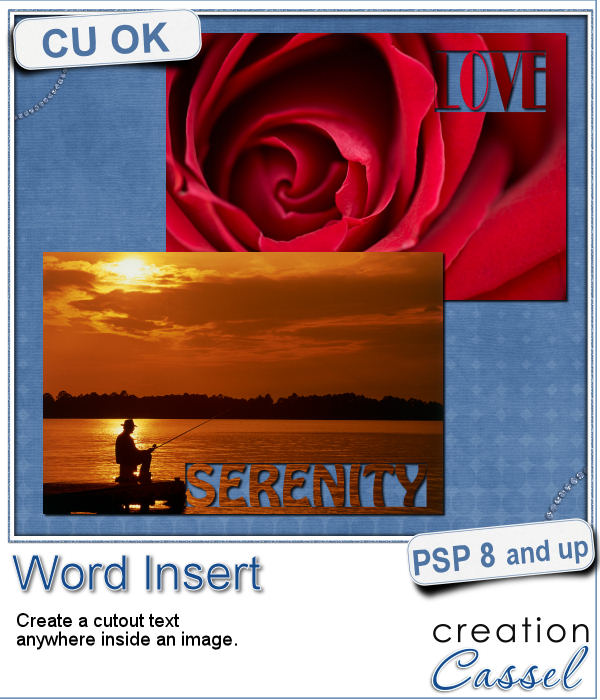 If you have used the Word Cutout script, you know that it would only use the edge of the photo. However, sometimes, the edge holds some meaningful parts of the image and you would like to cut the words out of another location.
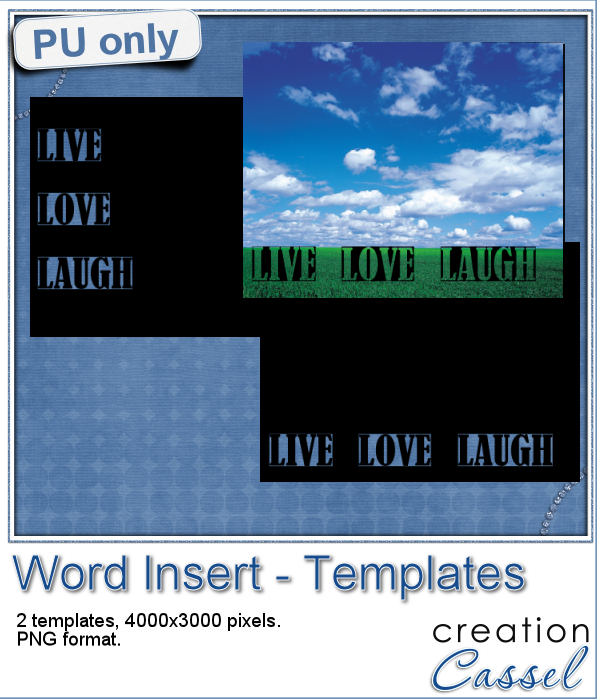 Using a black image, 4000x3000 pixels, i ran the script 3 times to add the individual words of "Live", "Love" and "Laugh". To make them even, i used guides before running the script, so my selections were always the same height. Neat trick!
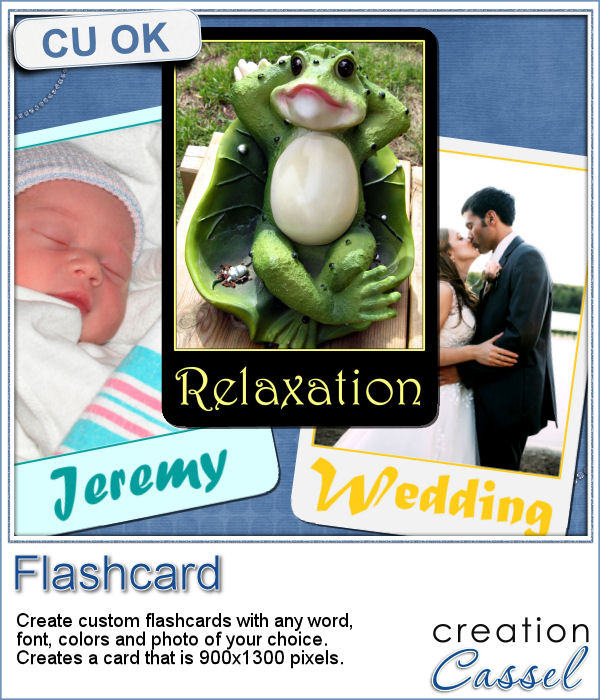 It is the time of the year when just about every school age kid is finally back to school. How about displaying your favorite photos as flashcards, as if you were teaching the viewers? Although it could be used in a school themed project, it can also just serve as a fun frame for any picture.
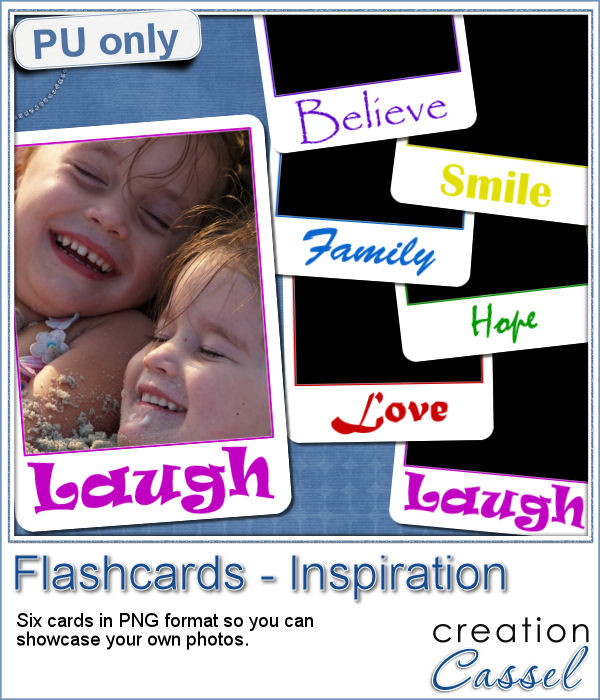 As a sample, i created 6 inspirational cards for you. Each card has an empty area for the photo (what is showing in black on the preview) so you can add your own image.
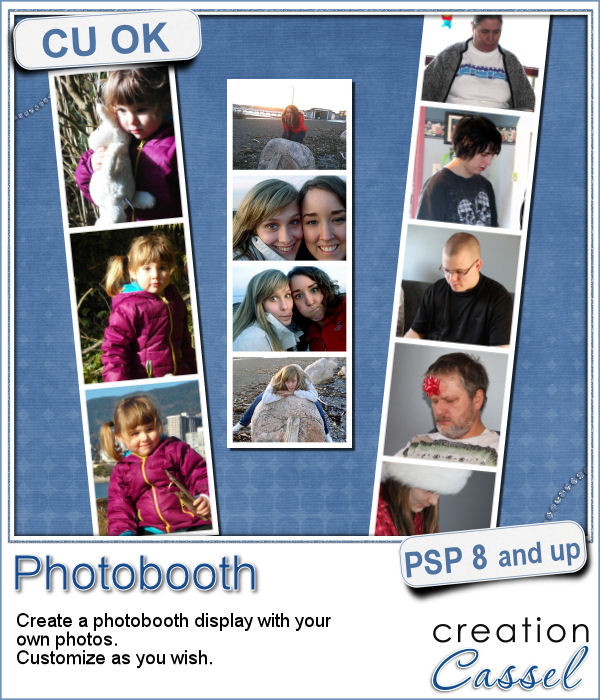 Although they might be getting less and less popular in real life, photobooth are still often associated with fairs, and fun places. Back in the days, you could get a set of 4 black and white photos in those booth. Over time, they became more modern and started offering color photos. Those strips of photos still bring back memories to many people.
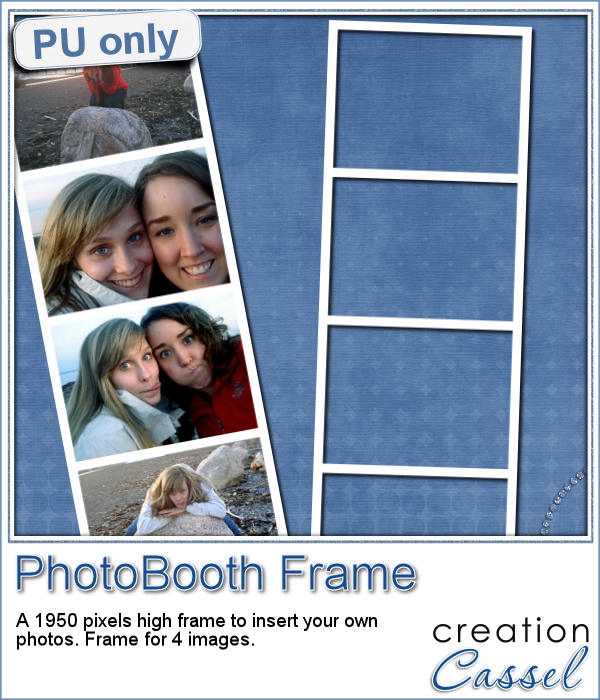 As a free sample, I am offering you the frame that was created when I ran the script for the four pictures of my daughter and her friend. It is 660x1950 pixels, which is about the size of a real photobooth strip of photos. Add your own photos to it and place the result in your next scrapbook project.
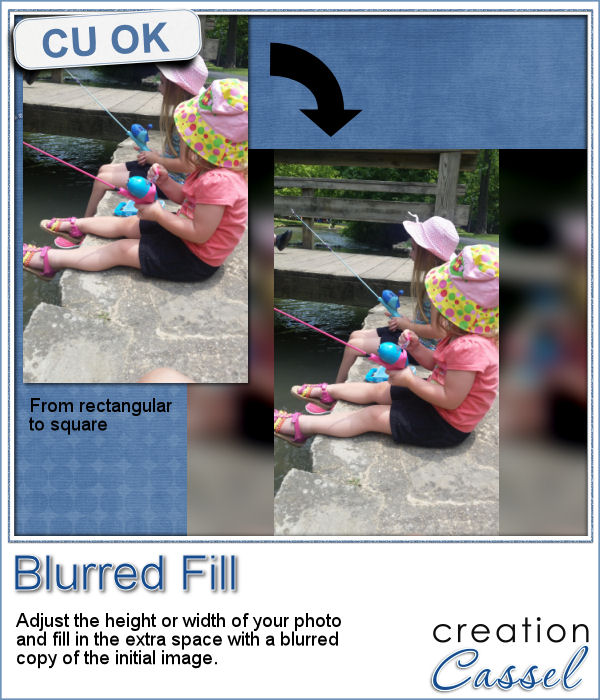 You probably have seen those images where a video has been shot vertically, but it has to fit in a horizontal space, then the extra on each side is a copy of the main image, but blurred and darkened to keep the focus on the main image.
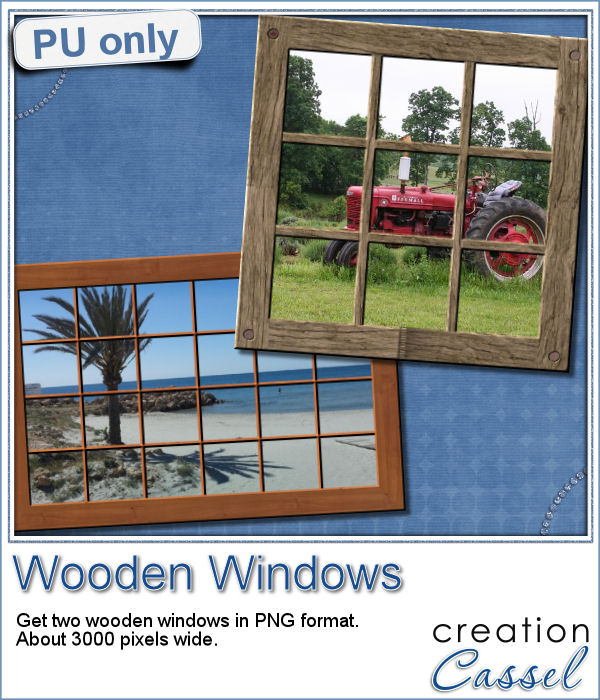 Since this script is about creating a special effect on your own photo, i can't really create a sampler from any photo of mine. Well, I could, but i doubt you would find it very useful, so instead, i created a different sampler based on one that was VERY popular recently: the Wooden Window.
 Join us for our live presentation on Ribbons and Bows, where we will take a look at how to create knots and bows from straight ribbons, using PSP.
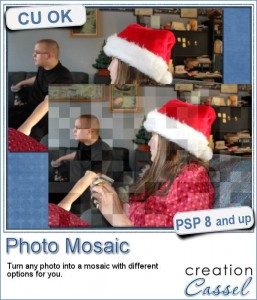
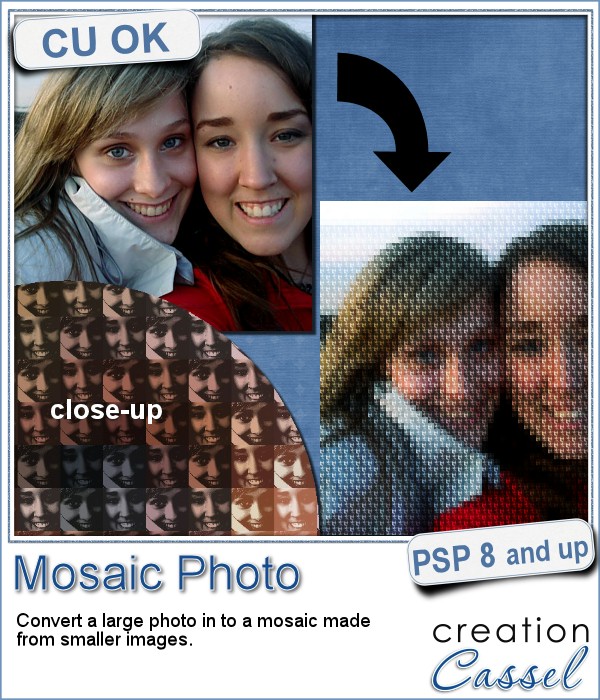 You might have seen tutorials on how to turn a regular large photo into a mosaic using smaller photos. It might not be too hard, but you can create that exact effect in less than a minute with this script for Paintshop Pro.
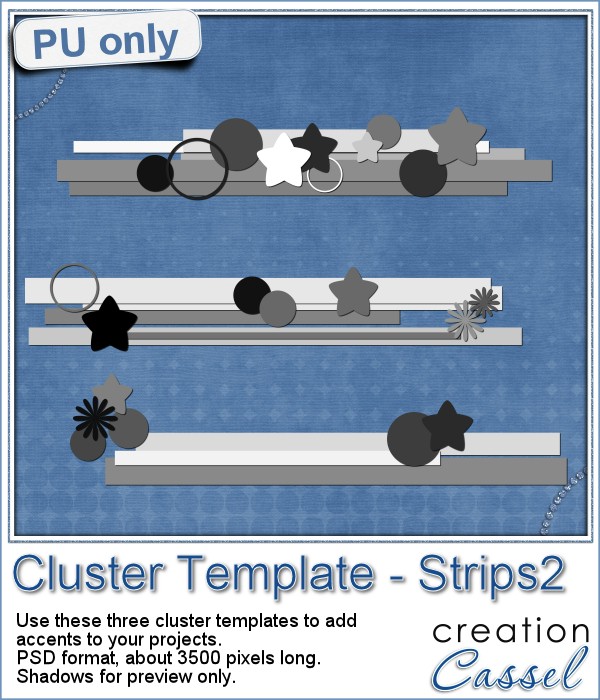 Since it is impossible for me to give you a sample using a photo that would be of any interest for you, I decided to see what other sampler you seemed to have liked, and I found out that the Cluster Templates were a big hit, so I created three more for your own use.
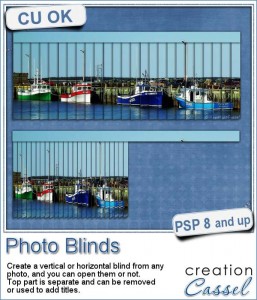 Have you ever seen those wonderful images that are transposed into various slats to create vertical or horizontal blinds?
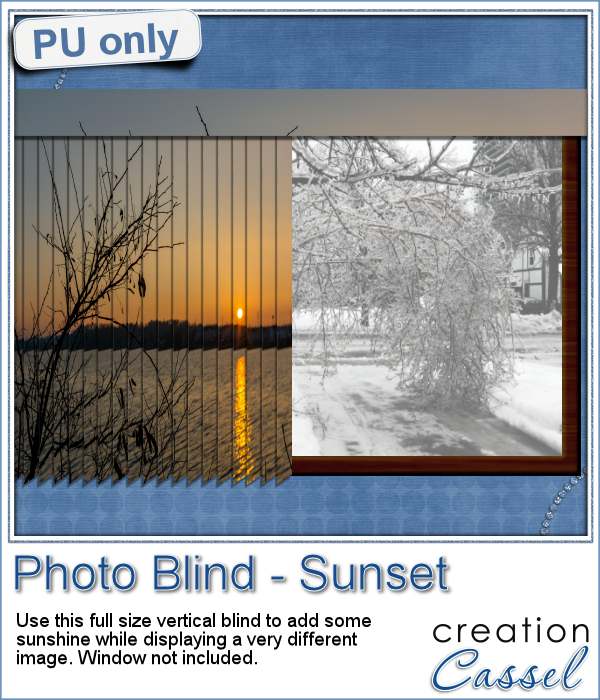 This week, i was really struggling to figure out what to create as a freebie that you might actually use. Since there was a big snow storm in the US this weekend, i thought that maybe, someone would want to have a nice, warm photo to cover the sight of all that snow. Of course, you could use this even if you don't have snow around!
 Our next live presentation will take place on February 7th (yes that is 2 weeks from now; for a change, we are quite ahead!).