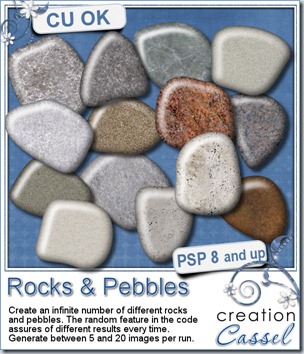
Sheila showed me a picture of pebbles and wanted to know if it was possible to create a script to make similar elements. This immediately challenged me into finding a way to recreate the random shapes for pebbles, since we all know that no two rocks are exactly the same. I didn’t want to use preset shapes, because i felt it would still be limiting, so i coded the script to create a random shape, by itself (you can see it run, right in front of your eyes!).
Although the zip file includes 15 rock textures that are used randomly, you also have the option to add your own patterns, and as many as you want too. Take photos of rocks in your own backyard and use them instead of the textures already listed in the script and you have the most custom rocks for your projects.
This script is among the easiest ones to run as you don’t have anything to do, other than tell it how many pebbles you want. The rest is absolutely automated from start to finish!
You can get this script in my store, Creation Cassel
And if you want to have a chance to win this script, head over to the Happy Place section of the DST forum and add your name to the thread here. I will be back on Monday with the name of a winner.
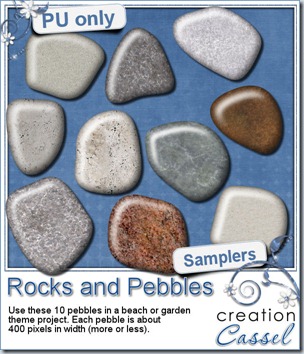
Do you want to play with these rocks? I have a set of 10 for you. They are obviously in png format, and about 400 pixels wide. They are small, but hey, they are pebbles after all! If you REALLY need larger ones, just let me know and i can see about editing the code of the script. In the mean time, have fun with these.
You need to be logged in to download this sample. You can either login, or register on the top of this page.
News from the Campus
You have only a few days left to view the workshop on Brush Work in PSP. On Sunday, it will be removed from free access.
On Sunday, i am expecting to upload the edited version of the workshop on Picture tubes in PSP.
Were you attending the workshop last Sunday? Did you notice the “technical problem” that happened in the first 10 minutes when you had all the sound and no picture? I hope you didn’t leave because once the issue was noted, it was fixed and the workshop was great. But i know a few participants got a good laugh (i read the chat log afterward; it was hilarious!)
The Campus will soon celebrate the first year of the arrival of its first students. Several activities and promotions will take place. You want to see ALL of it, so get ready:
Join our mailing list to get all the details as soon as they are available.
Like our Fan page and follow our Twitter.
See you around the Campus! (and bring a friend along, it is even more fun!)





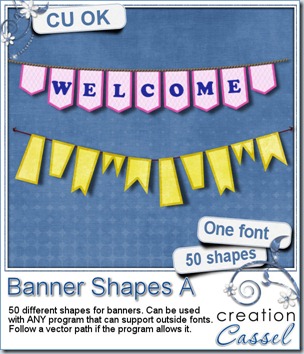
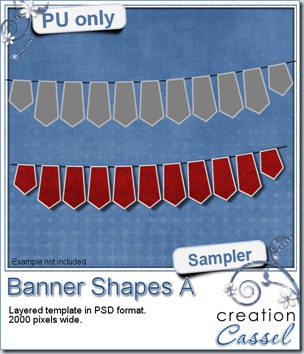 I created a freebie for you this week using this font. I made it into a layered template so you could use any color or pattern you want, or even use a paper you like (or more than one!). You can use the banner shape with or without the outline, or you can play with the opacity of the banner while using an opaque outline. That would be a fun idea too! If you want to make them slightly uneven, as if the wind was at work, you might want to use a warp brush tool to “move” them a little!
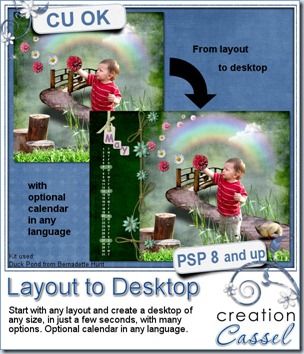
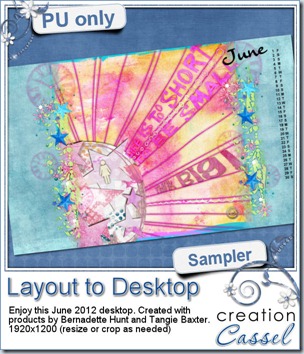 Usually, i create a sampler with the newly released script, but this week, it will be a little different. In fact, Bernadette was “playing” with this script to test some details of it, and ended up creating a desktop and she allowed me to share it with you.



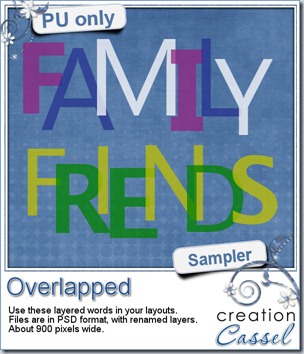 Time for a freebie! Here is a sample of two words that might be common enough in layouts. I am sure you have photos of friends or family so there HAS to be a layout where you can use one of these two words. These were made using the script, with two or three colors. They are in PSD format, with each letter being separate. If you want to the letters around, you can do it. If you want to replace a letter with an element, you can do so too.

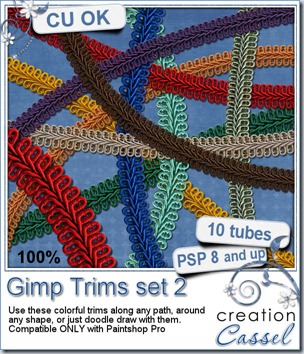
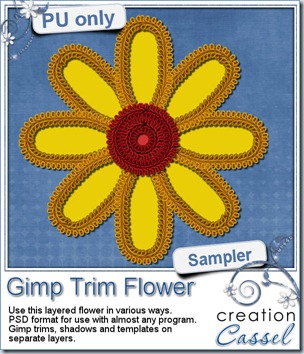


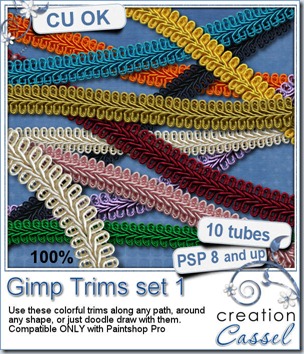
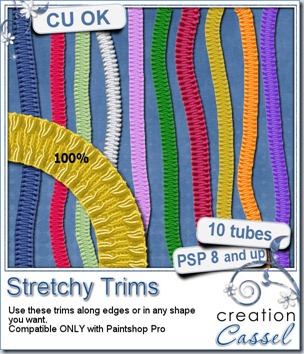
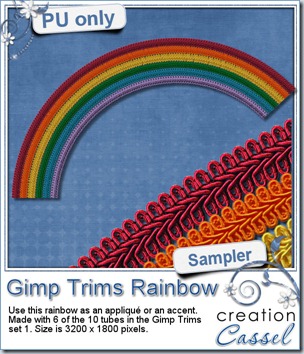 I was happy to have had 6 colors from the rainbow. Strangely, i had not planned it but it allowed me to create this rainbow for you. This was made using the Gimp Trims in this set. The rainbow is very large so you can resize it to meet your own needs.
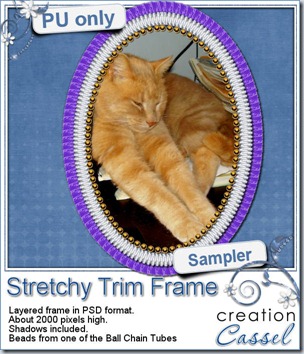 As usual, here is a freebie for you to check this out. This is a layered frame with two layers of stretchy trims, and one layer with some Ball Chain tubes too. Mix and match as you can hide one or two layers. This frame is in PSD format so any non-PSP user can actually enjoy it. The file also includes a template for the center so you can trim your photo easily to match the frame shape.