 There are various ways to add letters or digits or fun symbols on a project. If you were a traditional paper scrapbooker, you might actually use some small beads, and you can do the same with Paintshop Pro.
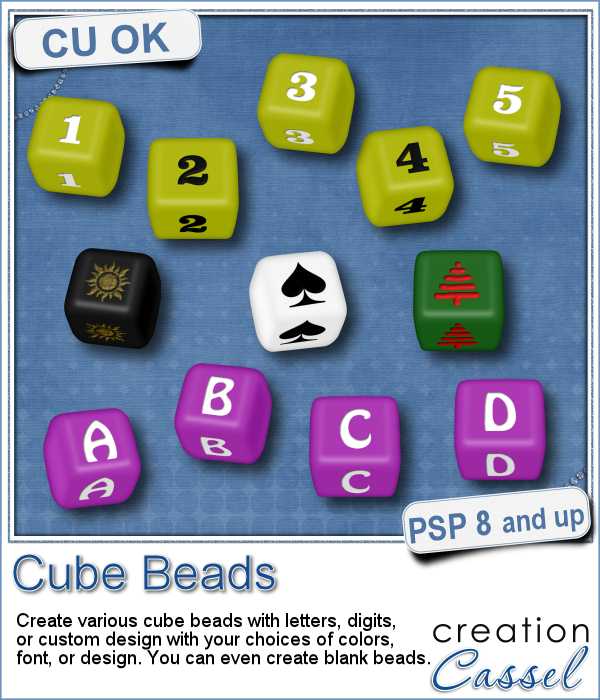
This script will create various cubic shape beads with your choices of settings. You can choose the color of the bead, the color and the font for the text, the direction of the beads, the custom design you want to add.
Each bead will be about 300 pixels wide so you can easily resize them to fit your project. You can "thread" the beads if you want with any string (including some from the store). If you need to thread a bead facing left or right, just add a "hole" with the brush tool where the string would enter.
Get this script in the store: Cube-Beads script.
For a chance to win this script (or a future new release), tell me what message you would write using cube beads. Would it be a single word? a short phrase? a date? Tell me in the comments below and i will pick a winner next week to be announced in the newsletter. Not a subscriber yet? Not a problem. You can register here and it is free (and you only get one email per week).
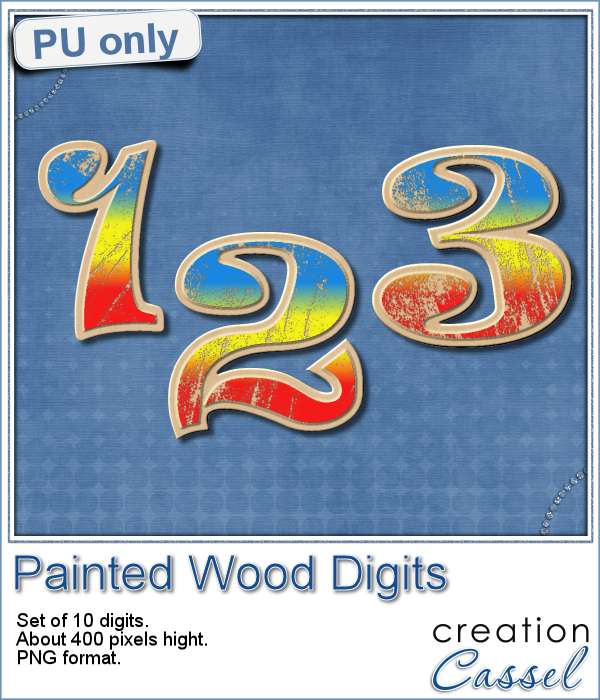
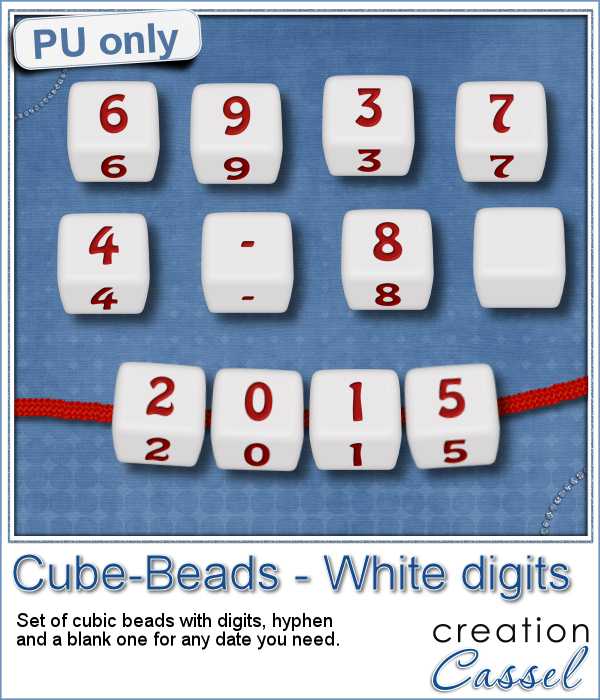 As a way for you to sample the result of running this script, i created a set of digits (with a hyphen and a blank) beads. I made them neutral white so you can use them in just about any project to write a date. I used a rope tube from this set to "attach" the beads on the bottom, and rotated the beads slightly to match the string curve (I find it easier to draw the curved string first and adjust the bead orientation than the reverse).
You can use those to write a date or any other number you need (the address of your new home, the year for a birthday, the date on a calendar, etc.)
What can you write with those digits?
You need to be logged in to download this sample. You can either login, or register on the top of this page.
Paintshop Christmas
 Join us tomorrow, December 6th, for our monthly live presentation.
We will look at various projects you can do with Paintshop Pro. I already got a few interesting suggestions for projects i will illustrate and demonstrate. Come and add yours too.
Attending is always FREE, and you get the chance to ask questions, comment, and chat with the other attendees.
Remember that you can promote this presentation to your friends, in a Facebook group, in forums where you hand out, etc. The more we are, the merrier it will be!