 You can find various strings in digital scrapbook kits, or sometimes as a set of elements, but are you struggling to find the right color, or the right length, or the right shape?
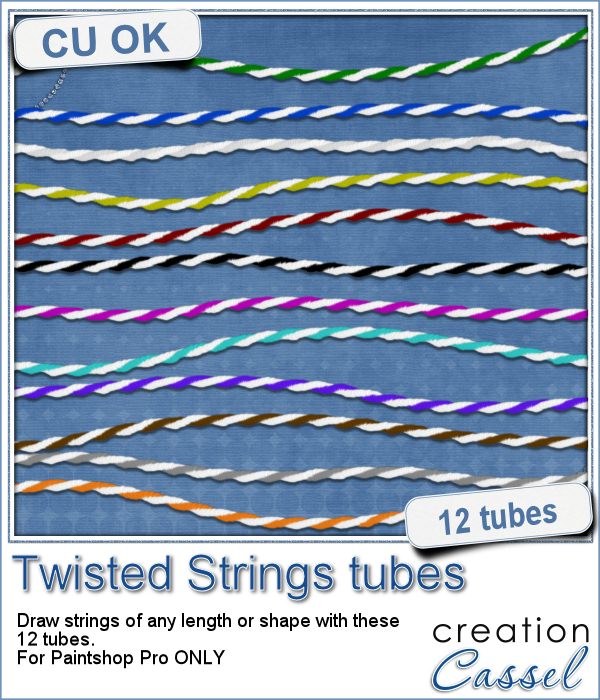
This set of picture tubes for Paintshop Pro allows you to simply draw the string with your cursor, any length you want, in any shape you want. It is like doodling a string wherever you want.
Adjust the size of the string by changing the scale of the tube: create thicker or thinner strings, depending on your project.
You get 12 different string tubes in different colors. Interestingly, the colors match those of the pipe cleaner tubes, so you can combine both sets of tubes for color coordinated projects.
Get this set of tubes in the store: Twisted String tubes.
What would you do with those tubes? Since you can create strings in any length or shape, you can surely find some creative ways to use the strings. Share your ideas in the comments below. I'll pick a winner and will announce it next week, in the newsletter. Not a subscriber yet? Not a problem. You can register here and it is free (and you only get one email per week).
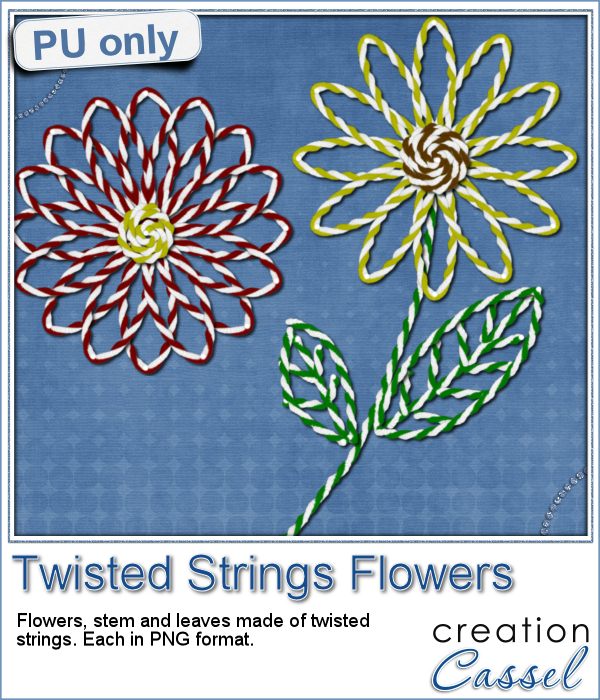 I created these fun flowers out of the twisted strings. They are fairly large so you can size them down to fit your project. You get two flowers, two leaves and one stem. Combine them as you wish, add them to clusters, make a border out of several flowers, etc.
The shadows were added on those.
You need to be logged in to download this sample. You can either login, or register on the top of this page.