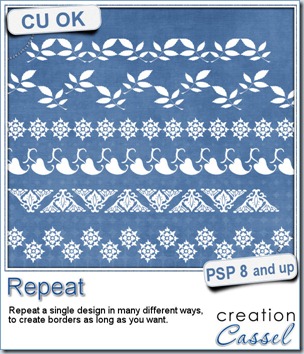
If you want to create a long border with a specific design, how do you achieve that? Probably with a lot of copy and paste and move, and copy again, paste again and move again. This can be pretty tedious if you want to create a long strip of repeated pattern. And how do you make sure the spacing is perfectly even? That is another challenge.
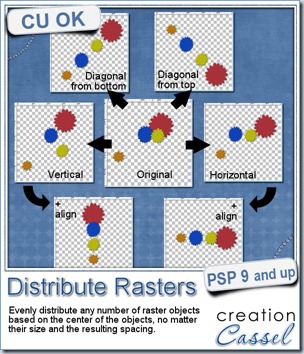
This script does all the hard work for you and will take just a few seconds. In addition, you get many options in the type of repeats you can get AND you are the one deciding how the spacing should be.
You can have a simple straightforward repeat, but you can also have the design alternating up and down, or have it mirrored, or flipped, or both. You can even have the design overlap if you prefer.
You can use just about anything you want to repeat, whether it is a vector shape, a dingbat, a hand drawn design, an element, even an extracted element from your stash (just beware of any shadowing though).
 And since the elements can be left unmerged (if you prefer), you can still tweak them individually, colorizing them, replacing one of two of them, and more.
You can get this very versatile script in my store: Creation Cassel
What could you do with this script? Give us some ideas in this thread in the forum, for a chance to win it.
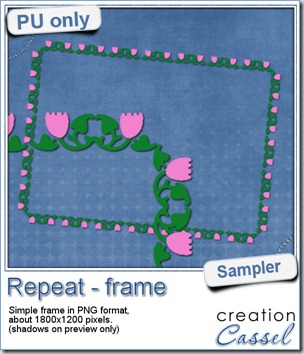 For this week’s free sample, I made this simple frame out of a dingbat that i colored. I used the mirrored repeat and slightly overlapped the first repeat with the original design, then, as the script offered me to merge the first two, i chose a different spacing for the following repeats.
Once a long strip of repeats was done, i selected a smaller portion of the strip to create the sides, and just with duplicates, and mirror and flip, i adjusted each side to create a frame. Very simple to do once you have the basic strip!
You need to be logged in to download this sample. You can either login, or register on the top of this page.
April Promotion
Yes, it is here now. The BIG April Promo is in full swing and you can participate in several different ways.
Spend now, Save later
Every dollar you spend in the store AND the Campus during the whole month will be compiled and will earn you a coupon you can use in a purchase in May. It is simple:
Spend $20 in the whole month, you’ll get a 20% off coupon
Spend $30 in the whole month, you’ll get a 30% off coupon
Spend $40 in the whole month, you’ll get a 40% off coupon
Spend $50 in the whole month, you’ll get a 50% off coupon
Spend $60+ in the whole month, you’ll get a 50% off coupon AND an additional entry into the Big Show Off draw
The Big Show Off
This is where you can show off anything you did (layout, kit, hybrid project, etc.) based on something you learned in the Campus. You link to your project AND to the tutorial, class or tip. You can win one of the fantastic prizes (including one copy of Filter Forge plugin, which DOES work with PSP even if they say it is a Photoshop plugin).
We already have a few great projects posted in the Campus. Check these, from Val, Yobeth and Mireille:

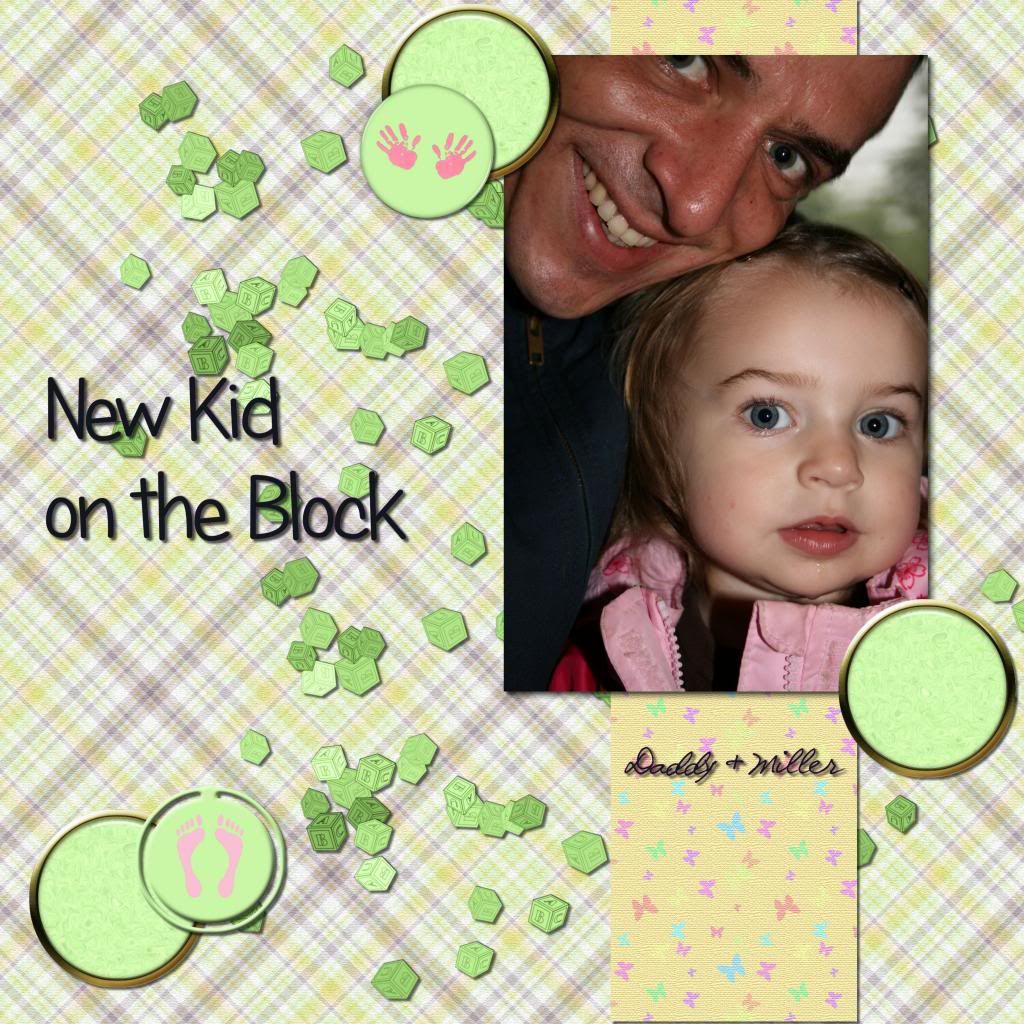

And there are more.
Bundle of the week
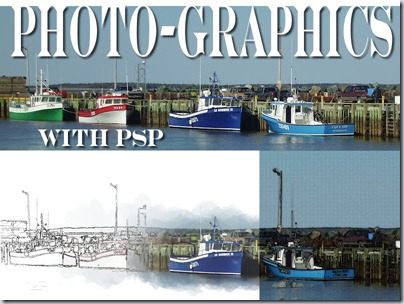
Until Monday, you can also grab a great deal in the Campus: the Photo-Graphics with PSP bundle is available for $24.99 (instead of $39.99 if you bought them separately).
Even better, if you are using the coupon code: PHOTOGR5 you get an additional $5 off meaning that you end up with TWO Master Classes for $19.99, which is, in fact, the price of one!
Hurry, it is only available until Monday, April 8th. After that, the bundle will go back to the regular “bundle” price of $29.99, and the coupon will have also expired.
Get that Bundle NOW!

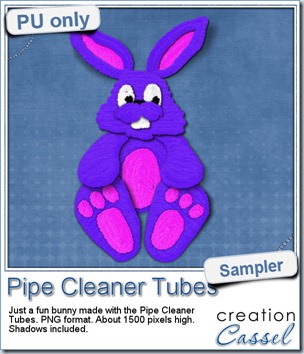 Just like last week, it is kind of hard to give you a sample of a tool script, so i opted for giving you a spring element (or Easter theme, if you prefer). I made this bunny out of the pipe cleaner picture tubes from the store. This is a PNG format element about 1500 pixels high. I added some fun shadows to give it some volume and the shadows are part of the element.

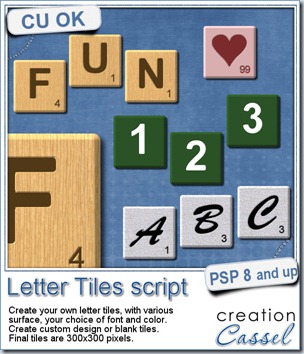
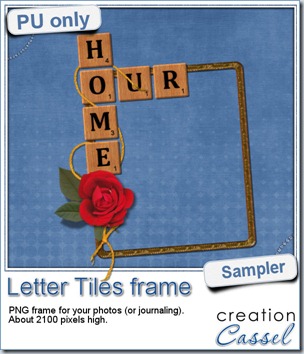 Of course, you can use those letter tiles to create a title on a layout, or maybe a wordart too, but for a sample, i created a frame for you. It is a PNG format so you don’t have to have PSP as a graphic program. It is about 2100 pixels high. Of course, you can always resize it down if needed. the shadows are already placed on the whole montage.
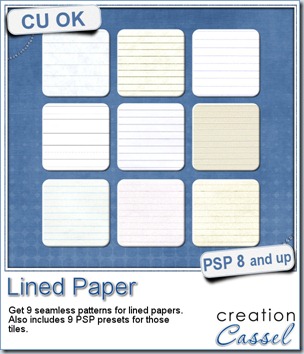
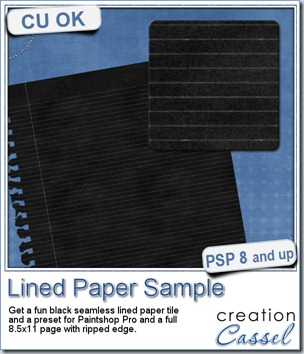 This week, as a sample for this product, i am offering you one tile with one preset (for PSP) and one full size page for everyone else (of course, PSP users can still use it). Do you remember that time when dark papers were popular and kids would use gel pens in neon colors to write on them? Now you can do the same. The tile and the presets work exactly as the lined paper tiles above.
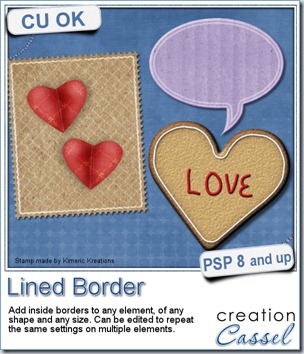
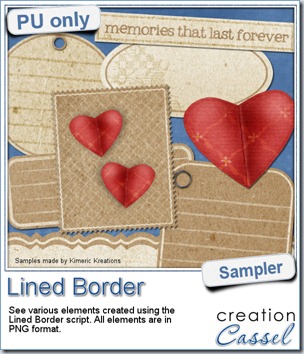 This script was a suggestion from Kimeric Kreations. Kim often uses borders on her elements. It adds a great finishing touch and sometimes, that border is barely visible, yet it is there! Since she was the one who suggested this script idea, she also was the first one to “play” with it. She ended up creating several fun elements using various options of the script and customized the end result for a great look.
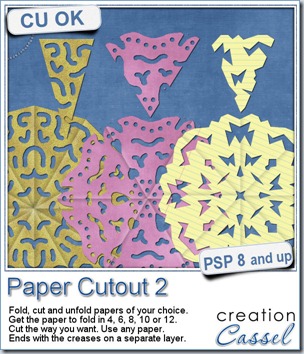
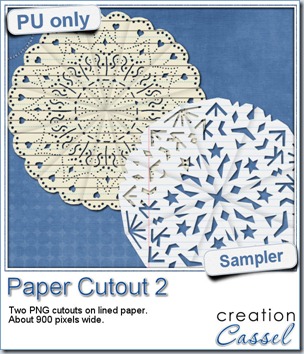 And if you want a chance to win it, check out
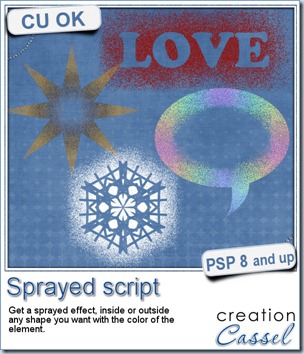
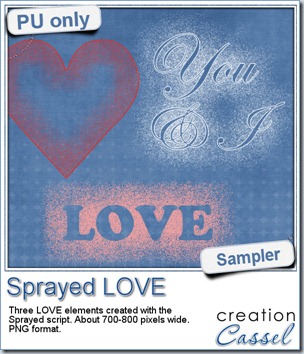 Since we are close the February, the month when lots of people will either celebrate Valentine Day, or simply take pictures or make layouts about their loved ones, I created these three elements that are love related. They are in PNG format, so just about anyone can use them.