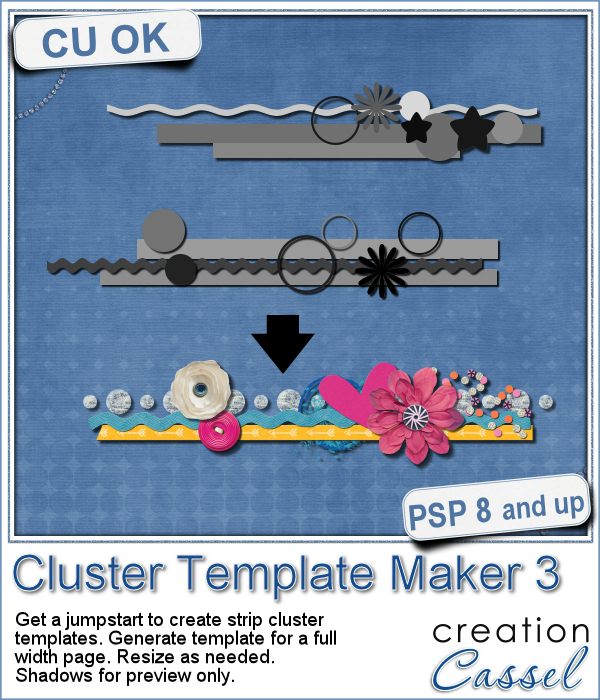
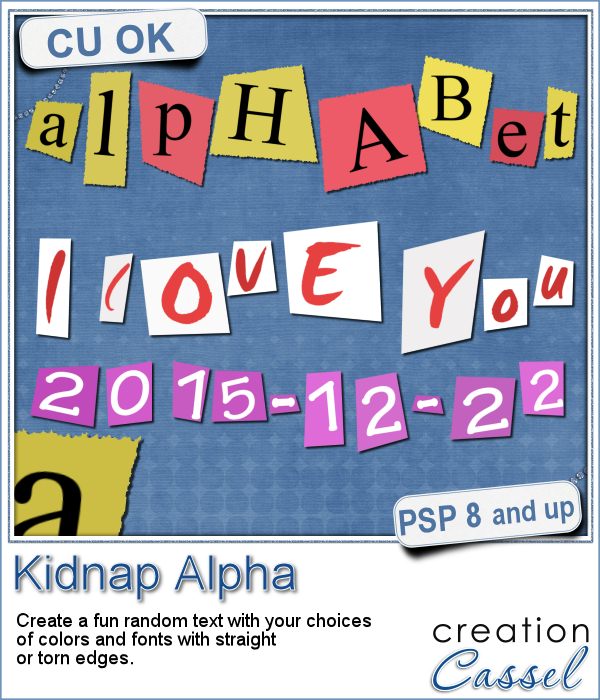
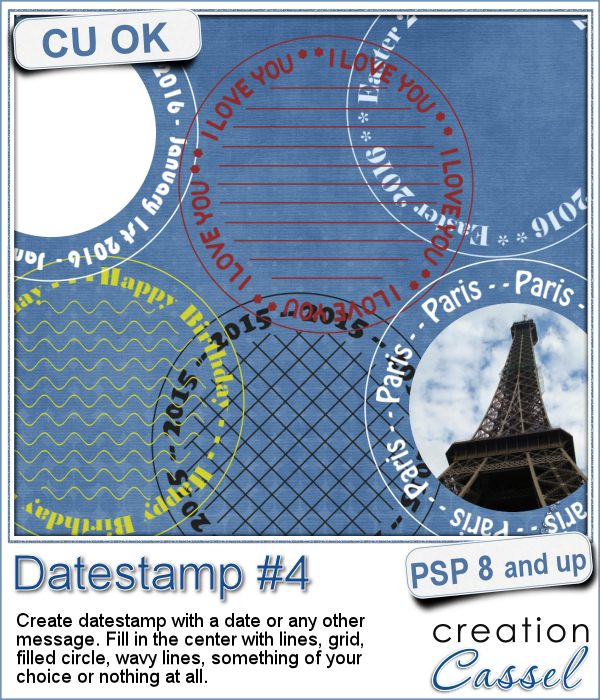
 There are so many ways you can have a date on a project. That is why we are up to the fourth different datestamp script. But don't limit yourself to a date; this script allows you to add other messages, words or phrases.
In addition to be able to choose ANY text, you can also choose any color for it, any font for the text and one of 6 ways to fill the center.
You can keep a simple set of straight lines so you can add hand written notes. You can leave the center empty so you can add another design, preset shape or hand drawn element. You can use the filled circle in the center as a template to add a photo of some kind. The possibilities are literally endless.
You can grab this fun script in the store: Datestamp #4.
For a chance to win this script, tell me how you tend to add dates to your graphic projects. Do you use elements? Just text? Alphas? Add your answer in the comments below. I'll announce a winner in the newsletter, next week. Not a subscriber yet? Not a problem. You can register here and it is free (and you only get one email per week).
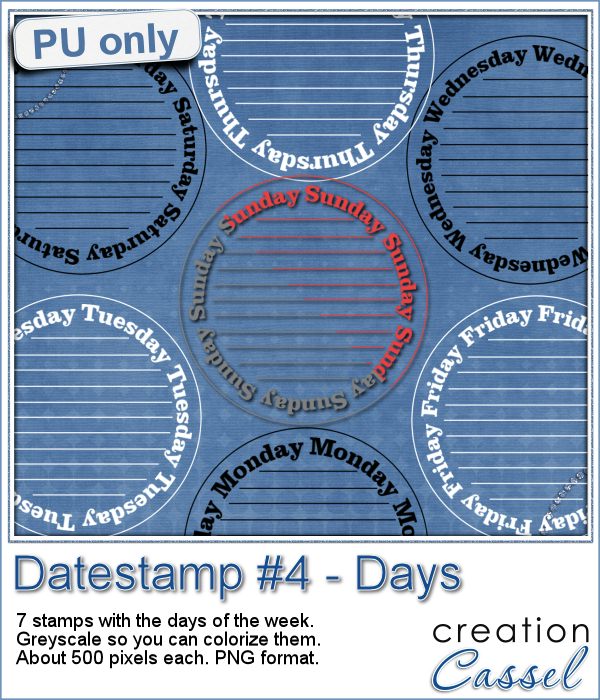 As a sample of what this script can do, I created a set of datestamps using simply the days of the week with straight lines in the center. This should be versatile enough to let you customize them. Of course, you can also remove those lines in the middle if you want. I won't be offended!
Each one is about 500 pixels wide, in greyscale so you can change the color (like I did in the preview). Since they are also in png format, you can use them even if you are not a PSP user.
You need to be logged in to download this sample. You can either login, or register on the top of this page.
News from the Campus
 The edited recording of our live presentation is now available for viewing.
You can watch it for free as long as you are logged into the Campus (the login is not necessarily the same as the one for this site).