 You might be able to use a photo of a brick wall as a paper background for your project, but you might wish to have something that would match more closely your favorite color, or color palette.
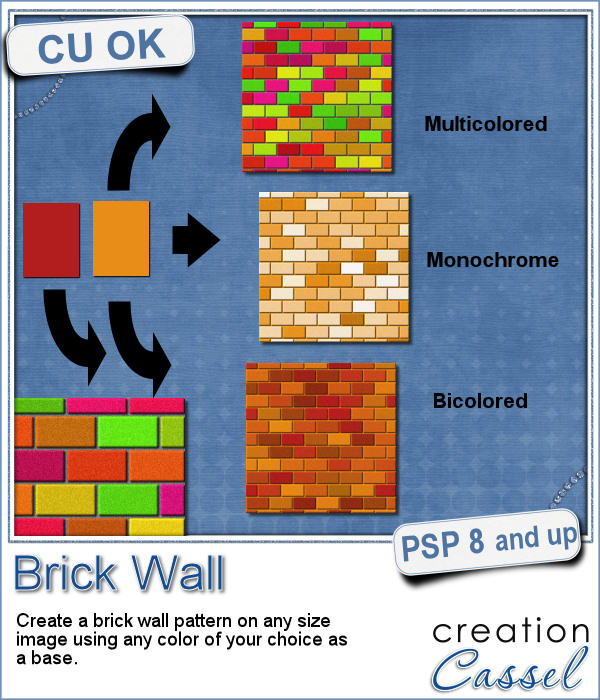
No need to colorize those bricks individually. This script will create a simple brick wall pattern with the brick colors matching your palette, despite still offering variations like normal walls would.
You can have a monochrome wall that will have bricks ranging from your selected color to white. You can choose two colors and the bricks will range between those two. Or you can have a wilder pattern with multicolored bricks, although they would still slightly revolve around one color you pick.
Choose to add a brick pattern on your active image or create a brand new one, in the size you want.
Get this script here: Brick Wall
What would you use a brick wall paper for? Give me some suggestions in the comments below, and i'll pick someone to win this script for free. I'll announce the winner in the newsletter, next week. Not a subscriber yet? Not a problem. You can register here and it is free (and you only get one email per week).
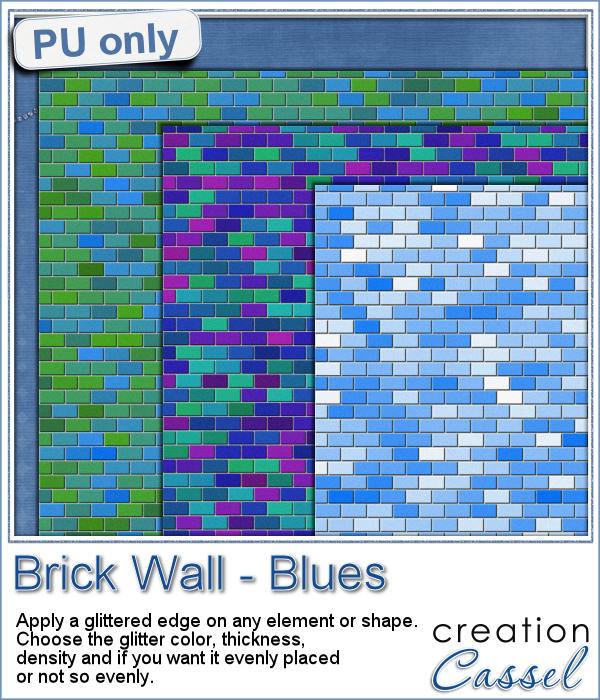 As a sample, I created 3 full size papers (3600x3600) all based around the same blue color. It gives you a good idea of how flexible this script can be.
You can always modify those papers by "wearing" it down, tearing the edges (or cutting out some bricks).
So what will you do?
You need to be logged in to download this sample. You can either login, or register on the top of this page.
News from the Campus
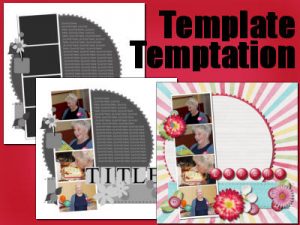 We will have a live presentation on Sunday, August 7, at 5 pm Eastern Time.
We will look at ways to use templates and other tools to create your layouts faster.
Join us. It is FREE.