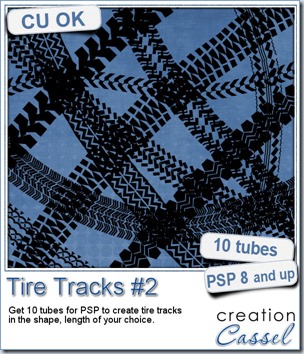
Whether you are a fan of car racing, mountain biking, or monster trucks, you will love these picture tubes.
Just like any directional tubes, you can just draw a line with your cursor and down goes the tire tracks. Make straight lines, curve to the right, or the left, ride in a zigzag or in circle. Anything is possible with those tubes.
They are all in black but if you want them in a different color, simply increase the brightness and colorize. Add some monochrome noise for texture.
You get 10 different tubes.
Grab this set of tire tracks tubes in the store.
This is a perfect add-on to the first set.
You can also add your name to the Happy Place thread in the DST forum for a chance to win this set. I will be back next week with the name of a winner.
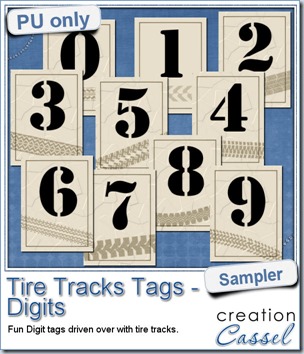
For a chance for you to view these tubes, i created a set of digit tags, with a different track on each (lucky, there are 10 tubes and 10 tags!). You can use those to add a date to your “vehicle themed layout”.
In order to create a less obvious track, i increased the brightness and colorized it. Then, i added some noise, reduced the opacity of the layer and changed the blend mode to multiply.
Each tag is 300x400 pixels, in jpg format so you can use them in just about any graphic program.
You need to be logged in to download this sample. You can either login, or register on the top of this page.
News from the Campus
 The Scrapper’s Dozen is taking shape, gradually. The ingredients are not all collected yet. The utensils are still in the dishwasher, but you will get something fun and yummy.
Have you joined the Scrapper’s Dozen mailing list yet? No? Check it out and you will hear all about the newest development.
And remember to bring in your friends too.

 Do you want a chance to win this script? Just tell me what you would use it in a scrapbook project, in
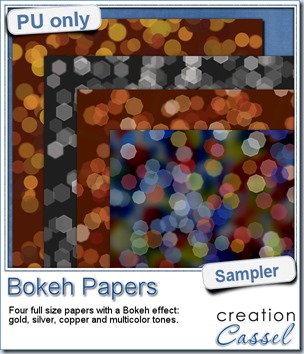 For this week’s free sampler, i created four full size papers for you. Since i dont really know what type of photos you have to use in a layout, i decided to create three of those papers using just gradients i had in my stash: one for silver, one for gold and one for copper. Once i had a paper made out of those gradients, i just ran the script on it.

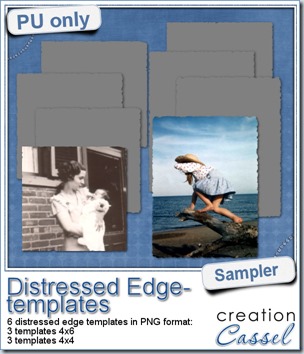 One neat use for the distressed edge is that although you can use it directly on the element you want to have irregular edges, you can also create your own templates for shapes you might want to use in the future. In fact, that is what i did for you. Since i could not show you a sample on YOUR elements, i made some grey templates. They are for 4x4 and 4x6 photos. If you are into pocket scrapbooking, or Project life or using Instagram, you will surely find some use for those. Use them for photos or journaling cards.
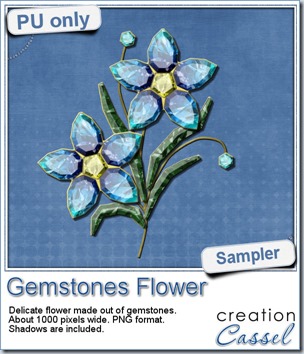 This week, i had a lot of fun creating your free sample and i am super happy with the result. I created these gem flowers using the script. Here are some tips i used to get such a great result:
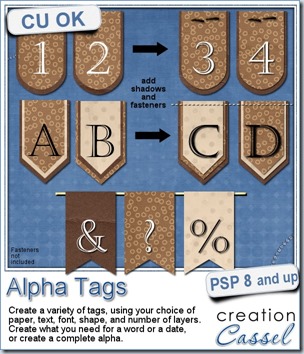
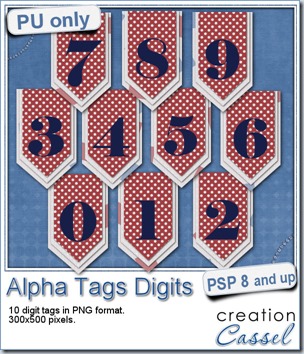 As a sample, i made this set of digits based on papers from an old kit of mine. The basic blue, white and red should make these tags very versatile. The shadows are added to the inside layers but not the outside ones. That will allow you to add a fancy shadow, making the tags lift off the papers.
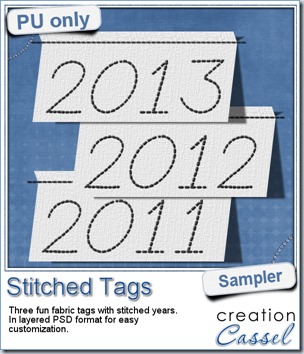 As a sample, this week, i created a set of simple fabric tags with the years. They are in layered PSD format so the tag, the stitching on top and the shadow are on different layers. This should allow you to colorize the tags and the stitching without affecting the shadow and you can also add your own shadow if you need to rotate the tags.
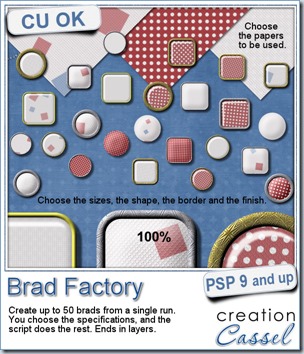
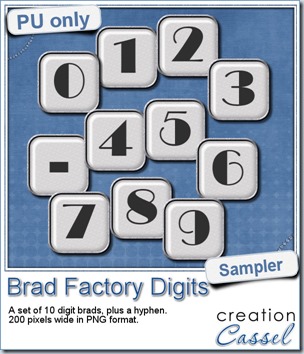 One great advantage of this script is how it leaves all the layers intact, allowing you to tweak or use them in different ways. That is what i did with this sample. I ran the script on several papers i had (see the preview) and chose a simple, neutral one, with acrylic finish and i turned it into a set of digits but just adding the characters below the acrylic layer. It was soooooo easy.