Web
Analytics

New script – Datestamp #3

Datestamp 3 script for Paintshop ProThere are so many ways to add a date on a project, but even though they might be fairly easy to create manually, it is often taking a little bit more time than we really need, and if we ever want to create a series of them, it multiplies the challenges of making them fast, but also accurate.

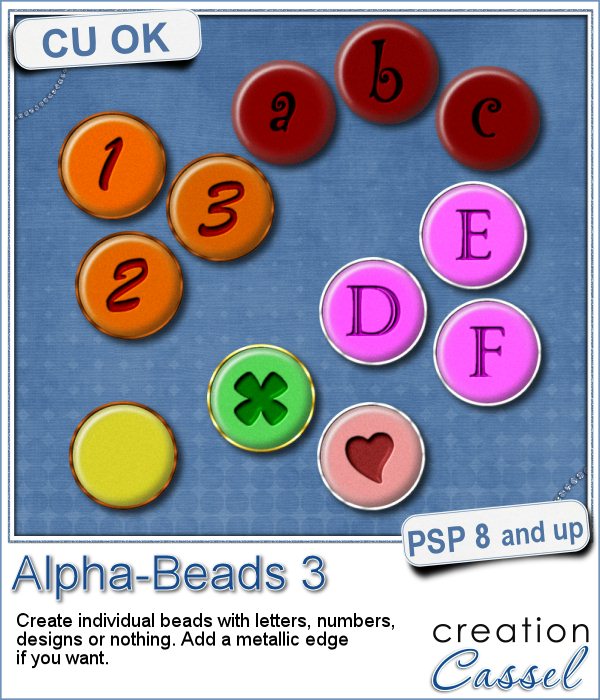
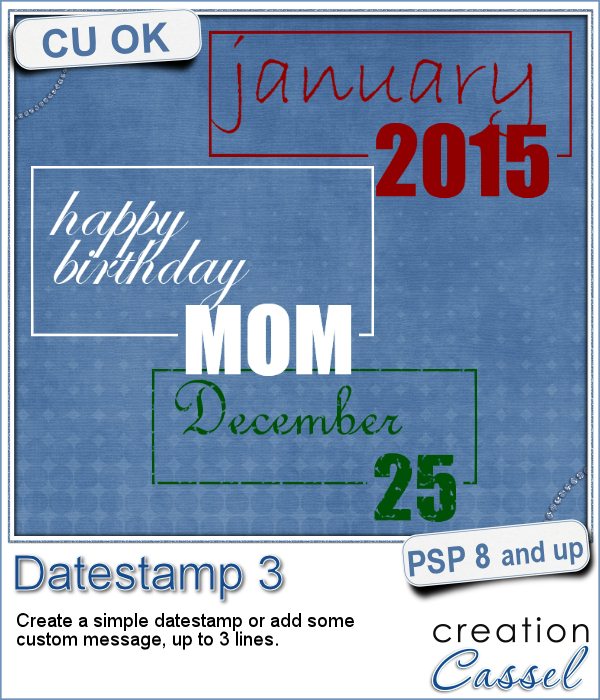
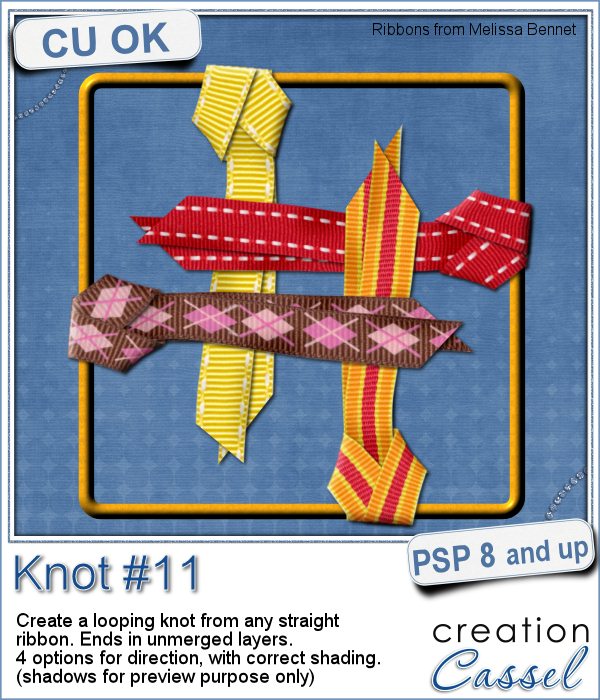
This script will create a simple datestamp to add a month and date, or month and day for you. But, since you can choose any text you want, there are ways to be creative with it and have something else than a date, like a greeting, a short phrase and much more.

Since you can choose any font for the inside text, you can really create something with various themes, or moods, depending on your actual project.

Grab this fun script in the store: Datestamp #3

For your chance to win this script, tell me what ELSE than a date can you imagine using this script for? Show us your creativity and share more ideas than what i have! I'll announce a winner in the newsletter, next week. Not a subscriber yet? Not a problem. You can register here and it is free (and you only get one email per week).

datestamp 3 samples for all the months of 2015
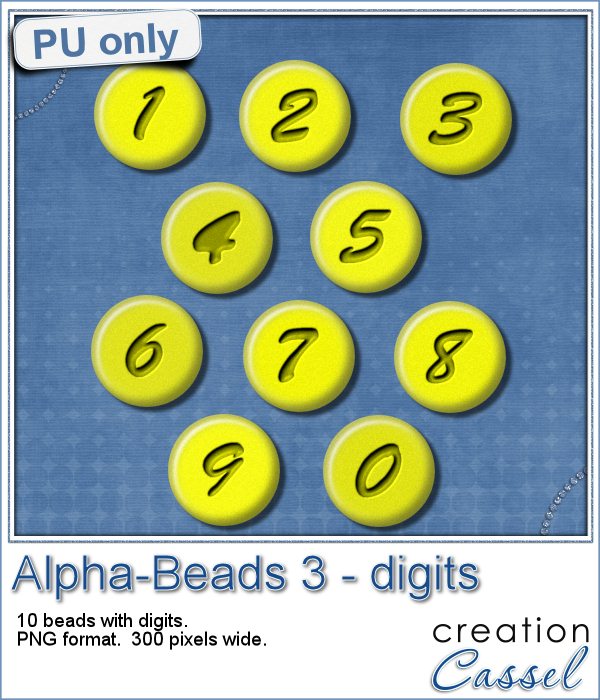
For a sample of this script, i created a series of 12 stamps, for each month of 2015. They are in png format.

You can use them to date your projects or your photos, or as a way to date your year in review project.

Each element is about 500 pixels wide, and although they are white, you can easily colorize them by first lowering the brightness to turn the white into a grey.

What project can you add those to? Maybe a layout that is already done and is still requiring a fun way to date it?

Remember to show us what you do with those. Either link in the comments below, or pin it on our group board.

You need to be logged in to download this sample. You can either login, or register on the top of this page.

New script – Chevron

Chevron pattern script to create seamless tilesIt might be fairly easy to create chevron pattern manually, but it still takes time, and in order to get something that is different each time can be a challenge.

This script will take care of that challenge by randomly picking the colors from your palette, and randomize also the thickness and the order of the lines, and also randomize the angle. In the end, you get a variety of seamless tiles you can pick from.

You can generate up to 25 different tiles in one run. And it will take just a few seconds too! Keep the tiles you like, and discard the others (nobody will know).

This is perfect to create background paper or accent elements like ribbons, borders, tags, etc.

Grab this time saving script in the store: Chevron script.

Do you want a chance to win this script? Tell me, in the comments below, how you have used chevron patterns in the past (you can link to a layout if you have one too!). I'll announce a winner in the newsletter, next week. Not a subscriber yet? Not a problem. You can register here and it is free (and you only get one email per week).

Chevron tiles in greyscale for freeAs a sampler, this week, i thought of creating a series of tiles from a single color palette, however, I have no idea what colors you would need. So i chose to run the script using black and white and 4 other shades of grey.

The resulting tiles are obviously all greyscale and you can colorize them as you wish.

You can use those tiles as a flood fill pattern to create edges, background papers and more.

You need to be logged in to download this sample. You can either login, or register on the top of this page.


New script – Knot #11

Knot script for Paintshop ProWe never have too many knots and bows, do we?

This script is all about creating that knot that you can use to tie an element like a ring, a tag, or anything that has a hole on the edge.

Interestingly, unlike other knots (or bows), this script allows you to get the correct shading whether you plan on using the ribbons toward the left, or the right or the top or the bottom. You know that one element with the correct shading should NOT be rotated, flipped or mirrored as that shading will become incoherent with the light source. Well, this is like having 4 scripts in one!

Each layer is left unmerged (so you can tweak them), and furthermore, they are grouped so you can copy the whole set of layers to paste them on your project without having to re-align them one by one.

You can use just about any type of  straight ribbon: opaque, patterned, directional, translucent, lace, etc.

You can grab this script in the store: Knot #11.

For a chance to win this script, tell me how you can think of using this simple knot. Can you think of something even more original than others? Something a little "out of the box"? Share your suggestions in the comments below, and i will pick a winner next week. Not a subscriber yet? Not a problem. You can register here and it is free (and you only get one email per week).

Knot in greyscaleAs a sampler of what this script will generate, i created 4 knots using the same starting ribbon. So you get one for each of the 4 directions.

Each file is in PSD format and the layers are unmerged. If you want to copy the whole thing onto your project and not have to merge the layers first, here is the process (with PSP):

  • highlight the bottom layer
  • right-click and select New Layer Group; click OK to the window that will pop up
  • activate the layer just above the group; drag it into the group, just above the previous layer (which is now in the group)
  • repeat for each layer
  • activate the Group 1 layer (above all the individual layers); copy that one (Ctrl-C) and you can paste as a new layer onto your project (Ctrl-L)

That was easy, wasn't it?

What will you do with those tied ribbons? Remember to show use your end result!

You need to be logged in to download this sample. You can either login, or register on the top of this page.

New tubes – Natural Ropes

Natural rope tube for Paintshop Pro
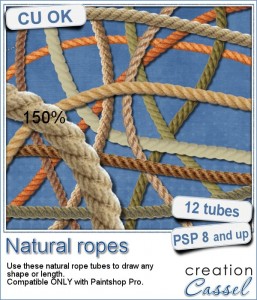
Are you always looking for a rope or string in the size and shape you want but can't find anything ready-made that matches your project? That is when you can REALLY take advantage of these rope tubes for Paintshop Pro.

These are picture tubes, and you can "draw" with them as you would with a brush tool. Make them long, make them short. Make them straight, make them curved, make them twisted. Create "rope doodles" if you want, draw freehand or shape them neatly with a free script (link in the description).

You get 12 different natural rope tubes that you can use to make frames, tie tags, write words, etc.

Grab this set of rope tubes in the store now: Natural Ropes.

Would you like a chance to win this set? Tell me how you would use these picture tubes in a project of yours. Post in the comment below and i'll announce the winner in the newsletter, next week. Not a subscriber yet? Not a problem. You can register here and it is free (and you only get one email per week).

Rope doodle frame in PNGTo show you how versatile these rope tubes can be, i created a doodle frame. First, i drew it with the Pen tool so i could get a vector path. That required some work and tweaking to get the smooth curves. Then, i just ran the VectorTube script to place the rope along the vector path. That was the easy part.

The biggest challenge was to add the shadow ON the rope where the pieces overlap. Since everything was on a single layer, i had to use a few steps:

  • added a shadow on a separate layer
  • selected the area where the shadow should be on top of a rope.
  • promoted that selection and moved it above the rope
  • deleted that duplicated section from the initial shadow layer
  • with the eraser tool, i removed the shadow that appeared on top of the top rope but should NOT be there
  • then, i had to feather the remaining shadow so it would look natural

It was not hard, but it was a bit time consuming. But what do you think of the result? This free download includes a shadowed version and an unshadowed one (in case you need to add your own).

You need to be logged in to download this sample. You can either login, or register on the top of this page.

Will you show me your end result with a photo in the frame? You can also post it on the pinboard HERE. Everyone would LOVE to see your project.

New script – Film Strip

Film Strip script for Paintshop ProFilm strips are common ways to display photos, whether they are a series of photos taken in a rapid sequence, or completely different photos.

It is fairly easy to use a template and insert your photos manually into each slot, but with this Paintshop Pro script, the process will be much faster and you will have more options available than with ready-made film strip templates.

This script will always create a strip that is 3600 pixels long, which will fit traditionally sized scrapbook layouts. It is also big enough for you to size it down to any other size you need.

You can have between 4 and 12 photos on that strip, and the script will adjust each individual slot to still have a 3600 pixels long strip.

In the end, you will still have the option to tweak the exact placement of the photos (in case you don't want to cut Aunt Lucy's face on the edge). You can also apply various effects to the individual photos, like turning them into black and white, adjusting the brightness, adding various effects.

You can get this script in the store: Film Strip

I am sure you would love to use this script and you are already thinking of some photos to use in them. What kind of photos are you thinking of using with this script? Tell me in the comments below and i will announce a winner in the newsletter next week. Not a subscriber yet? Not a problem. You can register here and it is free (and you only get one email per week).

Film Strip template in PNG formatOf course, i cannot give you a sample of this with my own photos (even the wedding photos) since they won't mean anything to you. So, for that reason, i will just give you a sample of a blank template. I used the same strip as the one with the wedding pictures, and just saved the film strip layer in a png format.

As for all those strips, it is 3600 pixels long and this one has 12 square spaces for adding photos.

You need to be logged in to download this sample. You can either login, or register on the top of this page.

New script – Custom Banners

Custom Banners script for Paintshop ProLast week, i attended to my daughter's wedding, and at the reception, she had a cookie bar where people would pick their own treats to bring home. She had a set of banners that said "Love is sweet".  I remember her asking me where to find the individual banners in the colors she wanted, and i didn't know. She ended up having the decorator do them for her, but that sparked the idea in my mind that Paintshop Pro can easily be used for hybrid projects. And that is how this Custom Banners script came to be.

This script will create individual banners with each character of your text (including the blanks) and the color you want. You can choose one of the 9 preset shapes for the banners or use your own if you have others. You can also pick a simple or elaborate font for those banners. All in all, you get the option to create your own banners.

Do you have specific patterned papers you want to use to create the banners? Not a problem: the script will ask you and if that is the case, it will only create an outline that you can cut out and the number would be printed.

And if you want to keep it digital, that is quite ok too as you can create the text message of your choice and size down each banner to suit your layout.

You can use this script to write any message you want!

Get this script in the store now: Custom Banners.

Do you want a chance to win this script? In the comments below, tell me what is the first text/message you would like to write with these banners. I'll announce a winner next week in the newsletter. Not a subscriber yet? Not a problem. You can register here and it is free (and you only get one email per week).

Custom Banners for Fahter's DayFather's Day is coming soon (at least here in Canada), as it is next week. For this occasion, i created all the banners to write the phrase "Happy Father's Day". Since you would need to print out the individual banners, i didn't duplicate the letters like A and Y which are repeated in the message. You can just print them twice or three times. There is also a blank one for you to place between the words or to add your own design.

I created them in white fill so that if you want to use a colored or patterned paper, it would still be possible to do without printing all over it.

Once you have them printed and cut, attach them together with a string or other fastening system, and hang it something (and remember to take a picture).

You need to be logged in to download this sample. You can either login, or register on the top of this page.

And now, why wasn't there anything in the store last week? Because i was busy with my daughter's wedding, which was taking place out of town. Here is one picture of the happy couple.

Wedding1

New script – Paper Flower

cass-PaperFlower
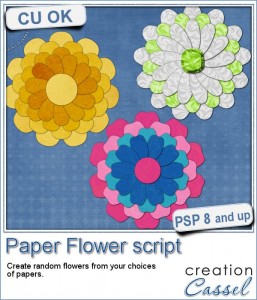
If you were to create your own flower, out of papers from a kit, how would you do it? You might choose to cut out one petal and simply duplicate it multiple times and rotate them around the center. But you know what? This looks "amateurish" because a real flower made of paper would NOT have 100% identical petals, would it? You would see some variations in the texture, the shading or the pattern.

This script will give you a much more realistic look because each petal will be cut from a different location on the paper, as if you were to cut out from a real paper with scissors.

You can choose any paper you have, whether it is a solid, a patterned, or a gradient paper. Any texture would work and it would even give that slight variation on each petal.

You can choose to have 1, 2, 3 or 4 rows of petals, using the same paper or different papers, or a combination of papers. Each petal will have a slight shadow to give some depth but still allow you to add other shadows to create a lifted effect if you want as each of them is also left on a separate layer.

Add any center you want, from one of the paper, or from another element like a button, a gem, etc.

Grab this script in the store: Paper Flower.

If you want to get this script for free (or another one if you already bought it), tell me how many rows you would prefer to have when creating a flower. Add your answer to the comments below and i'll draw for a winner that will be announced in the newsletter, next week. Not a subscriber yet? Not a problem. You can register here and it is free (and you only get one email per week).

cass-PaperFlower-Sample-Pink
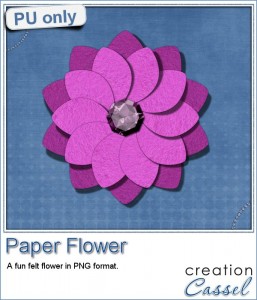
As a sample, i created a fun pink flower for you.

As a paper, i simply opened a blank image and flood filled it with a pink felt tile i had (from the Felt presets #1). I used that "paper" for the first row of petals.

For the second row, i chose the option of NOT using the same paper, so i duplicated the paper i had, tweaked it to get a brighter color and ran the script as if it were a new paper.

Once the second row of petal was done, i added a shadow to each petal, every time, on a separate layer then, tweaked it to create a lifted effect, on the smaller petals.

Finally, to make the row look better, i selected one part of the top petal and using the Interlacing technique, moved that half petal under the bottom one (i bet you can't see that cut, can you?)

For the center, i created a pink gem using the Gemstone script.

You need to be logged in to download this sample. You can either login, or register on the top of this page.

New script – Alpha-Beads #3

Alpha-beads script for Paintshop ProYou now have another option to create beads with the letters, colors and font of your choice with this script.

You get individual beads that are about 300 pixels wide, and you have the option of having letters, digits, punctuation marks, and since you can use any character with any font, you even have the possibility to use accented characters that you can't find anywhere else.

You also have the option to add a drawing or a design: use a vector shape, or a hand drawn design if you prefer. And of course, you can also create a blank bead.

There is even an option for an additional metallic ring around the bead for another look.

Get this script in the store: Alpha-Beads 3

What type of beads would you like to create, that maybe you have had a hard time finding already made? Share your comments below. I'll pick out a winner and will announce it in the newsletter next week. Not a subscriber yet? Not a problem. You can register here and it is free (and you only get one email per week).

cass-AlphaBeads3-Yellow-DigitsHow about a little bit of sunshine with these yellow beads with digits? You can use them to display a date or an anniversary number.

They are plain, without any metallic ring around them so you can still customize them to suit your taste or your project.

What will you "date" with them?

You need to be logged in to download this sample. You can either login, or register on the top of this page.

New script – Datestamp #2

Datestamp script for Paintshop ProDatestamps have been used for years in a way to indicate a particular date on a document, most often an envelope, but in graphic design and scrapbooking, these have become much more than just a way to add a date.

This script will allow you to create a custom datestamp that will really fit your need and your current project. You can choose any text you want, whether it is a date, a location, a name or a phrase. You can choose any font you want, as long as it is accessible by your PSP. You can choose any color, gradient or pattern and you can even add a texture if you want something original. Then, in the center, you can add another short text element, like a year, a name or another word and still use yet a different font.

Just like the old datestamps that had long lines to cover a certain number of postage stamps that would have been on the envelope, you also have the option to add those lines, either straight or wavy, on either side or on both. That makes this script extremely versatile and you can make so many different looking elements!

Grab this script in the store: Datestamp #2

With all the options available, what would you use this script for? What would you write on it? Post a comment below and i will pick a winner next week and will announce it in the newsletter. Not a subscriber yet? Not a problem. You can register here and it is free (and you only get one email per week).

cass-Datestamp2-MonthsHow about a little sample. Of course, i can't put the name of your sister, or the location of your last vacation in a sampler but i can give you a standard date datestamp. If you want to add a fun label to your layout to indicate when the particular event took place, you can use these stamps. They are in greyscale so you can change the color to your liking to match your project.

Each stamp is 500 pixels high so it is easy to size them down if needed too.

You need to be logged in to download this sample. You can either login, or register on the top of this page.

Although those stamps do not have the lines on the side, it would be super easy for you to add them yourself using the Brush tool (or the Pen tool if you prefer to work with vectors). Will you show us what you make with those? How do you use them in your layout?

New script – Glitter Gel

Glitter Gel script for Paintshop ProIf you ever did some paper crafting, you have seen those puffy paints or glue or gel. Some will just be translucent or opaque, some will have glitters or not.

This script will turn any line drawing you can make into a gel paint, with or without glitters. You can choose the amount of glitters, and the color. You can use a line drawing or a solid shape, in which case the script will just use the outline.

This is perfect to add a handmade look to a project with a color that will match everything.

If you prefer something more regular, use a preset shape and you can use the outline only too.

Get this script in the store: Glitter Gel.

You can get this script for free (or a coupon for a future new release if you already bought it) by adding a comment below. Tell me what you would use such glitter gel on a project. I'll pick a winner and i will announce it in the newsletter, next week. Not a subscriber yet? Not a problem. You can register here and it is free (and you only get one email per week).

Glitter Gel samples with Summer themeSince spring is finally getting here now (believe it or not, we got another 4 inches of snow on April 26th!), i decided to hand draw a few spring themed elements for you.

Each element was hand drawn. For the flower and the umbrella, i ran the script on the two parts separately. To make the color a bit brighter, i simply selected outside the gel part with the Magic wand, inverted the selection, contracted the selection by 1 pixels, and flood filled with a solid color on a new layer that was placed below.

For the umbrella, i used almost the same steps, except that i selected the whole area of the umbrella instead of just the gel part.

You need to be logged in to download this sample. You can either login, or register on the top of this page.

And remember to show us what you do with those free samples or the script itself!

News from the Campus

SelectionsEverywhere-400Did you register to the live presentation that will be held tomorrow?

Registration is still open and ALWAYS FREE to join, view and hear live, ask questions, and share resources with other attendees.

Join us to discover a lot about the numerous Selection tools (how many of them do you know?)

Sunday, May 3rd, at 5pm Eastern time.

REGISTER NOW