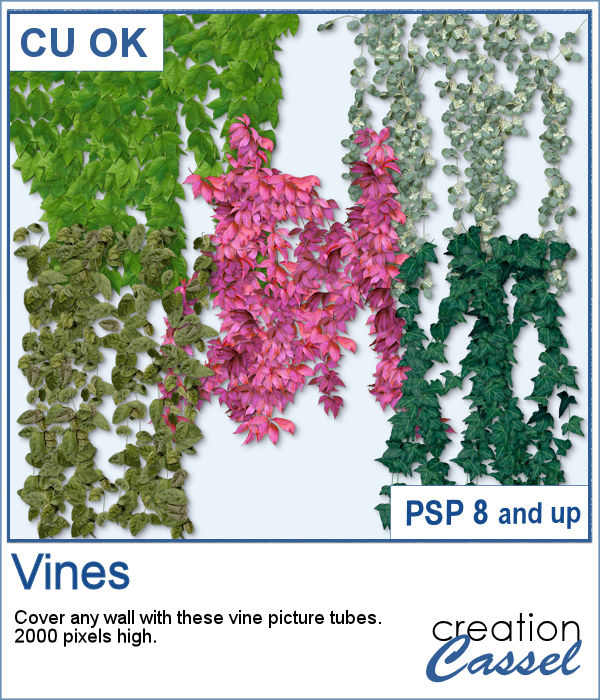
How about some climbing vines in the background for your next spring or summer project? These picture tubes will partially cover a wall of your choice, with vines. You can change the step to make it bushier if you prefer.
You also get some individual leaves so you can draw your own vines, around windows or other elements. They match the larger vines in size, colors and textures.
Get them in the store: Vines 1
In order to win this script, add a comment on this Facebook post telling us how you could use a vine in a project (remember, add a comment, not just a Like!) The winner will be announced in the newsletter, next week. Not a subscriber yet? Not a problem. You can register here and it is free (and you only get one email per week).
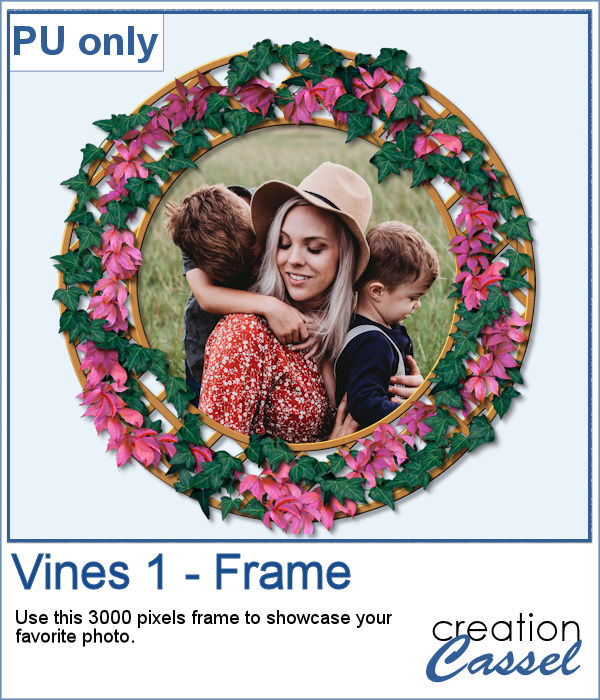
For a sampler, I created a lattice frame where I added two vines. I created a path with the Pen tool, where I wanted the vines to go and ran the VectorTube script to place all the leaves perfectly on the path. I repeated the process with a green vine and the pink one.
You need to be logged in to download this sample. You can either login, or register on the top of this page.

You might have a lot of photos to display and you want them showcased in a different way. How about hanging them all on a line?
As a sampler (since you likely don't care about MY photos), I converted one page with 15 photos into a layered template. Although you cannot move the photos like you would be able to with the actual script, you can still adjust what photo you want to display on each group.
If you want to combine a set of papers into a new design, you can create this brick wall pattern. But doing it manually, is absolutely tedious and difficult. Which is a good thing there is a script for that.
For a sampler, I am offering you a greyscale version of the pattern in the preview. There is no background so you can use any color or paper for it. To colorize the bricks, you can either use the Colorize command over the whole image, or over a selection of some bricks or rows. But if you want to be fancier, you can duplicate this layer, lock the transparency and paint over some bricks, and then change the Blend mode.
Placing photos in a perfect circle is an interesting way to display them, but it can be very tedious to take care of resizing each photo to the correct dimension for their number, then spacing them, aligning them and rotating them perfectly to form that circle.
As a sample, I ran the script with 8 photos and simply replaced the photos with grey squares (you don`t need to have my photos, do you?). Everything is left in unmerged layers so you can change the color of the borders if you want. You can insert your photos inside the mask groups. You can add various papers or elements to decorate the page.
Bows come in so many shapes and sizes. In your stash, you will never have too many bows! This is another one in our series of bows that you can create for your own projects.
For a sample, I created three organza ribbons and three bows with them. I also combined the individual loops from each bow, to make a three-color bow. That is something you can also do with the bows generated from this script since all the layers are left unmerged so you can replace or move them.
This is the third script in the "Decorated eggs" series. New designs but the same options. The eggs created with this script will perfectly match those from the others in the series as they will have similar options, the same final dimensions, etc.
Here are another dozen eggs that you can use in your next Easter project. They are the same size as the previous dozens so you can have three dozens for the same price.
Various templates exist to create diptychs and triptychs but using something standard might just not suit your photo as you might end up with a face cut in the middle or some other subjects not being really well showcased. This script will allow you to select the subjects to showcase and it will do all the calculations to split the photo between those areas you will determine.
As a sample, I created a split photo starting with a simple black image, which turns into a template that you can use with your own photo. You can change the color of the borders and the background if you want too.
Another way to add a special message, a date, a name, or a location is through the use of a datestamp. Those can be a simple and discrete way to add some information on a project without the traditional look of labels or journaling.
For a sampler, I created a total of 16 greyscale datestamps related to various school grades (from pre-K to University). Since they are greyscale, you can colorize them however you want to match your project.
If you have some paper-related projects and you need a fun and unique title, why not use a series of layered outline cutouts? Although this might be a bit tedious to do manually, you are in luck as this script can do that for you in no time.
As a sampler, I used the fading color option starting with dark green. This would be perfect for any St-Pat project, but it could also be used for titles for a birthday or a papercraft event.
Graduation is a special milestone in anyone's life and you can commemorate it with a tassel in the colors of the school and the year attached to it.
As a sampler, I created a greyscale tassel with a gold ring. You can colorize the tassel however you want, and you can use one of the eight "year tags" included.