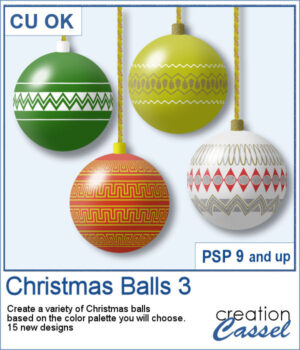
 This set now includes 15 additional designs to create your own Christmas ornaments with your choice of colors and color combinations. This will allow you to create up to a dozen Christmas balls in one run.
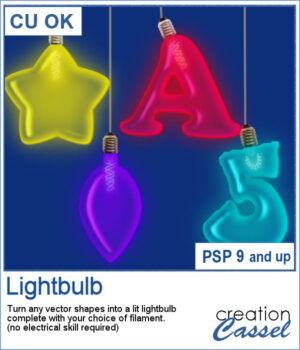
This script, like the other similar ones, will let you create those decorations that will perfectly match the rest of your kit or your project.
Get it in the store: Christmas Balls 3
To win this product, add a comment on this Facebook post telling us if you have any of the other Christmas ornament scripts from the store (remember, add a comment, not just a Like!) The winner will be announced in the newsletter, next week. Not a subscriber yet? Not a problem. You can register here and it is free (and you only get one email per week).
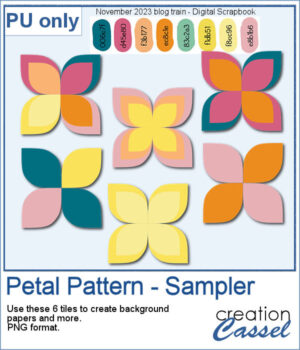
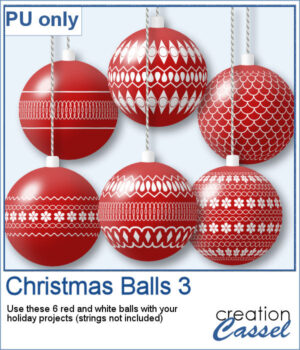 As a sampler, I ran the script using a red background for the balls and a single red color for the design. You get 6 different designs to use in your holiday projects.
You need to be logged in to download this sample. You can either login, or register on the top of this page.