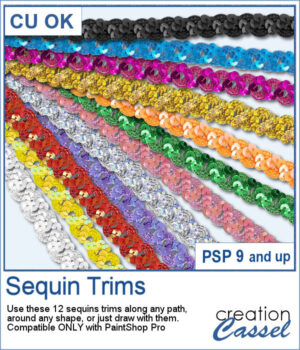
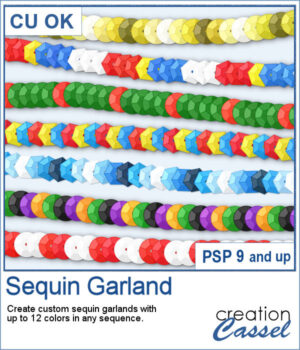
 Create custom sequin garlands in any color sequence with the new Sequin Garland script for PaintShop Pro. Combine up to 12 colors, arrange them in any order, and generate unique picture tubes perfect for holidays, country flags, school colors, sports teams, celebrations, and themed projects. With round and hexagonal sequins, the possibilities are almost endless.
Get this script: Sequin Garland
Want a chance to get this script for free? Head over to this Facebook post and tell us a color combination that you would like to see. The combination suggested by the winner will be sent as a freebie for all those who posted a suggestion so let's have a lot! (Remember, only comments count. Likes and shares are appreciated, but won’t count as entries.) A winner will be announced in next week’s newsletter. If you’re not on the list yet, you can join right here. It’s free, and we only email once a week!
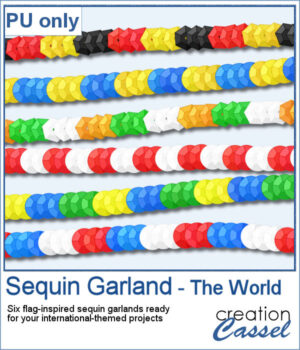 To celebrate the release of Sequin Garland, this week's freebie includes six ready-to-use sequin garlands inspired by countries from around the world. Use them to decorate travel layouts, cultural projects, sports pages, or any project that could use a colorful international touch.
You need to be logged in to download this sample. Please log in or register using the links at the top of this page.