Adding edges with a brush or a picture tube is kind of great for Paintshop Pro users, but then, other program users can’t take advantage of the same tool. This is a FONT, so it can be used by most graphic programs, whether it is PSP, or Photoshop, or Photoshop Element, or Gimp, or other programs that can use outside fonts.
Since these are fonts, they can be used and manipulated just like text: change color, size, kerning, follow a path, reverse a path, etc.
With this font, you get 25 different designs that you can use for edging, stitching, or various designs. Use them on papers, frames, mats, ribbons. Why not even trim photos as if they were laser cut. That would look awesome, wouldn’t it?
You can get this Lace Edge #4 FONT, in my store.
And if you want a chance to win this font, hop over to the DST forum HERE, and tell me what program you would use this font with (maybe you are using a program that is new to me?). I’ll be back next week with the name of a winner.
 This week, i created 3 decorated mat templates. You can use them to cut out your favourite paper, or simply to color. You can also layer them with other simple shapes since those are very simple to start with.
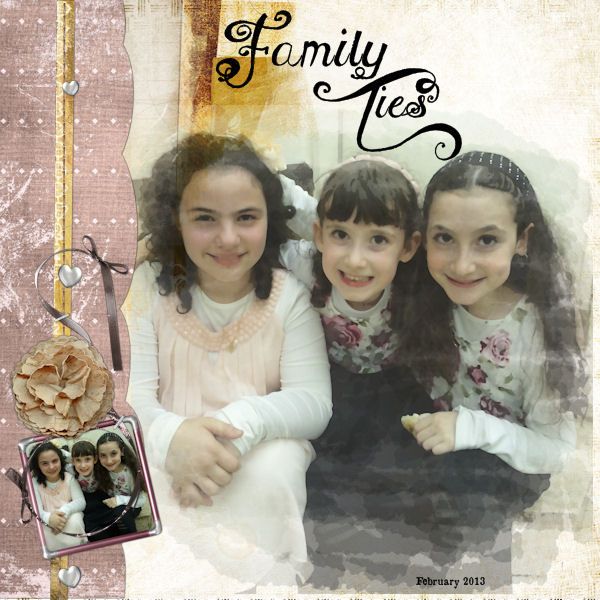
I just made the rectangle and round mats (the brown and the green) starting with a vector shape and added the font like text on path.
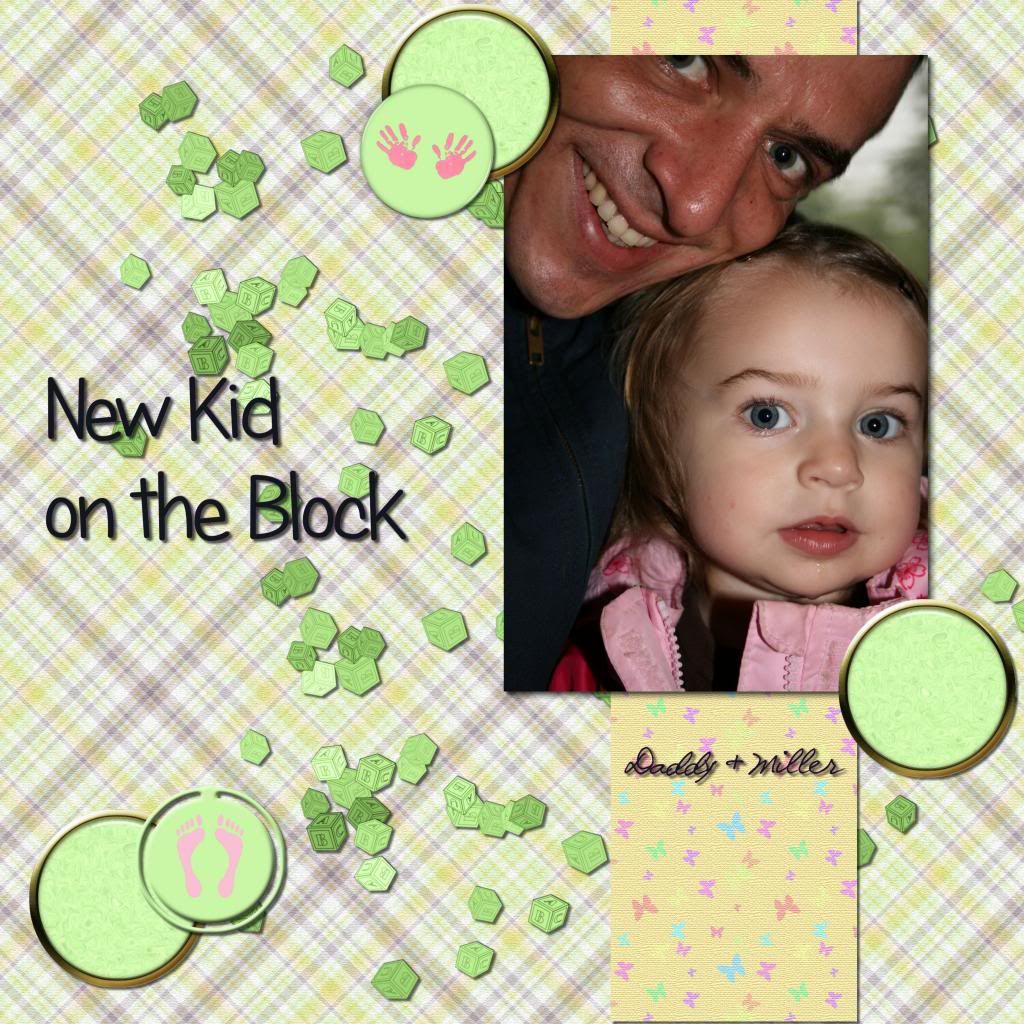
For the square one (the yellow), i simply created a long strip of one character (the letter b) for about 900 pixels long, then ran the Mitered Corner Frame script to get a perfect corner (and it looks great, don’t you think?). I am also including the straight row of “lace” so you can use it to create any matching element you want, whether it is a frame, a ribbon, or to make a stitching row.
Available for FREE when you register to our mailing list HERE.
News from the Campus
 The Scrapper’s Dozen is now adding more ingredients to the recipe! We have more contributing designers who will bring you goodies. And the tutorials you will get are among the best in the Campus! And you’ll get it all when you join.
Registration is not yet open, but you can subscribe to the special mailing list to be first to hear about all the new stuff that will be included.