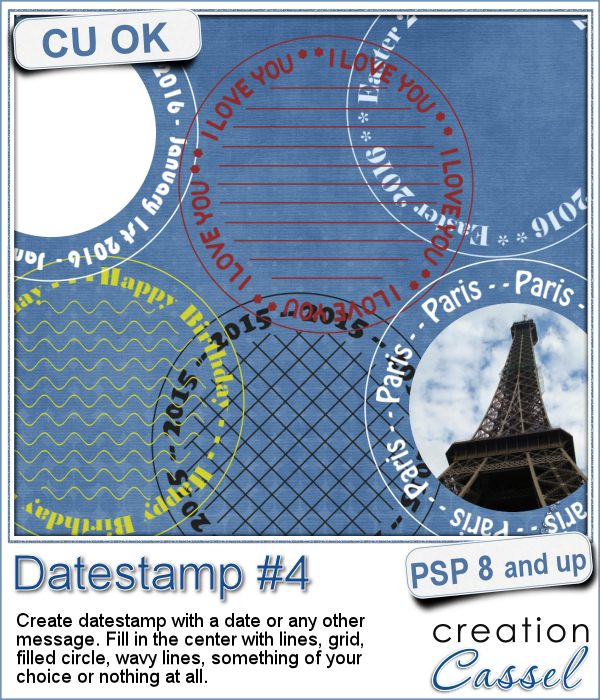
 There are so many ways you can have a date on a project. That is why we are up to the fourth different datestamp script. But don't limit yourself to a date; this script allows you to add other messages, words or phrases.
In addition to be able to choose ANY text, you can also choose any color for it, any font for the text and one of 6 ways to fill the center.
You can keep a simple set of straight lines so you can add hand written notes. You can leave the center empty so you can add another design, preset shape or hand drawn element. You can use the filled circle in the center as a template to add a photo of some kind. The possibilities are literally endless.
You can grab this fun script in the store: Datestamp #4.
For a chance to win this script, tell me how you tend to add dates to your graphic projects. Do you use elements? Just text? Alphas? Add your answer in the comments below. I'll announce a winner in the newsletter, next week. Not a subscriber yet? Not a problem. You can register here and it is free (and you only get one email per week).
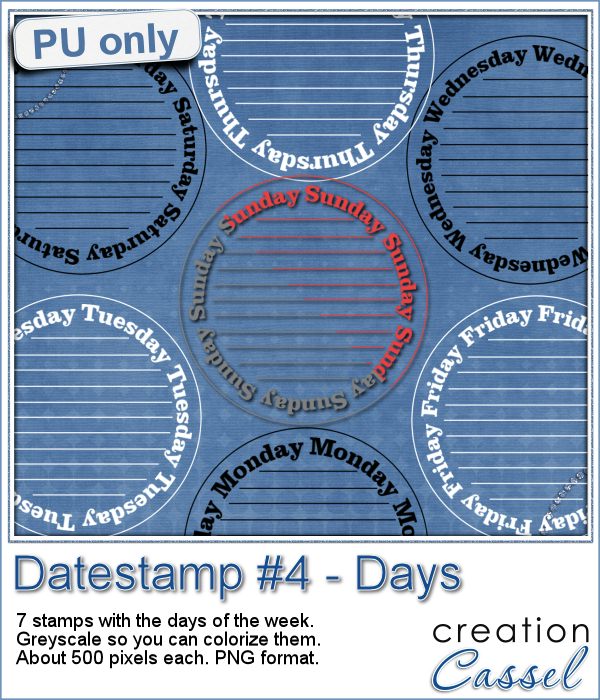 As a sample of what this script can do, I created a set of datestamps using simply the days of the week with straight lines in the center. This should be versatile enough to let you customize them. Of course, you can also remove those lines in the middle if you want. I won't be offended!
Each one is about 500 pixels wide, in greyscale so you can change the color (like I did in the preview). Since they are also in png format, you can use them even if you are not a PSP user.
You need to be logged in to download this sample. You can either login, or register on the top of this page.
News from the Campus
 The edited recording of our live presentation is now available for viewing.
You can watch it for free as long as you are logged into the Campus (the login is not necessarily the same as the one for this site).
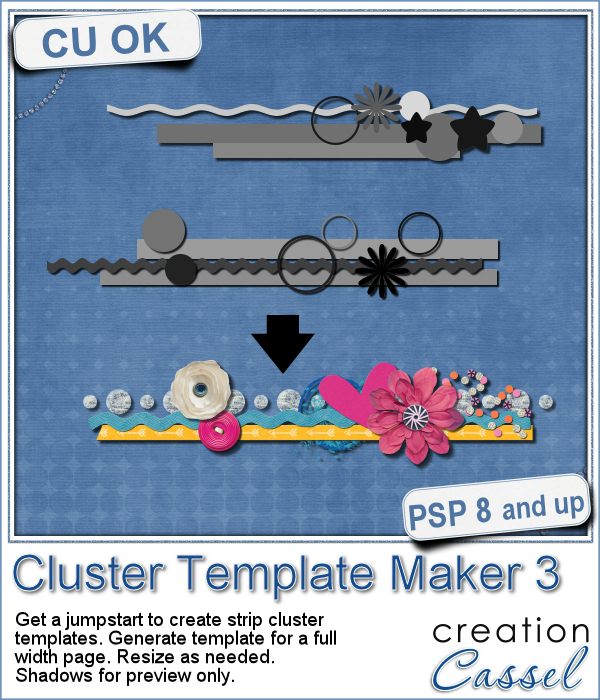 Creating clusters can seem like a daunting task when you just end up staring at the screen, wondering what element to use, where to put them, resize them or not, etc.
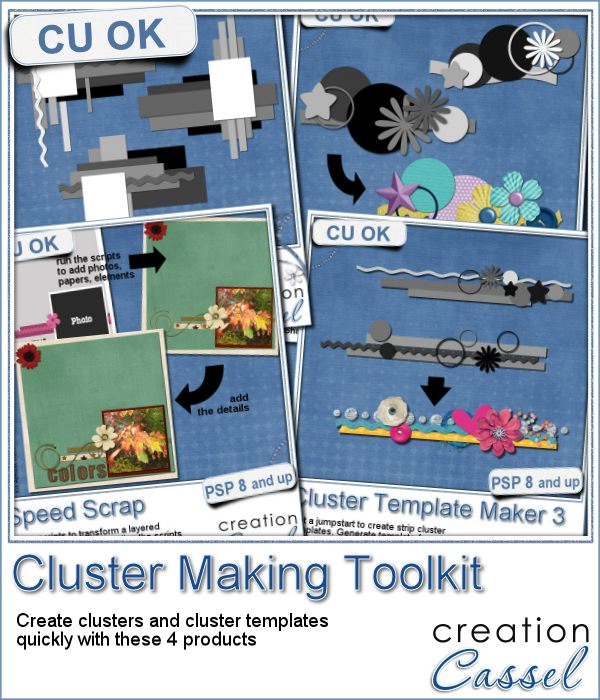 If you are into clusters, you can get all three Cluster Template Maker scripts AND the Speed Scrap Scripts as a
 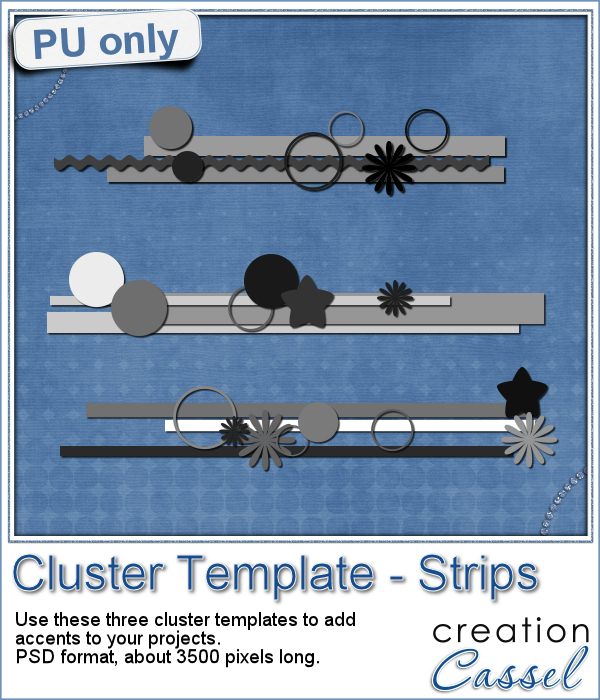 For this week's sample, I am actually including THREE cluster template strips that were generated using this script.
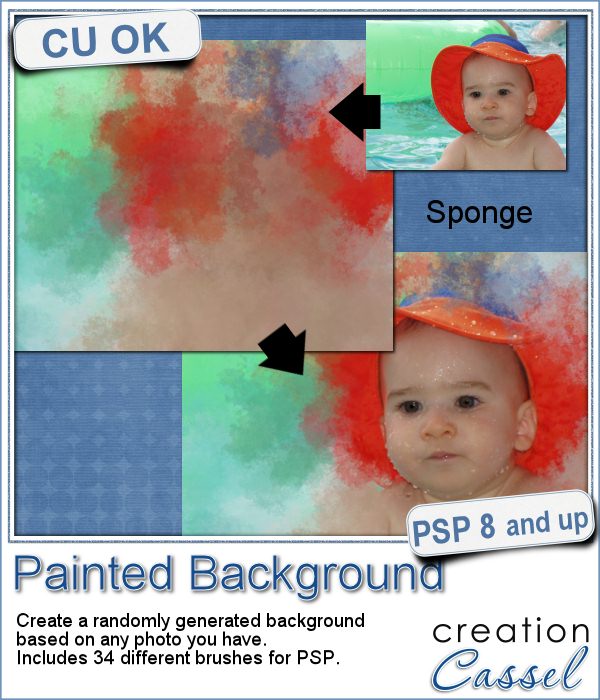 Linda asked me recently if i could create a script that would generate a painted background from an image. Of course, one can always use the Brush Strokes effect in Paintshop Pro, but sometimes, we only want an abstract background based on the colors of a particular image we like. It can obviously be hard to find a perfect match unless we create it ourselves.
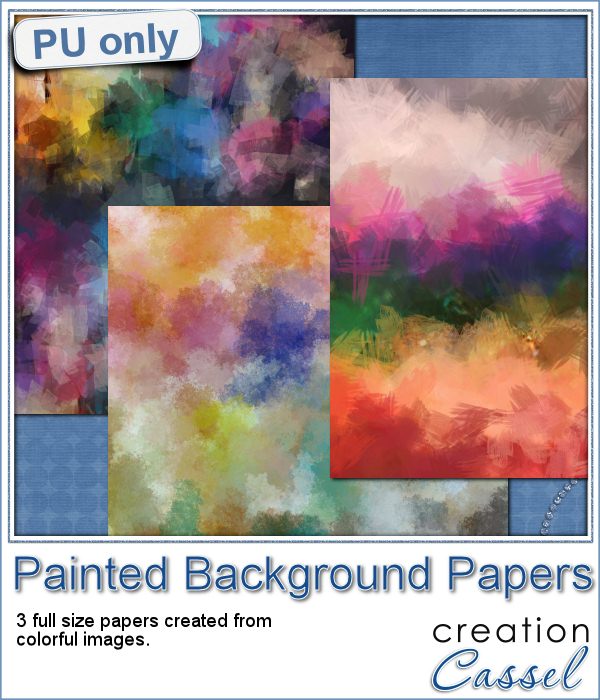 This week, i picked a few very colorful images on Morguefiles and turned 3 of them into full size papers. Do you have a fun, happy project you want to showcase? You can use those background papers as a base for showcasing your photos. You can also use those papers in other ways (or use them with other scripts!).
 Can you create your own sticker out of any image you have? Sure you can. Use any png image (even if you extracted Uncle Jim from a photo) to turn them into custom stickers. And also, have a peek how you can make that sticker look like it is curling up a bit.
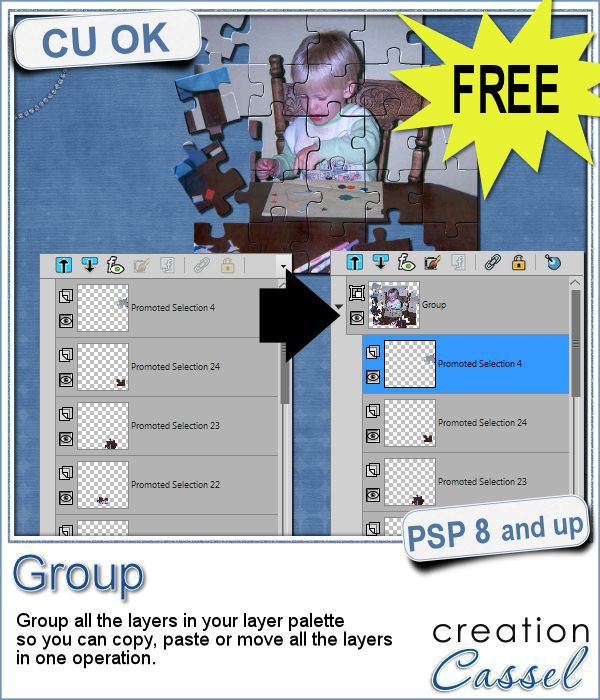 Whenever you work on a particular project, and create many layers, it is a real pain to copy and paste each individual layer onto the new project. Of course, you can group them, but if you have 20, 30 or 100 layers, it can be very time consuming.
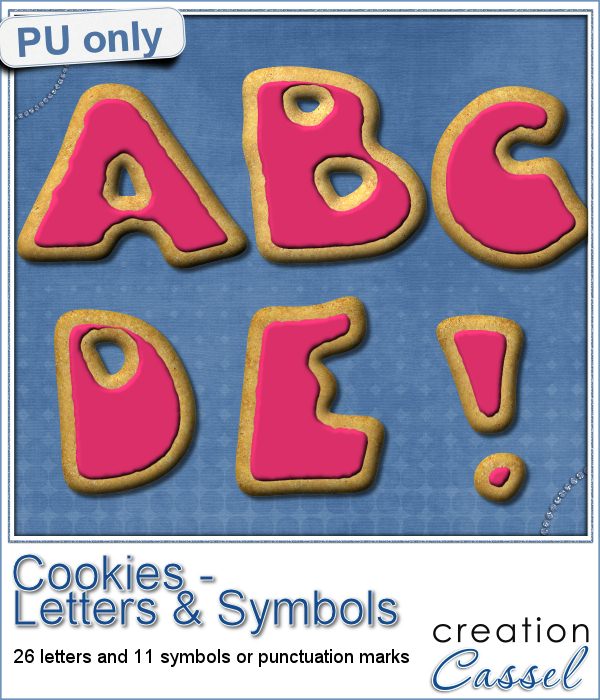 As a sampler, i obviously can't sample this script as it would just need to be applied to your own projects. But since i had a very good response to the
  Are you using keyboard shortcuts when working with PSP? Check out which are my top 10 shortcuts in
 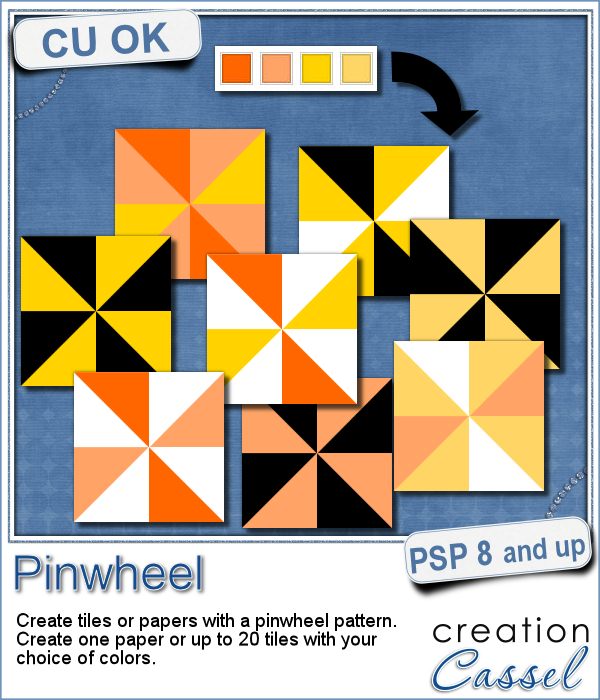 Creating designs for seamless tiles is not that hard, but creating many using the same palette without redoing the same one twice is a little be more challenging.
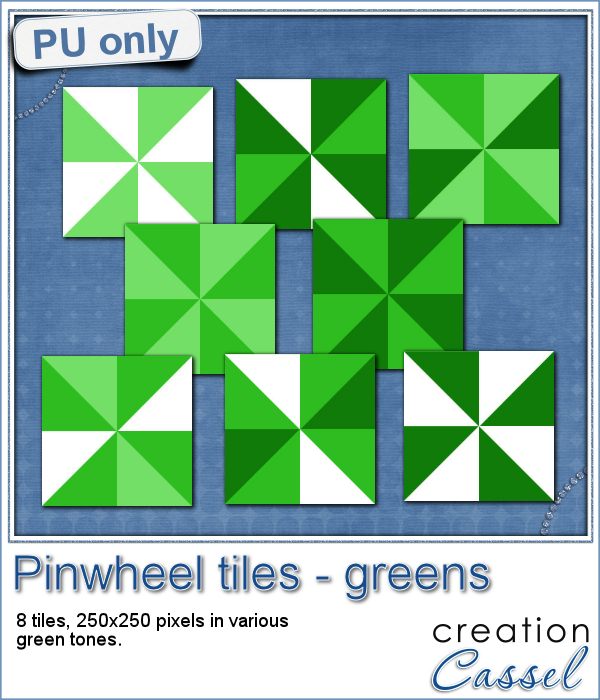 For a sample, i created 8 tiles in the green colors (for St-Patrick month). Each tile is 250x250 pixels and can be scaled up or down as a pattern. You can add a rotation. You can combine two tiles. You can duplicate a single tile and flip/mirror it to create a different pattern.
 What do you know about Adjustment Layers in PSP?
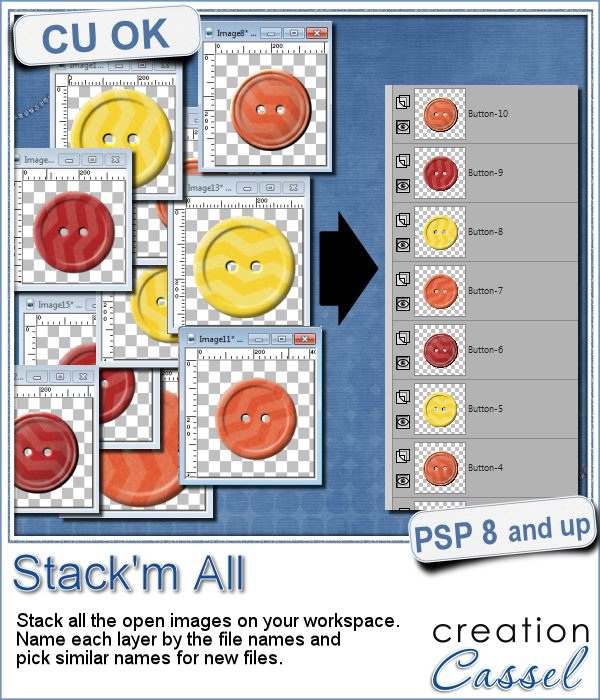 Did you ever use a script that created many elements left on your workspace? What do you do with them? If you want to save them, you might have 20 images to save, each with a different name.
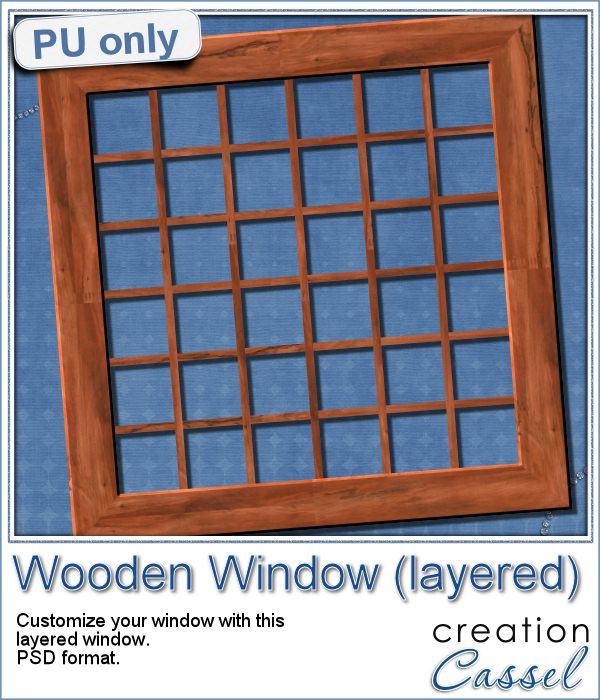 As a sample for this week, i am actually giving you a little challenge. I created a wooden window and i left it in separate layers for you to customize. You can remove some vertical or horizontal pieces to create a different disposition of the window panes. You can remove some of them, cut others, end up with a variety of pane arrangements, even if they are... uneven.
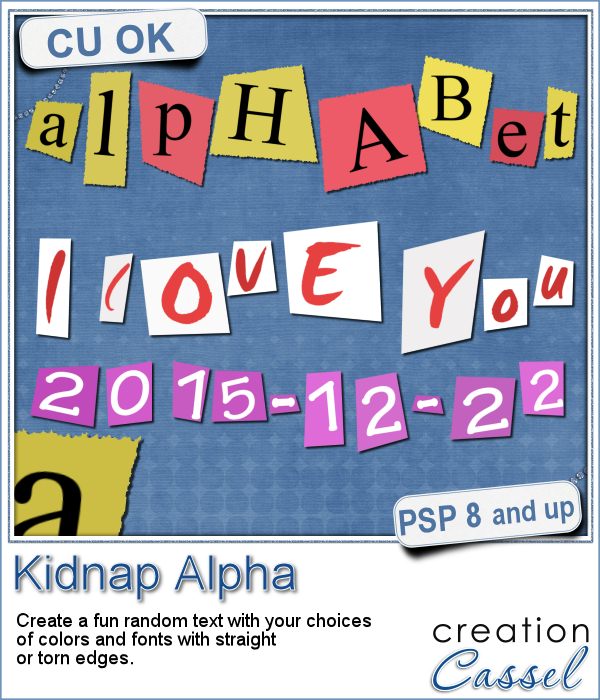 A few years ago, I came up with a script that would create uneven pieces of papers around individual letters. Those were perfect to simulate the look of ransom notes or such and it was called Kidnap Alpha.
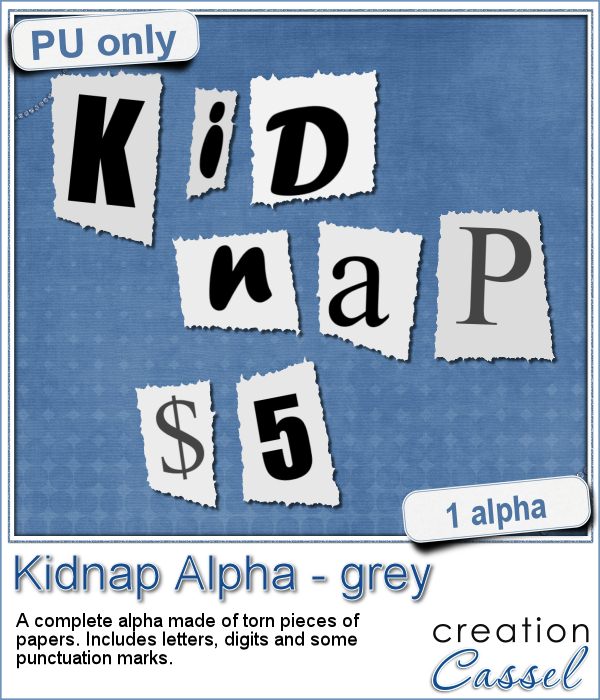 This week, I created a basic alpha using this script. The base paper is grey and the letters are either black or dark grey. All the edges are torn.
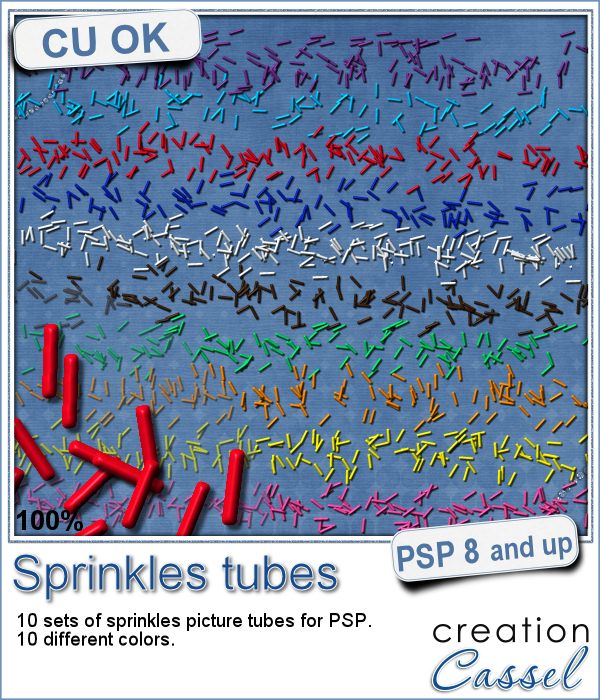 If you ever had cookies or cakes, you know what a little sprinkles can add to the look!
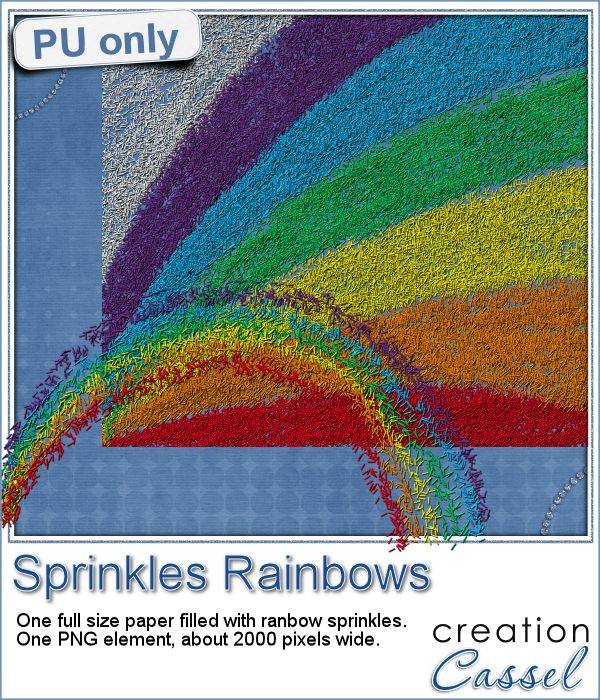 This week, i had fun "painting" with those sprinkles (it is addictive).
 Did you join the live presentation, last week?
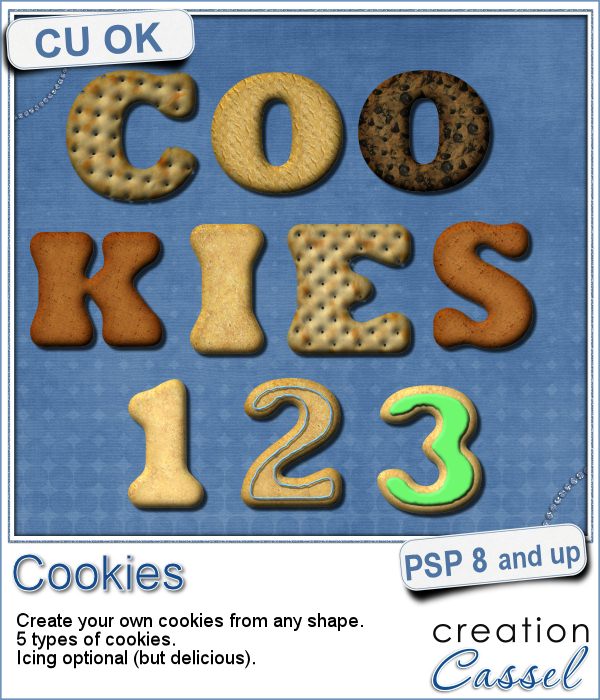 Don't you love cookies? Who does NOT love cookies?
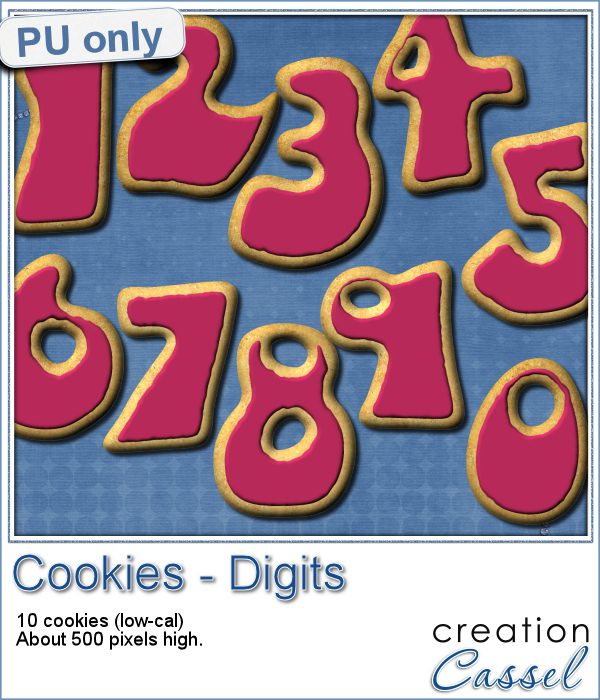 This week, as a sampler, i created a set of digits, in the right colors for your Valentine. How about creating a project and writing a date that is special to you? The date you met? The date you married? The date you took that vacation? Any date!
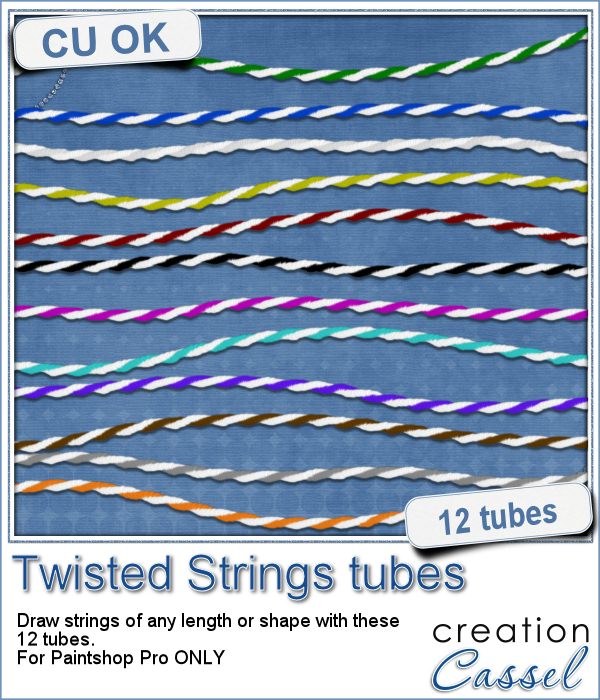 You can find various strings in digital scrapbook kits, or sometimes as a set of elements, but are you struggling to find the right color, or the right length, or the right shape?
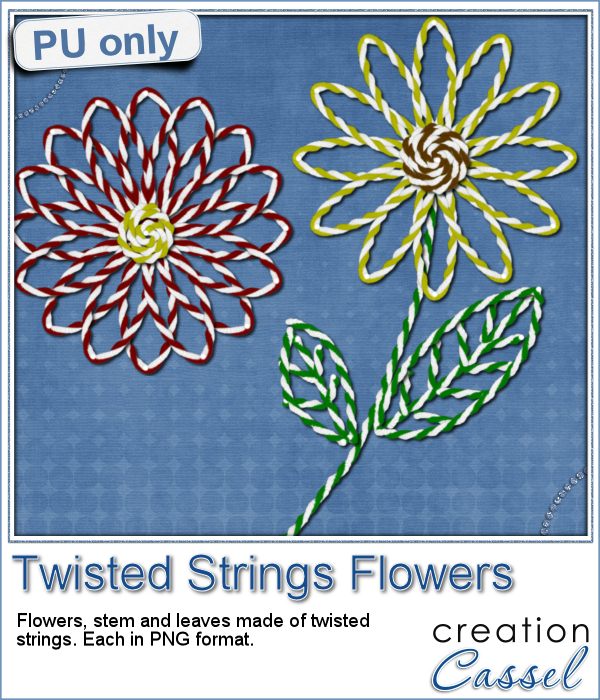 I created these fun flowers out of the twisted strings. They are fairly large so you can size them down to fit your project. You get two flowers, two leaves and one stem. Combine them as you wish, add them to clusters, make a border out of several flowers, etc.