 Although they might be getting less and less popular in real life, photobooth are still often associated with fairs, and fun places. Back in the days, you could get a set of 4 black and white photos in those booth. Over time, they became more modern and started offering color photos. Those strips of photos still bring back memories to many people.
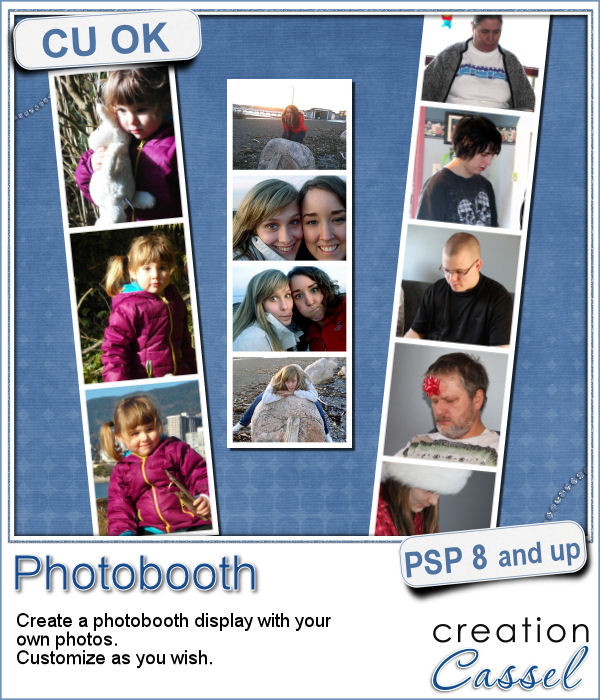
This script will create such a strip of photos very quickly. You choose the number of photos you want, their orientation, and once you open the photos you picked, the script will place them all with the correct size and placement.
You still have many options because the photos, although they are resized, are not cropped so you can tweak them a bit, you can center the subject (of move it off-center), you can rotate the photos, you can apply various effects to them. So many ways to customize the end result.
You can get this script in the store: PhotoBooth.
Considering that you can apply any kind of effect to the individual photos once the script is finished, what kind of effect could you consider applying? Tell me in a comment below and I will pick a winner to be announced in the newsletter, next week. Not a subscriber yet? Not a problem. You can register here and it is free (and you only get one email per week).
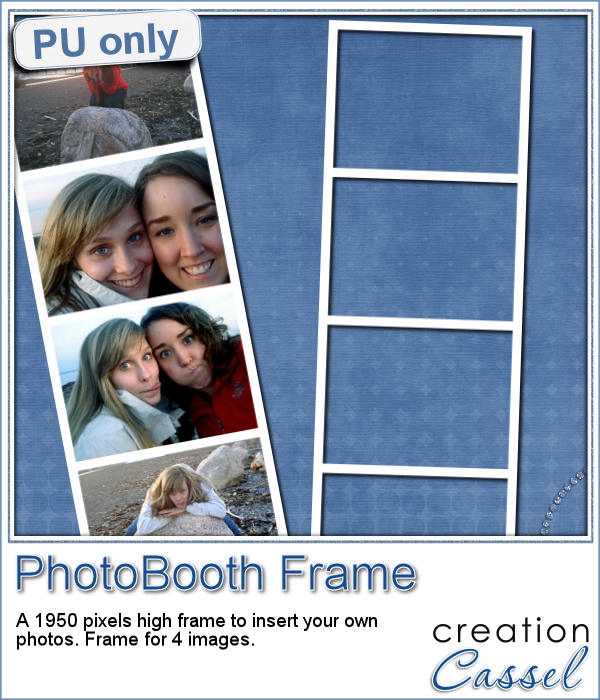 As a free sample, I am offering you the frame that was created when I ran the script for the four pictures of my daughter and her friend. It is 660x1950 pixels, which is about the size of a real photobooth strip of photos. Add your own photos to it and place the result in your next scrapbook project.
You need to be logged in to download this sample. You can either login, or register on the top of this page.