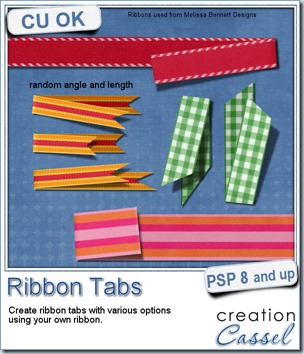
If you buy ribbons, you might get some straight ribbons, and wished you could get a folded version with the correct angle and shading. But you don’t have it. Then, you find some folded ribbons that would be perfect, but… how will you slip the element you want to attach (charm, ring, tag, etc.) between the layers to get a realistic look?
With this Paintshop Pro script, you will be able to use ANY straight ribbon, and get a folded version in unmerged layers so you can insert whatever element you need to. You can also add shadows that are different on both layers (since one layer might be flat on your page and one might be lifted).
You can either create a fold on one end of a long piece, or use that long ribbon and cut a small piece in it. There is also a random function incorporated into the code so that the angle of the fold and the exact length of the piece will always be different, meaning you can get a wide variety of different tabs using the same ribbon and the same options. No more tabs that look exactly like the others. They will all look like you did them by hand, one by one (but we know you used a shortcut!).
You can grab this time saving script in my store:Creation Cassel.
Do you want a chance to win it too? Simple: check out this thread in the DST forum and add your name to the thread. I’ll be back next week with the name of a winner.
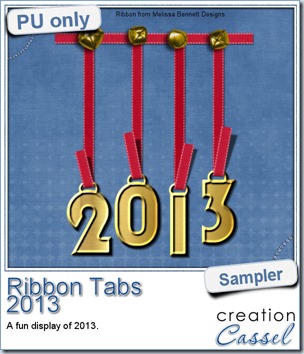 In order to show you what this script can do, i created a whole set of digits, attached with folded ribbon tabs made from a single ribbon (from Melissa Bennett) and i ran the script 10 times on that same ribbon, using the same options (create a tab with the full length, keeping the end straight, and facing the bottom).
Each digit was done manually using a basic font, a gold fill and a bevel. Then, they were individually inserted between the two layers of the folded ribbon. Finally, i arranged the digits to create a 2013 decoration. I added some bells, from the Picture Tubes that came with my PSP (I am not sure which version!).
The whole decoration is about 650 pixels high, so it would not overwhelm any layout. This might be a great way to date your Christmas layout from this year, or to conclude a P365 for this year.
You need to be logged in to download this sample. You can either login, or register on the top of this page.
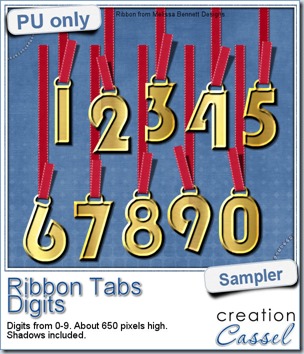 But that’s not all. If you want the complete set of digits, subscribe to my newsletter and you will get it in the Sunday release (December 1st, 2013). If you see this post a little late, wait for the next release and work your way back through the past issues!
You have not yet subscribed? You can still do so (and of course, it is free!)
Now, how about some SALE!
 For Black Friday, EVERYTHING in my store is 40% off. Yes, EVERYTHING. If you are familiar with my business, you know that i do not have many sales in the store, so you better take advantage of this offer.
Since some are shopping on Black Friday, others on Cyber Monday and yet others will shop in between, everything will be left on sale until Monday night.

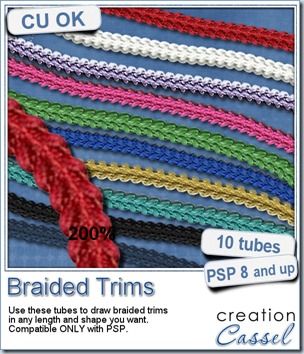
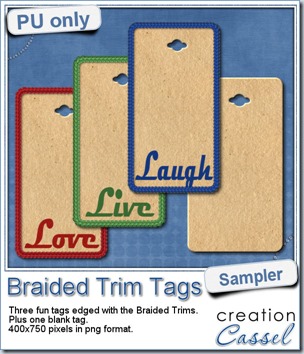 As a way for you to see more closely what those tubes look like in a real project, i created those fun tags. I started with a vector shape (a rectangle with rounded corners) and used the VectorTube script to place the trims along that path. I then replaced the center of the tag (that was a vector layer) by a brown paper texture i had in my supplies. I cut out the hole on top and added some words using the Magneto font.
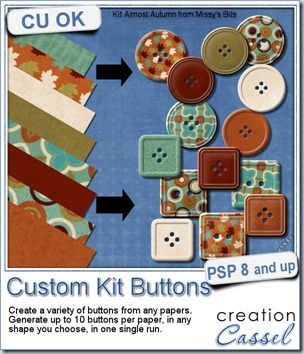
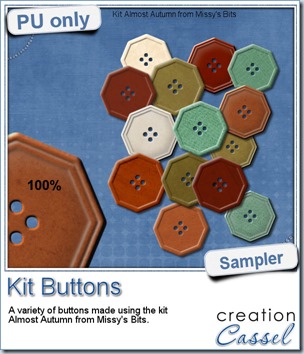 This week, i used Missy’s kit called Almost Autumn to create a set of 14 octagonal buttons. Then, i tweaked them to add a slight variation in size, brightness and contrast, just to make sure they were not all exactly identical. What do you think of that?
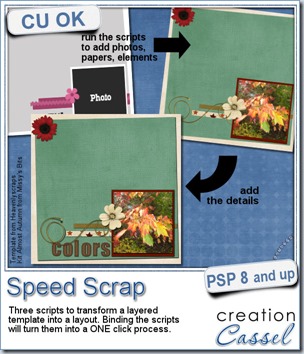
 Do you want a chance to win this set of scripts? Head over to the DST forum in
 Do you want a chance to win this script? Just tell me what you would use it in a scrapbook project, in
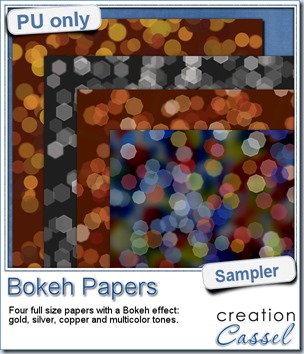 For this week’s free sampler, i created four full size papers for you. Since i dont really know what type of photos you have to use in a layout, i decided to create three of those papers using just gradients i had in my stash: one for silver, one for gold and one for copper. Once i had a paper made out of those gradients, i just ran the script on it.

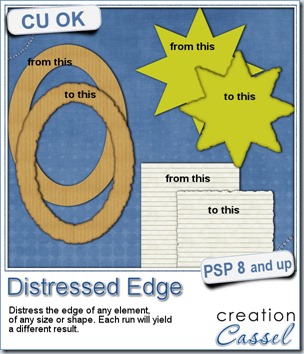
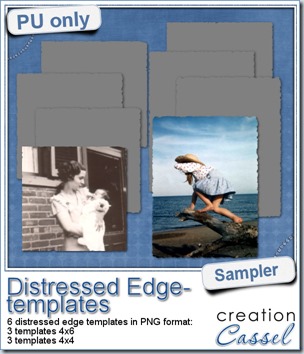 One neat use for the distressed edge is that although you can use it directly on the element you want to have irregular edges, you can also create your own templates for shapes you might want to use in the future. In fact, that is what i did for you. Since i could not show you a sample on YOUR elements, i made some grey templates. They are for 4x4 and 4x6 photos. If you are into pocket scrapbooking, or Project life or using Instagram, you will surely find some use for those. Use them for photos or journaling cards.
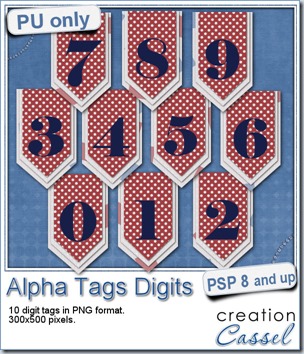 As a sample, i made this set of digits based on papers from an old kit of mine. The basic blue, white and red should make these tags very versatile. The shadows are added to the inside layers but not the outside ones. That will allow you to add a fancy shadow, making the tags lift off the papers.
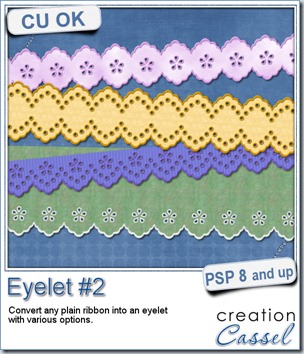
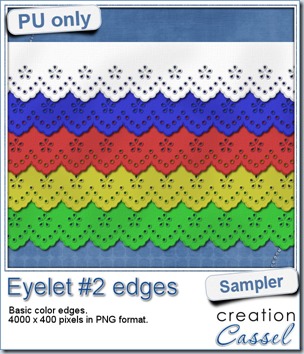 I know it is a bit American holiday coming up (I see that in the numerous 4th of July), but I also know that not everybody is American, so I figured I could create some basic eyelet edges for everyone, in basic colors. This sampler will give you 5 different eyelets in 4000 pixels each.