
Everyone likes a little distressed look on some project once in a while. The proof is that there are lots of filters one can purchase to create that look. With this script in Paintshop Pro, you can create a distressed look on any line drawing with just a few clicks. You get to choose if you want a little bit of distress, or a lot or something in-between. In addition, since there is a random feature integrated inside the code, you will get a slightly different distressed pattern for every run.
Many years ago, i bought a kind of a gel pen (probably among the first kinds) and the ink seemed to include some “oil” that would seep out of the ink giving a colored glow around where i would draw. Kind of a neat effect that i added to this script, as an option.
So you can get the distressed look with or without a colored glow around and if you want the glow, you also pick the color.
Although the script works best with line drawing, you can definitely apply it to a photo or another element like a drawn embellishment.
Don’t waste your time trying to use the eraser tool all over your design, grab this time saving Worn & Glow script.
Do you want a chance to win this script? I am sure you do! Simply answer the simple question in the Happy Place thread HERE and one winner will be picked next week.
 What would you want to get this week, as a sampler? I thought you might be tired of alphas (although that was my first idea when i was thinking of a sample), so i created some labels. Whether you are doing a project 365 or not, sometimes, you might want to add the days of the week to your layout. That is why i created those day tags. I just used the distressed part of the script and didn’t add any glow. I am also including a blank tag so you can add a date or something else (even unrelated to the days of the week).
Each tag is about 750 pixels wide so they are large enough to be used in full size layout, but they are also easy to size down if you want them more discrete on your project.
You can use them on chore charts, calendar, to-do lists, etc.
You need to be logged in to download this sample. You can either login, or register on the top of this page.

Did you grab the set of digits as a free sampler last week? You can still go get it in the post right below this one. And there is the matching LOWERCASE alpha that was available in the newsletter last week. Did you get it? This week, the matching UPPERCASE alpha will be linked, FREE, in the newsletter.
Subscribe to the store newsletter HERE to get it (and you can always go back one issue to grab the matching lowercase alpha too… shhh).
How about a coupon for the store? Are you interested? Give me your suggestions for future products in the store (scripts, fonts, tubes, etc.) in THIS BLOGPOST. I got several emails with suggestions, but if you post them in the comments of that blog post, those suggestions will count as entries for the random draw. That means, the more suggestions you give, the more entries you get. Who doesn’t like a coupon for a free product?
And while you are there, click on the FB Like button so you can share with your friends. They might have good ideas too. And remember, if they add suggestions, it means there will be more coupons drawn, which will increase your chance to win too!
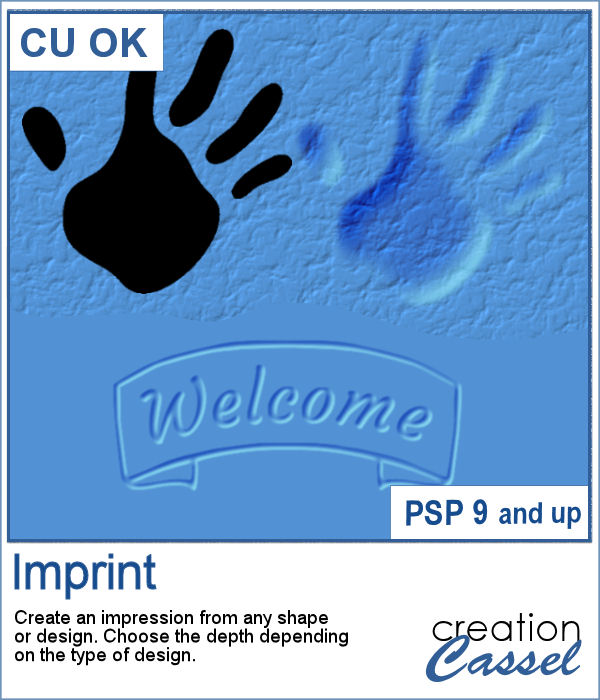 You can now turn any shape into an impression on your project, whether it is supposed to be sand, playdough or cardboard.
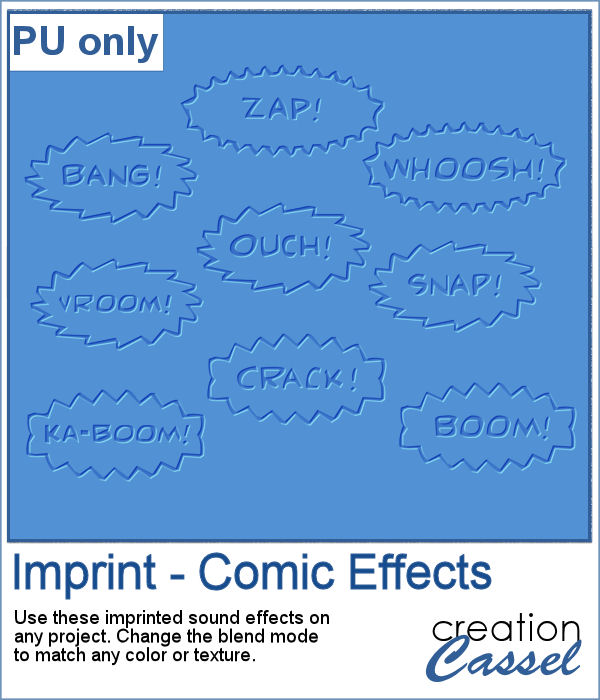 For a sampler, I created some fun imprints of sound effects like you would find in comic books. They are about 600-700 pixels in width and in PNG format. You would get a great result by changing the blend mode to Overlay once the elements are on your project. That will make the colors pop.
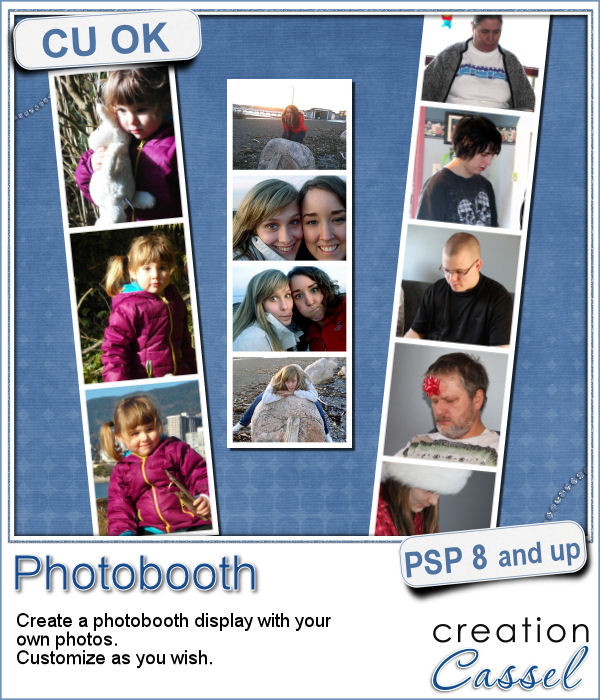 Although they might be getting less and less popular in real life, photobooth are still often associated with fairs, and fun places. Back in the days, you could get a set of 4 black and white photos in those booth. Over time, they became more modern and started offering color photos. Those strips of photos still bring back memories to many people.
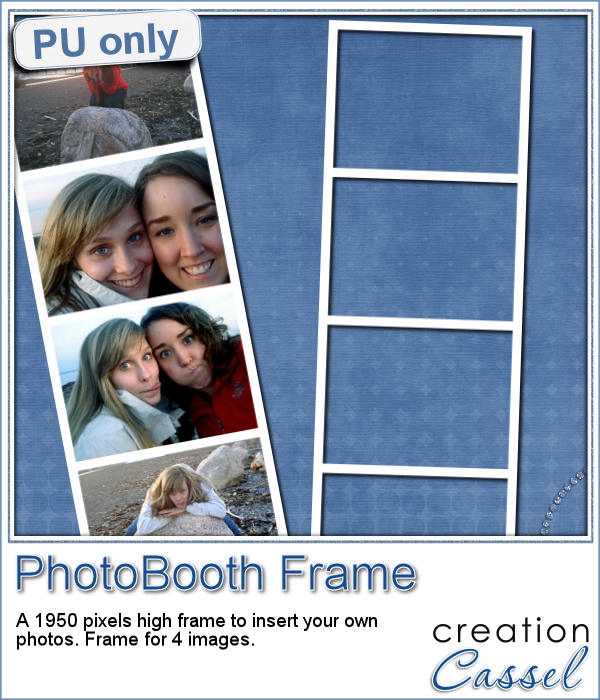 As a free sample, I am offering you the frame that was created when I ran the script for the four pictures of my daughter and her friend. It is 660x1950 pixels, which is about the size of a real photobooth strip of photos. Add your own photos to it and place the result in your next scrapbook project.


 As a sampler, i created some simple journaling cards. I simply used the little footsteps directional tube that i created for the preview above and drew a straight line with it. I could have made a curved line that would have shown the rotated steps, but i really felt it was taking too much space on the cards.
 For a free sample, i created a couple of simple decorations. I placed the beads along a vector path using the VectorTube script for the flowers, and added a single “bead” in the center which was part of the


