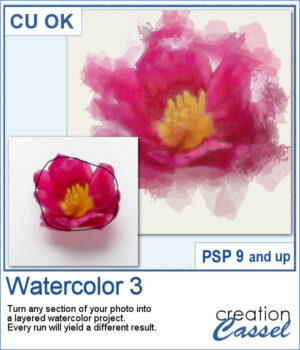
 This script creates soft, layered watercolor effects with gentle washes and subtle blending. Each run produces a unique, painterly result from any selected area of your photo.
It will use the colors along the path you draw. Every run will yield a different result with the randomness integrated in the brush imprints.
Get this script in the store: Watercolor 3
In order to win this script, add a comment on this Facebook post telling if you have ever used a watercolor effect on a photo (remember, add a comment, not just a Like!) The winner will be announced in the newsletter, next week. Not a subscriber yet? Not a problem. You can register here and it is free (and you only get one email per week).
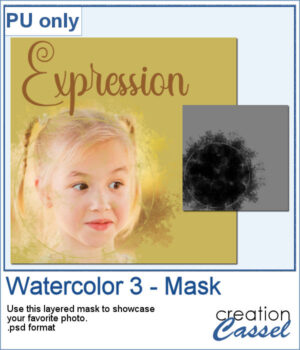 Although the script is meant to create an effect directly from your photos, you can also use the brushes included, to create various effects. I made a mask using some of those brushes. It is a layered mask so you just have to put your favorite photo under the mask and adjust its placement.
You need to be logged in to download this sample. Please log in or register using the links at the top of this page.

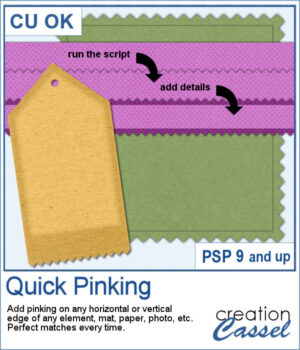 Add a clean, realistic pinked edge to your papers, photos, and elements with just one click. The Quick Pinking script automatically adjusts the spacing so the zigzag edge fits perfectly every time, with no partial teeth. You can apply the pinking to any single side, two opposite sides, or all four sides. You can then add shadows, stitching, or extra details afterward.
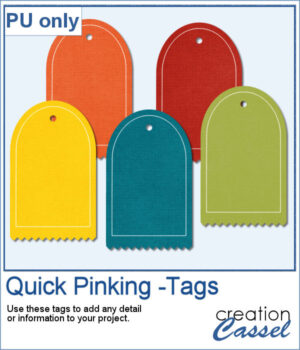 For a sample, I created five tags with pinking edge on the bottom. You can use those tags to add various details, like a date, a name, or a quote.
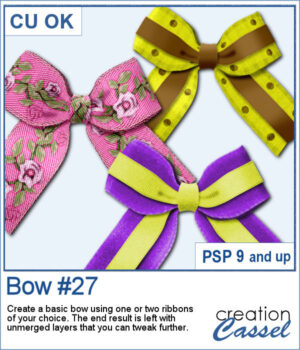 With this new script, you can turn any straight ribbon into a clean and simple bow in just a few steps. You can even add a second ribbon for an extra decorative touch.
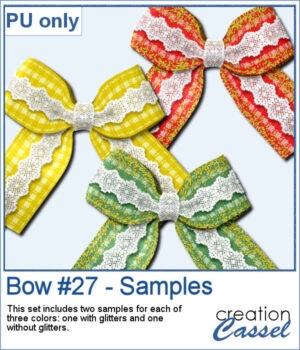 Since it close to the holiday, I created a set of six bows with ribbon and lace. Half of them are plain, while the other half has glitter edges. They are all in PNG format so they can be used in any program.
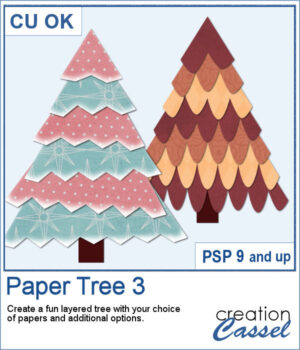 Create a fun layered paper tree with your favorite designs!
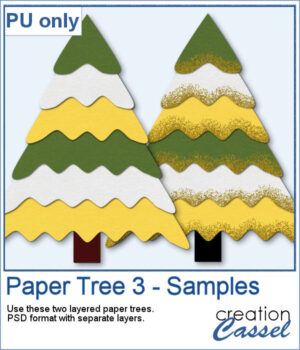 For a sampler, I am offering you two trees, using the same papers. One is decorated with gold glitters while the other one is "plain" for you to decorate the way you want.
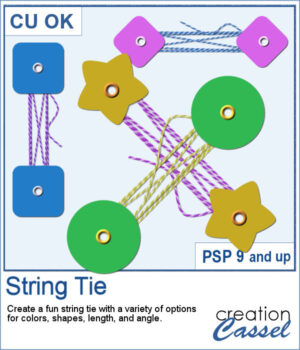 This week’s script lets you create your own string-tie closures, just like the ones you see on envelopes and notebooks — but fully customizable. You can pick the button shape, the colors, the spacing, and even the angle so the tie fits perfectly on your project. Each run gives you a slightly different result thanks to a few fun random elements, including the loose end.
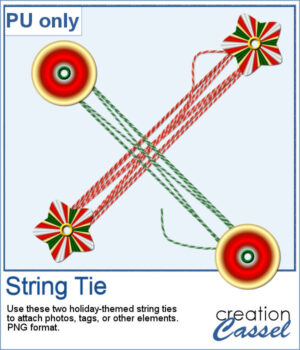 For a sampler, I created two holiday-themed string ties, using gradients for the buttons. You can rotate them a little, but be careful so that the included shadows would still be suitable.
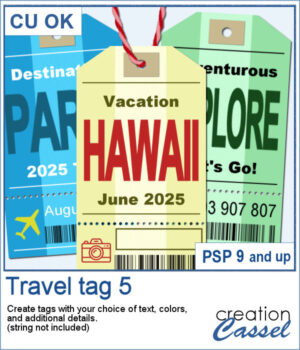 Want to add some travel flair or realistic labels to your projects? This new script will create customizable Travel Tags with your own text, colors, and style.
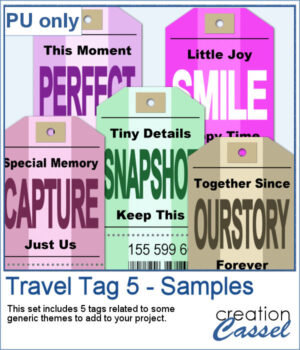 Since those tags are expected to be customized to your project or your story, I created some more "generic" tags that can be used with a variety of themes.
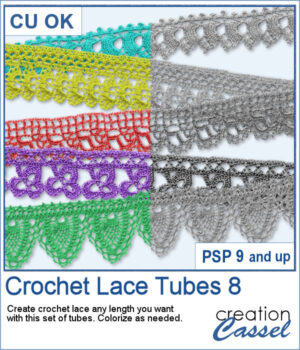 Add a soft and handcrafted feel to your digital creations with this new set of Crochet Lace tubes. You get 5 delicate lace patterns that you can draw freely in any length or direction using your cursor. Perfect for framing photos, decorating cards, or adding subtle detail to your scrapbook pages.
 For the samplers, I created one square and one round frame from two of the crochet lace tubes. They are in PNG format so you can use them in any program and also in greyscale so you can colorize them to suit your project.
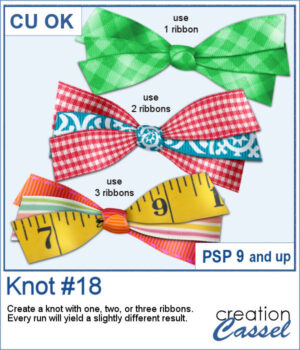 Do you ever struggle to make ribbons look natural when tying them digitally? This new script will take care of that for you! Whether you choose one, two, or three ribbons, the script will automatically prepare them and tie them into a lovely triple knot.
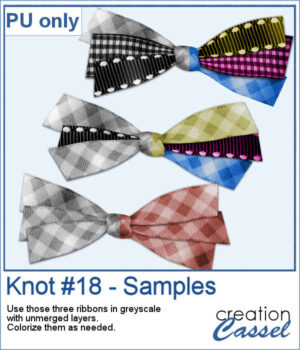 For a sampler, I ran the script with one, two, and three greyscale ribbons. The result is left in unmerged layers so you can colorize them separately as needed for your project.
 Give your titles and captions a fresh, playful look with tab-style labels made in just a few clicks. Pick a base color for the whole set, add one or more accent colors (texture optional), choose any font and text color, then select a side detail—lines, dots, or arrows. The script keeps everything tidy by auto-sizing wide or tall characters, and you can decide whether the letters stay perfectly aligned or get a subtle hand-placed wobble.
 For a sampler, I created a full alphabet in warm fall colors. This is perfect for either autumn or Halloween-related projects, whether they are scrapbook pages, cards, or others.
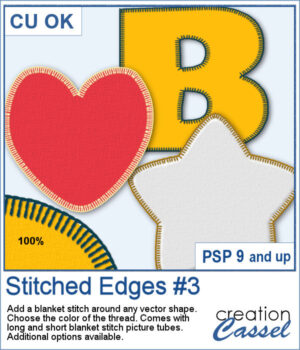 Although you can add a serged edge on any shape (with the Stitched Edges #1), you can now add a blanket stitch around your elements. Starting with a vector shape, you can choose to have long or short stitches and you can pick any color for the thread. The end result is left on unmerged layers so you can tweak that thread color by changing the blend mode as needed.
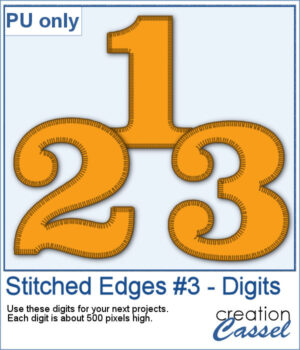 For a sampler, I created some basic set of digits that are stitched for you. Each digit is about 500 pixels high so you can resize them as needed.