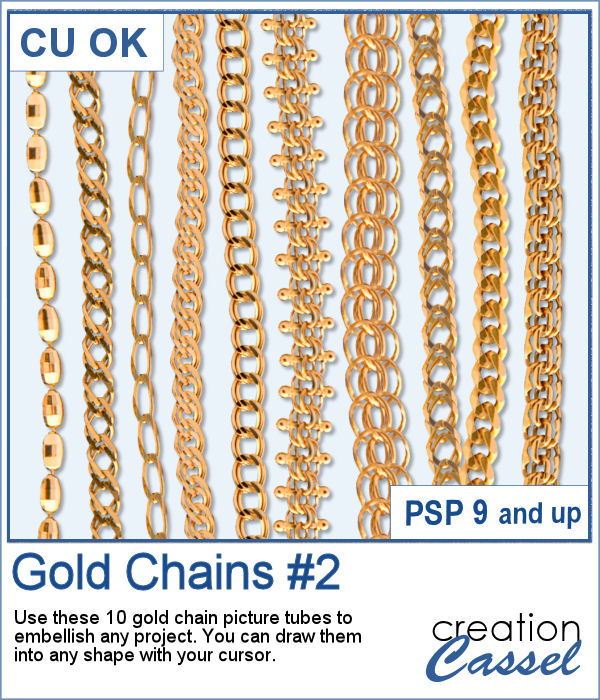
 I released the first set of gold chain picture tubes over 10 years ago and they were VERY popular especially since those were totally new among the PSP tools. Today, I created another series of gold chains picture tubes. Those are mostly double-links chains.
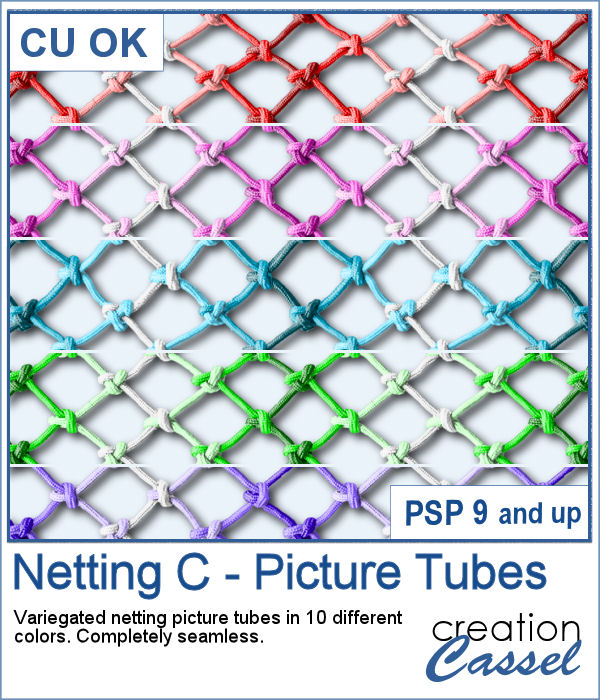
You can "draw" with them with your cursor however long you want them and in any free-form shapes. If you want to add them precisely along a specific path, you can use the VectorTube script, available in the store too.
Get these tubes in the store: Gold Chains #2
In order to win these tubes, add a comment on this Facebook post telling us if you have used directional picture tubes before (remember, add a comment, not just a Like!) The winner will be announced in the newsletter, next week. Not a subscriber yet? Not a problem. You can register here and it is free (and you only get one email per week).
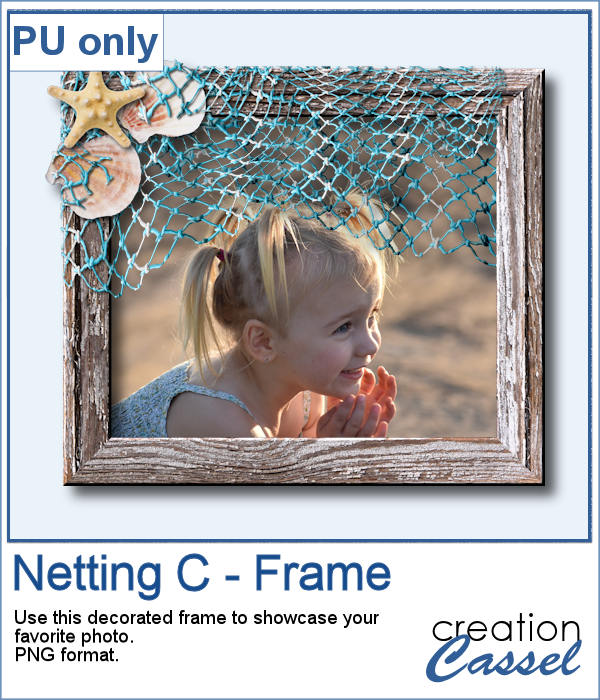
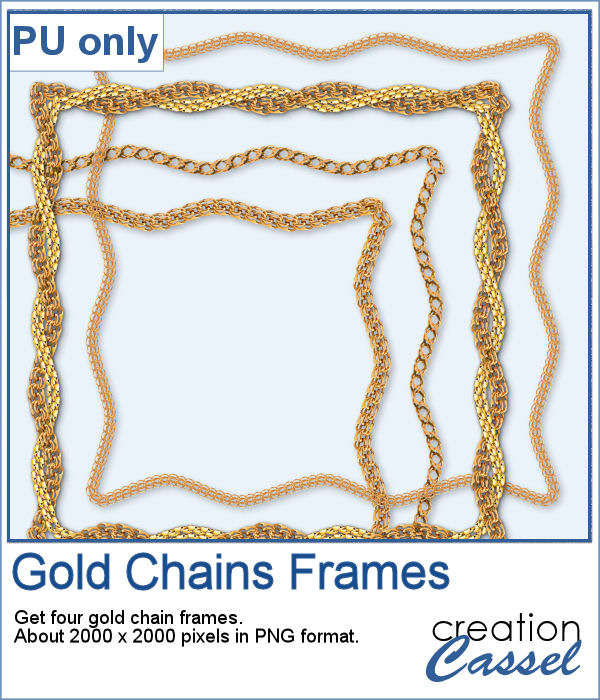 As a sampler, I created a vector shape with wavy edges and ran the VectorTube script to place the gold chains neatly along that edge. For the double frame, I used the same method to create two "matching" shapes and then used the interlacing technique to give the frame that twisted appearance.
You need to be logged in to download this sample. You can either login, or register on the top of this page.