Web
Analytics

New script – Word Tag

Word tag script for Paintshop ProIf you want to add a fun word tag to your project, you can use this script now. Although i am sure you can do the same manually, it is always nice to have the same result faster and more consistently, especially if you plan on having a set of similar tags.

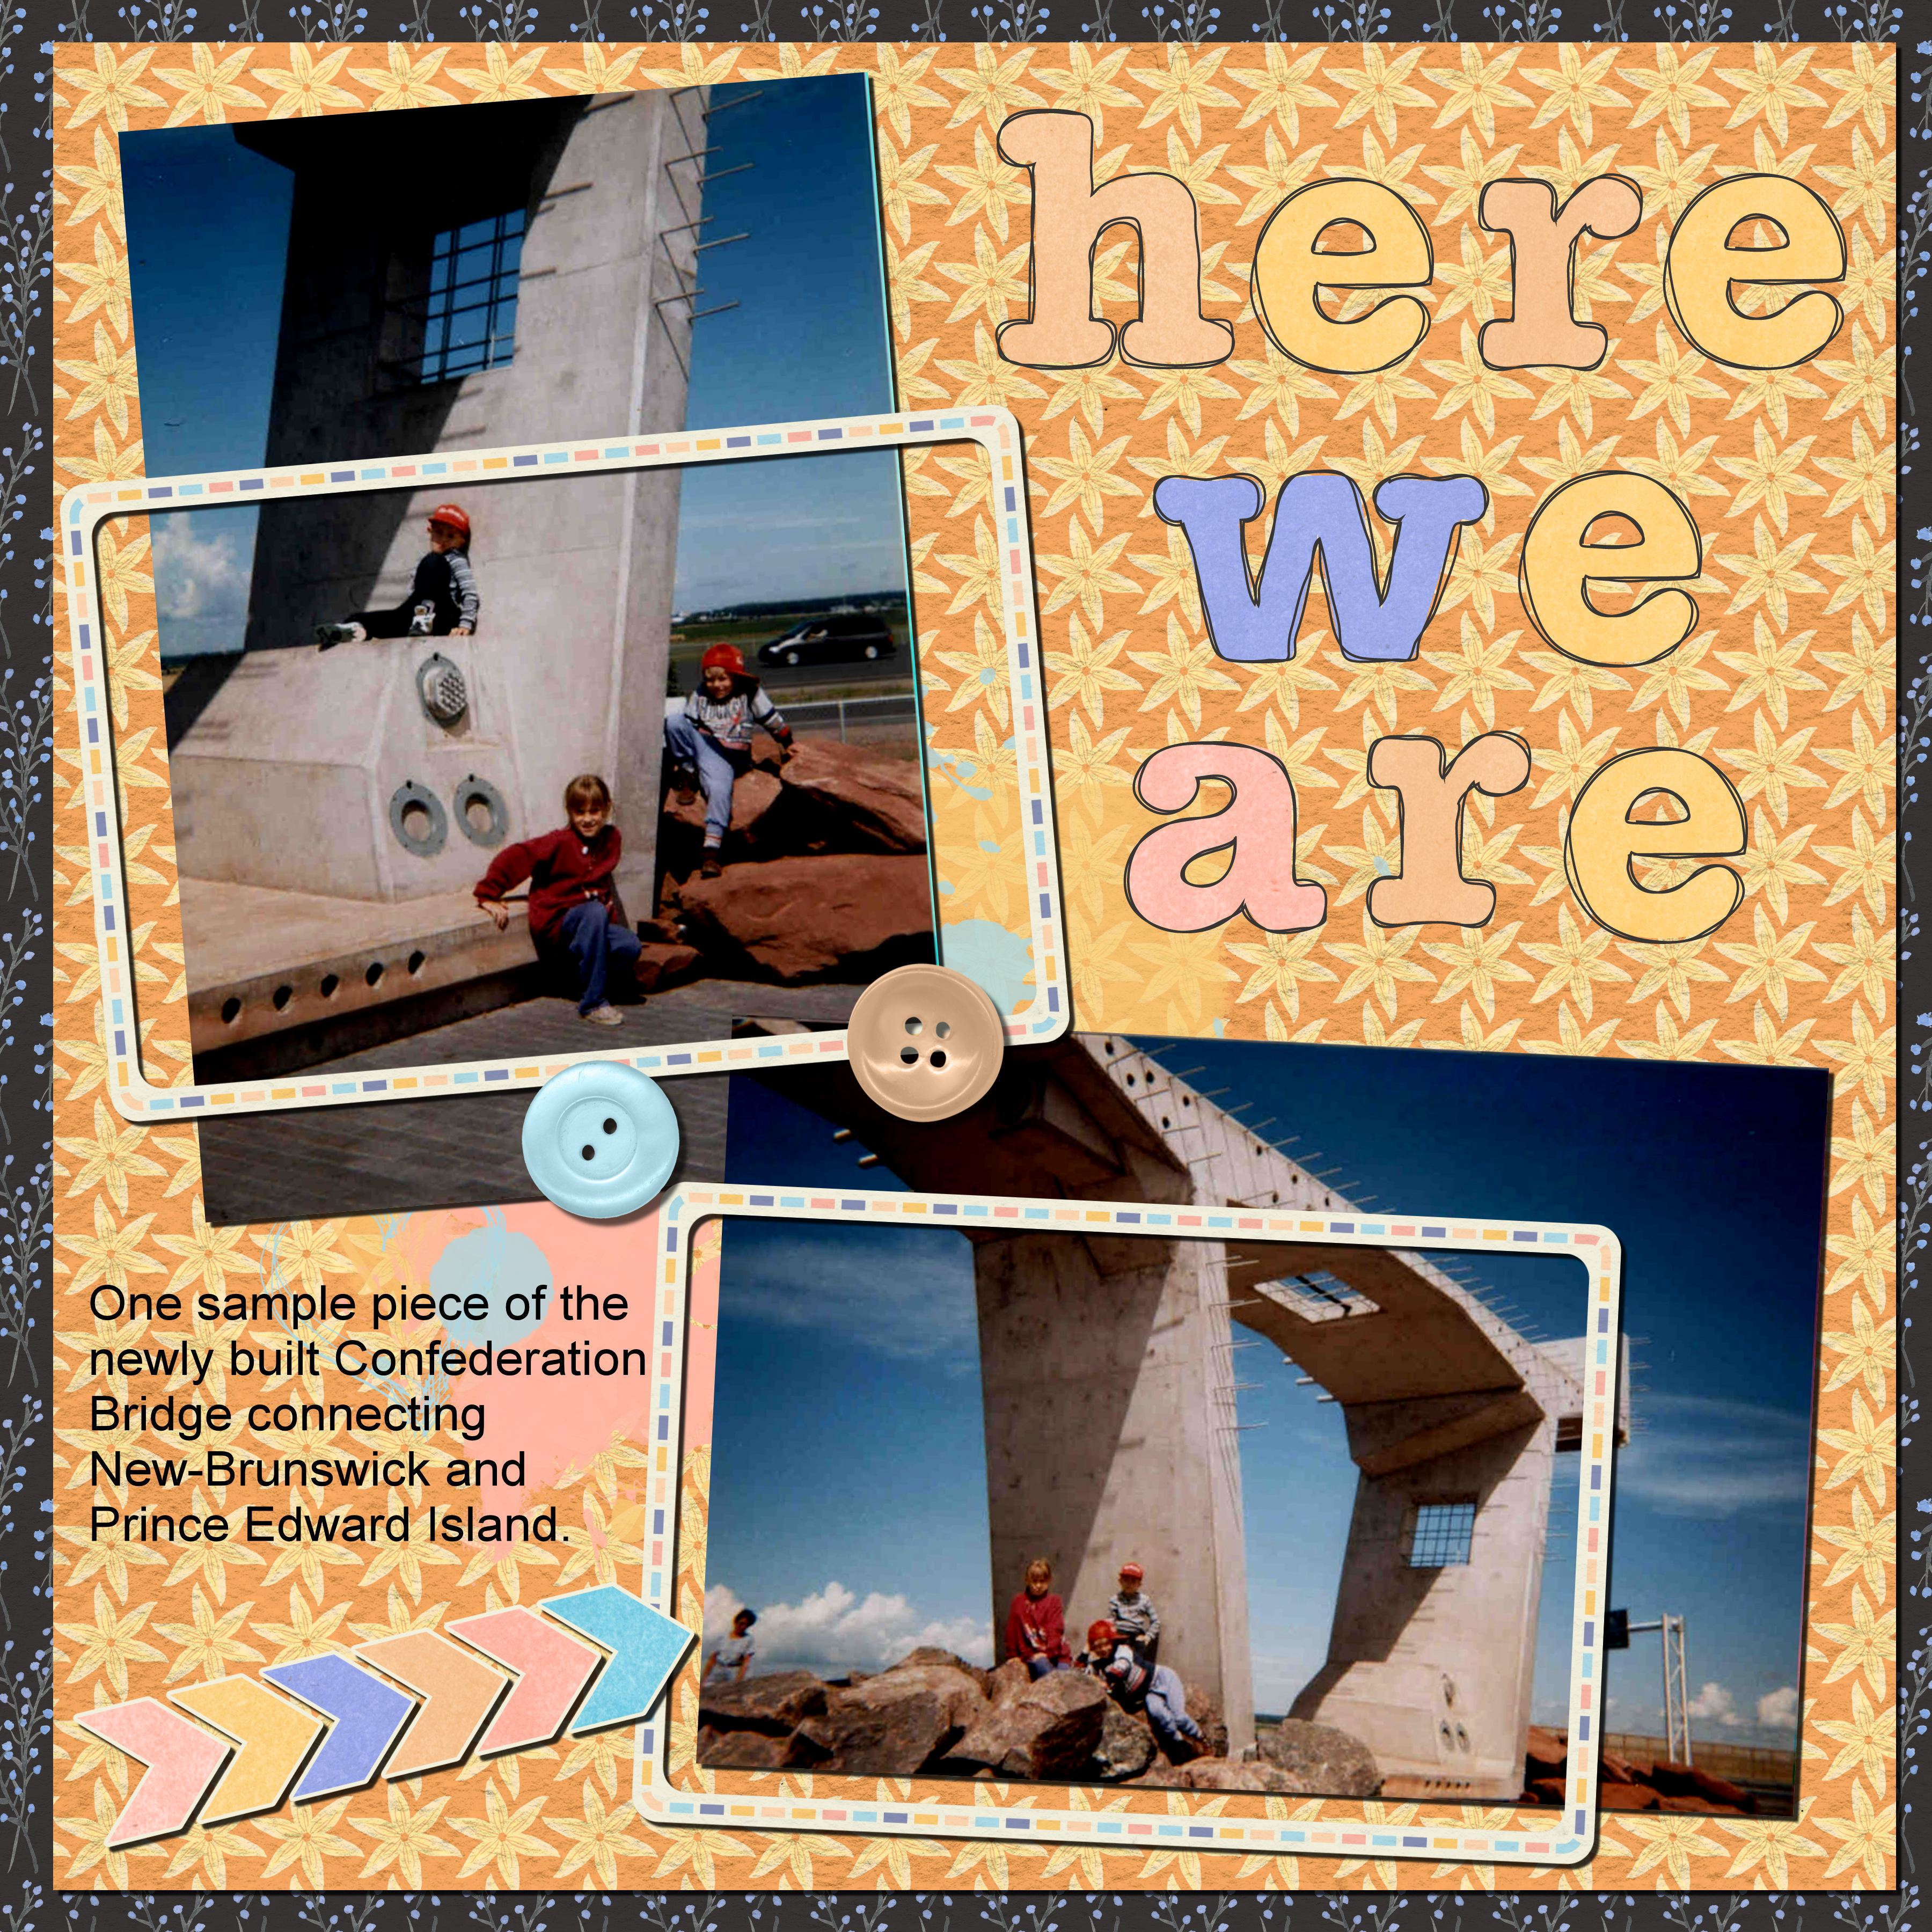
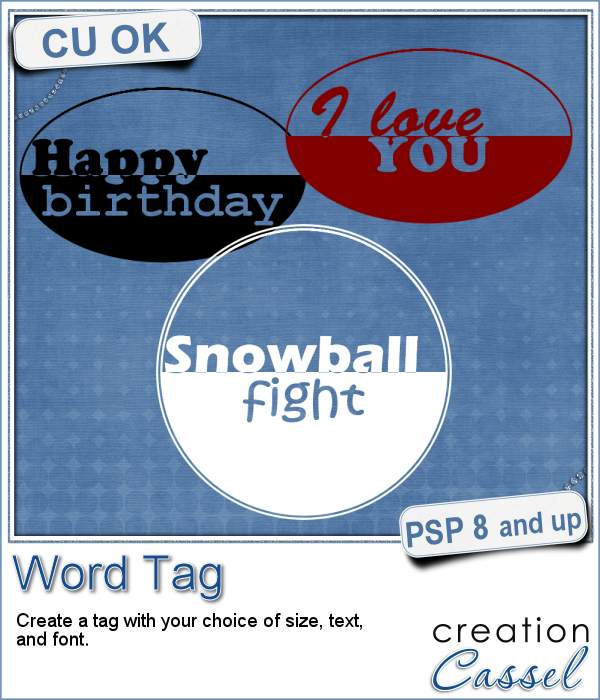
You can use those tags to add a short phrase like "Happy Birthday" or "Get well soon", but you can also have a date "Christmas 2015" or "August 10, 2014" to commemorate a particular anniversary.

Combine this tag with other elements or effects and you can create a button, a leather tag, or a stamp.

You have the control of the text, but also the fonts and the colors so you can really match your project or your kit.

Get this script in the store: Word Tag.

How would you like a chance to get this script for free (or win another one if you already bought it)? In the comments below, tell me how you would use such tags. Would you combine them with something else to create a new element or a new effect? I'll announce a winner in next week's newsletter. Not a subscriber yet? Not a problem. You can register here and it is free (and you only get one email per week).

Word Tags Days freebie
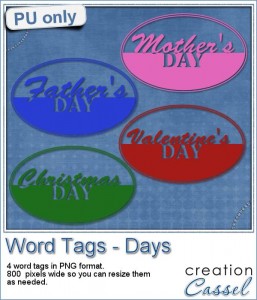
As a sample, i created four tags based on common DAYS, that you can use for your projects. You probably have at least one layout for Mother's Day, Father's Day, Valentine's Day or Christmas Day, right?

Add those tags as a way to "date" those layouts. The tags are very large (800 pixels) but that is on purpose: it allows you to size them to what you need. Of course, if i had created them at 300 pixels, you could not have sized them up properly. Better have them too large and size them down, so you don't lose quality.

You need to be logged in to download this sample. You can either login, or register on the top of this page.

And remember to show us how you use those tags too. We have a pinboard where you can pin any of your projects made using these freebies, or anything you purchase from the store. Here is the link:

https://www.pinterest.com/scrapbookcampus/psp-scrapbook-showcase/

You can follow this board but even better, i can give you access to you can PIN on it. Just ask and i'll give you that access.


PSPX7-300


Do you like the scripts and tubes from the Creation Cassel store?

Did you know that if you purchase (or upgrade to) Paintshop Pro X7, you will get an additional bundle of products worth over $70? Yes, that is like getting twice the value you will pay for.

Best of all, did you know that the PSP Creative Effect Bundle is actually a collection of scripts and tubes from the store? Yes it is! As i have teamed up with Corel for the last year, you will get several popular products from the store like Sparkles, Glittered Edges, Custom Playing cards and the Quick Scrap Bundle! Yes, they come FREE with your purchase (or upgrade) of PSP X7.

What are you waiting for? Get your PSPX7+ bundle now!

New font – Lace Edge #6

Lace Edge fontSometimes, you want to add some edges around a shape or on the edge of a ribbon but you are tired of using the same templates over and over again, and not having the flexibility to create the shape you want.

This product is a FONT, meaning that it will behave like text, but display as decorative edges. You can use it on any graphic program that allows outside fonts.

You can also have the font follow a path if your program allows it. This means that you can create decorative edges on a circle, an oval, a square, a rectangle or any other shape you want, if your program can add "text on path".

Unlike brushes, you have the option to combine different "characters", and alternate them. You can also change the size, the color, the kerning, the offset, etc. And since it is a vector, you can use it as big as your program allows, and you won't have any pixellated edges.

This font includes 25 different shapes that are delicate and "open" and 25 matching shapes with more "opaque" look. You can combine and alternate both if you want for a fun look. The font also includes 10 "fillers" that are smaller shapes you can insert between larger shapes, or use them on their own.

Grab this font in the store: Lace Edge #6

If you want more lace edges, you can also have the Lace Edge #2, which also has large designs, or the Lace Edge #3 and Lace Edge #4 that have smaller designs.

Would you like to win this font? In the comments below, tell me what element you would like to create with it. I'll pick up a winner and announce it next week, in the newsletter. Not a subscriber yet? Not a problem. You can register here and it is free (and you only get one email per week).

Lace Edge frame and matTo help you get a feel of what these edges can look like, i created a frame and matching mat using one character of the font along a vector path. Very simple.

Use them as is, in white, or colorize them to match your project. Each one is about 2000x2000 pixels in size.

You need to be logged in to download this sample. You can either login, or register on the top of this page.

Remember to show us what you do with those elements. We surely want to see.

New script – Filigrane

Filigrane - Paintshop Pro script by CasselDo you like the look of delicate jewelry made of fine gold or silver threads? You can recreate something similar with this Paintshop Pro script.

Starting with any solid shape, run the script and pick your choices: thickness of the outline, color of the outline, pattern, size and color for the fill. You can get unlimited results by changing the colors, size, or even making the outline a different color than the fill.

Add a ring if you want the shape to become a pendant, or add gemstones for an even richer look. Write someone's name with individual letters for a unique label.

Grab this script in the store: Filigrane.

Do you want a chance to win this script? Tell me, in the comment, what element you would like to create with this filigrane script. I'll be back next week with a winner, which will be announced in the newsletter. Not a subscriber yet? Not a problem. You can register here and it is free (and you only get one email per week).

Free Filigrane Arrows by CasselAs a sampler for you to have a closer look at the end result of this script, i created 3 sets of arrows. You can use those as accents on your layouts. Each set has a different fill pattern, and three colors (gold, silver and bronze).

They are PNG format, about 600 pixels each. This should allow most users (even if not using PSP) to enjoy those arrows in a graphic project.

You need to be logged in to download this sample. You can either login, or register on the top of this page.

New tubes – Leather Braids

Leather Braid picture tubes for Paintshop ProMany elements you can get online, whether they are free or paid for, are made from photographed objects that are then extracted. This has many limitations: you can only use the element in the shape or size you have, you can rarely use a different color (although you MIGHT be able to colorize it) and you cannot customize them to fit your particular needs.

These braids are not single elements, but they are picture tubes to use with Paintshop Pro. Those tubes will create a braid as long as you want, in the shape you want; it will just follow your cursor, as if you were drawing with them.

This set includes 12 different picture tubes, perfectly set to give a continuous braid, as long as you want.

Get those braids in the store: Leather Braids.

Do you want a chance to win those Leather Braid Tubes? Tell me, in the comments below, what element you would create using those braids. I'll announce the winner in the newsletter, next week. Not a subscriber yet? Not a problem. You can register here and it is free (and you only get one email per week).

Leather Braid Frames in PNG format for free

For a sampler, this week, i created two frames: one rectangular that would fit a 5x7 photo and one round that would fit a 4x4 photo.

As you can guess, i didn't draw those shapes freehand! (you would not want to use a frame i drew freehand!) so i used the Vector Tube script from Joe Fromm to place the tube around a vector shape, which makes the placement so even.

Due to the shape of the individual images of the tube, sharp corners can give some unwanted extras. That is what happened with the rectangular frame, so i had to do a little bit of erasing of the "extra" details. If you use a smooth curve, it won't happen to you, but if you have corners or sharp curves, you might need that little extra step to make the whole element looking smooth.

You need to be logged in to download this sample. You can either login, or register on the top of this page.


News from the Campus

After months of waiting, the brand new Basic Scrap Course is now live in the Campus.

This course will walk through from the moment you open your Paintshop Pro for the first time, to the completion of 5 different layouts.

Image16-shadowed  Round-and-Round-shadowed-600 Layout3-shadowed-600 Image2-shadowed-600 Layout5

It includes lessons on

  • how to customize your PSP to suit your workflow,
  • how to add simple and not so simple shadows,
  • how to use scripts to save time,
  • how to create clusters,
  • how to do layering,
  • how to use the guides,
  • how to cut out your own paper elements,
  • how to use picture tubes to create stitching,
  • how to create titles from alpha, alpha sheets or the text tool,
  • and much more.

Perfect for beginner scrapbookers, but also perfect for someone new to Paintshop Pro. No matter your learning style, you will find this course will suit you because you get both video AND written instructions.

Interested?

Check out the more details HERE.

Do you know a friend who is considering scrapbooking with PSP? Send them over and watch them create their first digital pages.

New script – Photo Mosaic

cass-PhotoMosaicIf you have photos and you want to display them in a new and original way, have you tried to make a mosaic?

This can also be a great way to hide the errors on a not-perfect photo, whether it is a color issue, a blurriness issue, etc.

This script will help you turn any photo, of any size, into a mosaic. You can choose the size of each tile. You can choose to have lines between the tiles, how thick and what color. You can also choose whether you want a lot of variations between the tiles or just a little.

And best of all, you can override the script by removing any area that you find are changed too much from the original; the script will place guides, and activate the Selection tool for you and a copy of the original image will be left underneath, so it will be very easy to remove one segment from the "mosaic" layer and just display the image below. That is one way to make sure that the important details are easy to see (like your baby's face, or the birthday cake).

You can get this fun photo script in the store: PhotoMosaic.

Would you like to get this script for free? Just post a comment below about how you think you could use this script and i'll will announce a winner in the newsletter next week. Not a subscriber yet? Not a problem. You can register here and it is free (and you only get one email per week).

cass-PhotoMosaic_Overlay4x6Since this script is run on a photo, and sending you one of my photo probably wont help you, i decided to play around a little. I used a grey based, the size of a 4x6 inch photo. I ran the script on that base, and got a series of tiles in different shades of grey. You can use that as an overlay on top of any of your photos, and adjust the blend mode. Depending on the starting photo you have, different blend modes might work, and others, not.

The file is a psd format as there is a "tile" layer and also a "line" layer in case you want to add some lines (which you can also colorize if you want).

You need to be logged in to download this sample. You can either login, or register on the top of this page.

So, which photo will deserve a mosaic treatment? Don't hesitate to show them. Pin them on Pinterest, on our own board HERE (ask for an invite and you will get it!)

New script – Ribbon Tag Wreath

cass-RibbonTagWreathYou can create so many elements using leftover pieces of ribbons in traditional scrapbooking, but what about digital scrapbooking?

Sure you can and although it would be VERY long and tedious to do manually, this PaintShop Pro script will do the work with little effort.

You can create a wreath using one or two or three or however many ribbons you want. They will be picked at random, cut at random (but based on the average you will choose), and placed correctly along the wreath shape.

Each individual piece will be left unmerged and will have a shadow if you want to.

You can add more than one “layer” to the wreath for a totally different look.

Since all the individual layers are left unmerged, you can always tweak them, insert decorative elements between then, etc.

Since each wreath could easily end up with over 100 pieces, just imagine the time you will be saving!

Grab this time-saving script in the store: Ribbon Tag Wreath script.

What would you do with such a script? It might be obvious to use it to create a holiday wreath, but i am sure you could think of more ideas, don’t you think? Add your suggestions in the comments below, and i will pick one person to receive this script for free. The winner will be announced in the newsletter. Not a subscriber yet? Not a problem. You can register here and it is free (and you only get one email per week).

cass-RibbonTagWreath-Holiday-previewWhat about a little free sample and a quick tutorial for this week?

For this wreath, I used a single ribbon that I colorized 3 times. Here are the steps:

  • before running the second part of the script, I colorized the ribbon in green and adjusted the brightness to get a rich color
  • run the script to complete the first “layer”
  • choose a blurred shadow
  • for the second layer, re-open the same ribbon, but colorize it yellow; adjust the brightness to get the color you want
  • run the script to complete the second “layer”
  • for the third layer, re-open the same ribbon, but colorize it red; adjust the brightness to get the color you want
  • run the script to complete the third “layer”
  • merge each group
  • select the Ellipse tool and draw a circle the size of the wreath; adjust the Line Style to use the Dashed, and a size of 10 pixels
  • convert to a raster layer
  • select outside the “stitch” layer with the Magic wand
  • activate the top “layer” and apply a large inner bevel; deselect
  • activate the stitch layer
  • add some noise and a small bevel

The sample you have has not had the bevel applied because it would require merging the groups and removing the option to customize it on your end.

Because the sample has 163 layers (yes, that many), the files are quite large. I have them available in two formats: one PSP format, where all the pieces are grouped by “layer” and one in PSD format, where the individual pieces are linked based on their “layer” (since the PSD format would not keep the groups). So it is up to you to download the file you need.

You need to be logged in to download this sample. You can either login, or register on the top of this page.

New script – Decorative studs

cass-DecorativeStuds
Decorative studs with Paintshop Pro script

Several years ago, it was fashionable to have multiple studs placed on a piece of garment, jeans, t-shirts, etc. It was a lot of work to create those, especially to have all those studs evenly placed.

In scrapbooking, it could seem easy to fill a shape with studs but the problem is that some of the elements would get cut off on the edges. How do you get only full studs and none of the cut ones?

This is what this script does. Using your Paintshop Pro, the script will actually measure the size of the studs you choose and the shape you want and will do the correct calculations to eliminate all the “part-studs”.

You can start with any shape of any size (obviously, if your shape is too small, the result might not be as good), and pick one of the two shapes for the studs: round or diamonds.

Then, the script will offer 4 possible metallic finish: gold, silver, bronze and copper, but if you want to use something totally different to match your photo or your kit, you can also do so. Use the sculpture effect or simply color and add a bevel.

You can grab this script in the store: Decorative Studs.

How about a chance to get it for free? Tell me what shape you would like to use to create a series of decorative studs? I’ll announce the winner in the newsletter, next week. Not a subscriber yet? Not a problem. You can register here and it is free (and you only get one email per week).

cass-DecorativeStuds-holiday
Free Decorative studs with a Paintshop Pro script

As a sampler for this script, i created some holiday decorations for you. To do them, i simply used a large shape and ran the script.

I used the gold finish for the star, but for the other elements, i chose the option 5, to add my own finish. In my stash, i had various color tiles from the Felt Presets, so i used those tiles as a base color for the other shapes.

For the tree, i selected the center area, promoted the selection to a layer and deleted them from the base shape. Then, i applied a different color to that layer.

I did the same with the mitten.

For the candy cane, i applied the red tile, then i used the point to point selection tool to select sections that would be white. Since the selection was cutting off some of the studs, i went through a few more steps:

  • edit selection
  • using the Eraser tool, with a round brush tip, i erased the sections over the studs that were mostly outside the selection
  • using the RIGHT click with the Eraser tool, i added selections for the studs that were mostly inside the selection
  • edit selection again
  • promote selection to a layer
  • delete from the original layer
  • deselect
  • increase the brightness of the promoted layer so everything turned white
  • inner bevel on those white studs
  • merge visible

And now you have it! That is the trick to have full studs in different colors without having to select them one by one.

You need to be logged in to download this sample. You can either login, or register on the top of this page.

New script – Photo-Stamps

cass-PhotoStamps

In the old days, stamps were made of a single image that was only repeated throughout the sheet. Over time, we have seen some stamps that were created from larger images that made up 2, 4 or more stamps.

This script will allow you to turn your favorite photo into a full sheet of stamps. All the perforations will line up perfectly, no matter what the size of the image is. The script will resize and crop the image slightly, to make sure of that.

Once you have your image turned into a stamp sheet, you can easily re-connect adjacent stamps by UNERASING the holes, for a unique effect.

Cut off a stamp or two if you want.

This script is available in the store: Photo-Stamps.

Do you want a chance to win this script? Tell me what photo you could see turned into a stamp sheet. Add a comment below. I’ll announce the winner in the newsletter, next week.
cass-PhotoStamps-LLSAs for a sample, since it is a script that is applied to a photo, i obviously didn’t think you would want to use any of MY photos, would you? However, this script can also be used on a paper or a solid color image. That is what i did, and then, i added the letters to individual stamps. You can use this technique to add a fun and unique title with one letter per stamps.

Of course, although the sheet is intact, you CAN remove or cut off some of the stamps. You have a blank one that you can either add a design to, or cut from the sheet. Even the letters that you want to keep, you can separate them from the whole sheet, while still leaving them close enough to have the words legible.

You need to be logged in to download this sample. You can either login, or register on the top of this page.


Although there are great scripts in the store to create various effects, did you hear about the Filter Forge plugin? They say it is for Photoshop, but it works just as well with Paintshop Pro. Check out the little video that shows how to install it.

ScrapbookCampus-FilterForge-installation-video

Then, once you have it installed (even if only the trial version), you will want to add more filters. They have over 10,000 of them. And they are all free to download once you have Filter Forge installed.

ScrapbookCampus-FilterForge-adding-filters-video

New Font – Satin Stitch Font

cass-SatinStitchFont

If you want to use a stitched font, you might be quite limited in finding some ready made alpha, that has one style, one color, and you can maybe colorize it.

Another option is to find a font that has those stitches, but it will not give you the overlapping effect that real stitching would have.

Yet, another option is to do it yourself; NOT convenient, and quite tedious.

Finally, this font is what you were looking for. In fact, you get TWO fonts, and each one will be a layer of stitching, so you can have that exact overlap that you are looking for.

Since it is a font, it can work in most graphic programs, like Paintshop Pro, Photoshop, Photoshop Element, GIMP and more.

And as a font, you can choose the color, the size, the kerning, and if your program allows it, you can even put the text along a path! That would not be easy if you had just a regular ready-made alpha, would it?

You can grab this font in the store as Satin Stitch Font.

Do you want a chance to win this font? Add a comment below, telling me what program you would likely use this font with. I’ll be announcing the winner in next week’s newsletter. Not subscribed to the newsletter yet? Not a problem, you can register here.

cass-SatinStitchFont-LOVEAs a sample, i figured i could do a little combination of the font and something else. I used the font for the letters in this one, but for the heart, i used a regular preset shape and ran the VectorPaint script on it, using a narrow rectangular brush tip.

It is really simple to do, and you can do the same thing. It would be fun to use in creating wordart too.

You need to be logged in to download this sample. You can either login, or register on the top of this page.


News from the Campus

MagicFillDid you have a look at the new version of Paintshop Pro? Did you see the Magic Fill feature that was added? That is much better than the Smart Carver and the Clone tool.

Check the video demonstration in the Campus.

New script – Edge Stripes

cass-EdgeStripes

Now and then, i would find some layouts where scrappers had a fun series of stripes on the side of their page. Some have used those stripes to add words, some added a whole text of journaling, others only had those stripes as decorative elements for their project.

Doing that manually, surely takes time for a scrapper to do, or, if the scrapper used a template, then the template designer must have worked a while to get all those stripes.

This script is designed to be used either by the scrappers or the designers.

As a scrapper, one can have a series of rectangular or triangular stripes, in the colors of their choice, based on the kit they are working with or the photo they want to use.

As a designer, you can create those series in greyscale, and since each stripe is on a separate layer, it is perfect for layered templates.

You can get this script in the store: Edge Stripes.

For a chance to win this script, add a comment below, telling me of how you can think of using this script and the resulting stripes. I’ll announce the winner in the newsletter next week.

cass-EdgeStripes-template01As a sample, i am offering you a layered set of stripes. Each of them is on a separate layer so you can use the whole series together as is or you can play with the individual stripes and move them around, rotate them, etc. You can colorize them, or use them with the Clip to it script to replace them by various papers you might want to use.

On the preview, i am showing an example of colorizing all the stripes and adding words on the lighter pieces. Maybe this could be for a layout about my mom? or another significant female in my life?

What would you do with these stripes? Remember to show us your finished project!

You need to be logged in to download this sample. You can either login, or register on the top of this page.