
Several years ago, it was fashionable to have multiple studs placed on a piece of garment, jeans, t-shirts, etc. It was a lot of work to create those, especially to have all those studs evenly placed.
In scrapbooking, it could seem easy to fill a shape with studs but the problem is that some of the elements would get cut off on the edges. How do you get only full studs and none of the cut ones?
This is what this script does. Using your Paintshop Pro, the script will actually measure the size of the studs you choose and the shape you want and will do the correct calculations to eliminate all the “part-studs”.
You can start with any shape of any size (obviously, if your shape is too small, the result might not be as good), and pick one of the two shapes for the studs: round or diamonds.
Then, the script will offer 4 possible metallic finish: gold, silver, bronze and copper, but if you want to use something totally different to match your photo or your kit, you can also do so. Use the sculpture effect or simply color and add a bevel.
You can grab this script in the store: Decorative Studs.
How about a chance to get it for free? Tell me what shape you would like to use to create a series of decorative studs? I’ll announce the winner in the newsletter, next week. Not a subscriber yet? Not a problem. You can register here and it is free (and you only get one email per week).
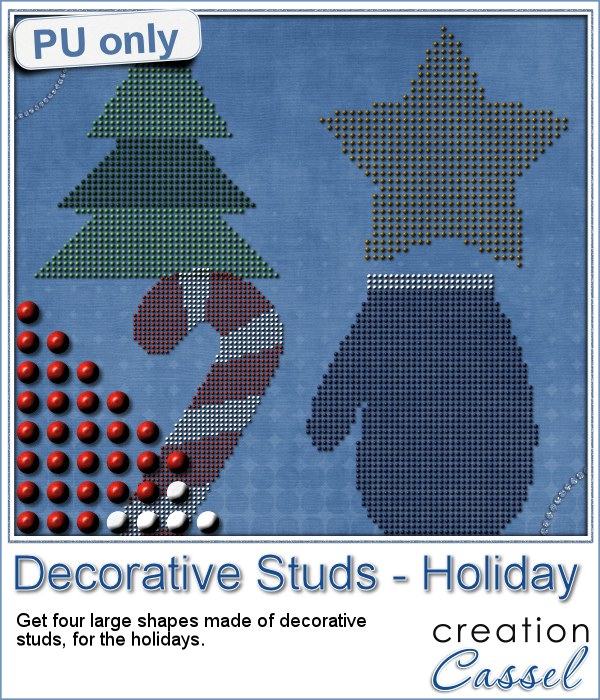
As a sampler for this script, i created some holiday decorations for you. To do them, i simply used a large shape and ran the script.
I used the gold finish for the star, but for the other elements, i chose the option 5, to add my own finish. In my stash, i had various color tiles from the Felt Presets, so i used those tiles as a base color for the other shapes.
For the tree, i selected the center area, promoted the selection to a layer and deleted them from the base shape. Then, i applied a different color to that layer.
I did the same with the mitten.
For the candy cane, i applied the red tile, then i used the point to point selection tool to select sections that would be white. Since the selection was cutting off some of the studs, i went through a few more steps:
- edit selection
- using the Eraser tool, with a round brush tip, i erased the sections over the studs that were mostly outside the selection
- using the RIGHT click with the Eraser tool, i added selections for the studs that were mostly inside the selection
- edit selection again
- promote selection to a layer
- delete from the original layer
- deselect
- increase the brightness of the promoted layer so everything turned white
- inner bevel on those white studs
- merge visible
And now you have it! That is the trick to have full studs in different colors without having to select them one by one.
You need to be logged in to download this sample. You can either login, or register on the top of this page.